
You’ll maximize food grade diatomaceous earth’s effectiveness by choosing FDA-approved varieties and applying thin, even layers using flour sifters or garden dusters. Apply during dry conditions, preferably early morning or late evening, avoiding rainfall periods. Target entry points, dark hiding spots, and high-traffic pest areas like doorways and under appliances. Monitor treated areas regularly and reapply after moisture exposure to maintain protective barriers. These proven techniques guarantee superior pest control results when implemented strategically.
Choose Food Grade Diatomaceous Earth for Safe Indoor and Outdoor Use
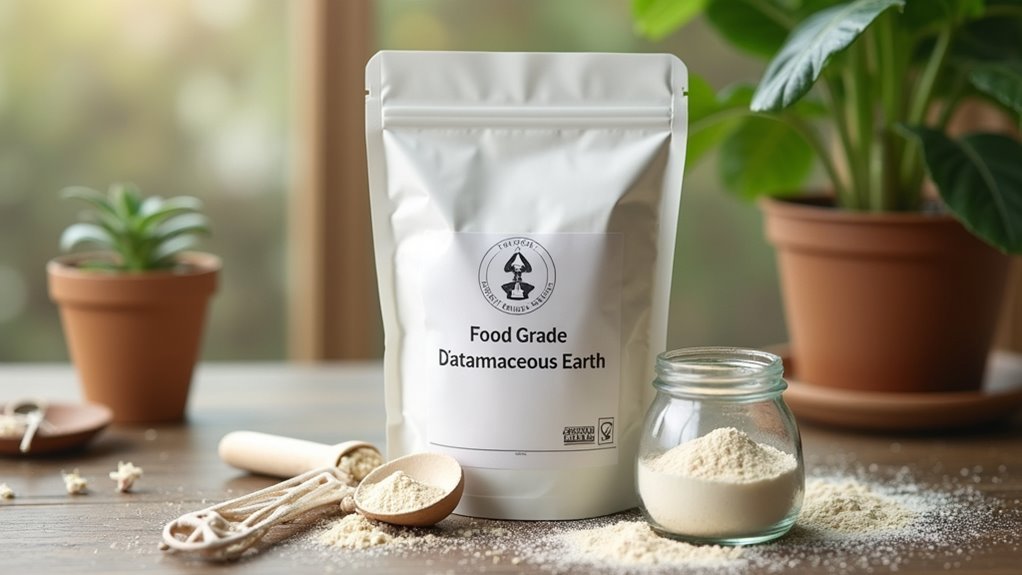
When selecting diatomaceous earth for pest control, you’ll want to choose food-grade varieties that meet FDA safety standards for both indoor and outdoor applications.
This purified version is safe for human consumption and non-toxic to humans, making it ideal for homes with children and pets. Food grade diatomaceous earth proves effective against pests like fleas, ticks, ants, slugs, and various insects without compromising your family’s safety.
Always verify product labels before purchasing, as non-food-grade versions contain harmful additives unsuitable for home use.
Check product labels carefully since industrial-grade diatomaceous earth contains dangerous chemicals that make it unsafe for household pest control applications.
The food-grade designation guarantees you’re getting a clean, processed product that’s been filtered and heat-treated to remove impurities. This makes it the only safe choice for thorough pest management in living spaces.
Apply Thin Layers for Maximum Pest Control Effectiveness
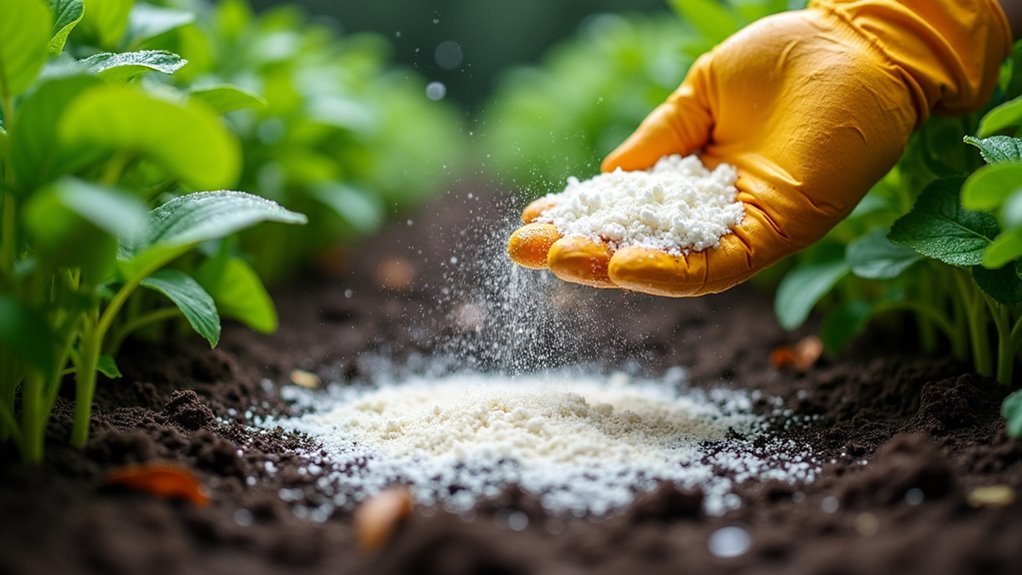
Although it might seem logical to apply a heavy coating, you’ll achieve better pest control results by dusting diatomaceous earth in thin, even layers across infested areas.
When you apply DE as a fine powder coating, insects with exoskeletons must make direct contact with the particles for the treatment to work effectively. Thick applications actually reduce effectiveness because pests can simply walk around clumped areas without touching the food-grade diatomaceous earth.
Use dusters or sifters to create precise, light applications in targeted locations. This approach guarantees proper coverage while preventing waste.
Monitor treated areas regularly and reapply thin layers every few weeks or after rainfall to maintain consistent pest control protection against re-infestation throughout your property.
Time Your Applications During Dry Conditions
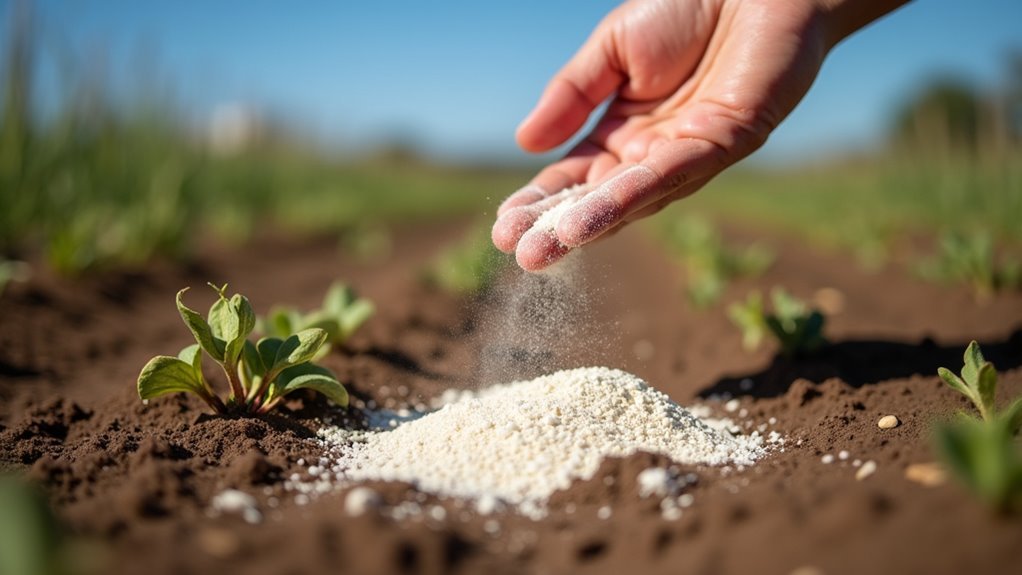
Since moisture greatly reduces diatomaceous earth’s pest control capabilities, you’ll need to time your applications during completely dry conditions for best results.
Apply diatomaceous earth only when the ground and surrounding surfaces are completely moisture-free to guarantee maximum adherence and effectiveness against pests.
Choose periods with low humidity and clear skies for your dry application. Early morning or late evening applications work best when temperatures are cooler and wind conditions remain calm.
Always use food-grade diatomaceous earth, which is safe to use around your home and garden.
Avoid applying immediately before or after rainfall, as wet conditions wash away the powder.
Monitor weather forecasts regularly to plan effective pest control applications and maintain ideal results.
Use Proper Equipment for Even Distribution
You’ll achieve better pest control results when you use the right equipment to distribute diatomaceous earth evenly across surfaces.
A flour sifter works perfectly for creating fine, uniform coverage in small areas, while garden dusters help you handle larger spaces efficiently.
Specialty applicator tools like salt shakers or paintbrushes give you precise control for targeting specific cracks, corners, and problem areas.
Flour Sifter Method
When you’re ready to apply diatomaceous earth with precision, a flour sifter becomes your most valuable tool for achieving even distribution across target areas. This method guarantees you’ll create a fine dusting that maximizes pest control effectiveness while preventing over-application.
Hold your flour sifter approximately 12 inches above the surface to maintain consistent coverage. The sifting mechanism breaks up clumps, allowing for precise application in difficult spots like corners and crevices.
Focus on areas where insects typically travel: under appliances, along baseboards, and inside cabinets. You’ll want to apply diatomaceous earth evenly across these zones for best results.
Remember to clean your sifter regularly to prevent clogs and maintain consistent performance during each application session.
Garden Duster Benefits
While flour sifters work perfectly for indoor applications, garden dusters take precision to the next level for outdoor pest control. You’ll achieve precise distribution across larger areas quickly, making your diatomaceous earth application more effective against insects with exoskeletons.
| Feature | Benefit | Application |
|---|---|---|
| Even Coverage | Minimizes waste through uniform dusting | Large garden areas |
| Targeted Application | Reaches pest hideouts like leaf undersides | Plant bases and foliage |
| Reduced Inhalation | Safer application with less airborne dust | Outdoor treatments |
| Fine Particle Control | Maximizes effectiveness against exoskeletons | Direct pest contact zones |
Your garden duster guarantees effective application by delivering consistent, fine particles exactly where pests congregate. This precision translates to better pest control results while protecting your health during application.
Specialty Applicator Tools
Beyond garden dusters, several specialty applicators can transform your diatomaceous earth application from haphazard sprinkling into precise pest control.
These tools guarantee even distribution while minimizing waste and maximizing effectiveness in your targeted areas.
Essential Specialty Applicators:
- Flour Sifters – Create a fine layer in cabinets, window sills, and small spaces where pests typically hide.
- Turkey Basters – Perfect for hard-to-reach places like cracks and corners without creating messy spillage.
- Salt/Pepper Shakers – Provide controlled application for treating small, infested areas with precision.
Each tool serves specific purposes depending on your application needs.
Dusters work best for broader coverage, while smaller applicators excel in confined spaces.
You’ll achieve better pest control results when you match the right specialty applicator to your particular situation.
Target High-Traffic Pest Areas and Hidden Spaces
You’ll maximize diatomaceous earth’s effectiveness by focusing on areas where pests naturally travel and hide.
Target doorways, windows, and other entry points where insects first enter your home, then move to dark hiding spots like under appliances and inside cabinets.
Strategic placement in these high-traffic pathways and concealed spaces guarantees you’re intercepting pests where they’re most active and vulnerable.
Identify Common Pest Pathways
Since pests follow predictable routes through your home, targeting their common pathways guarantees you’re applying diatomaceous earth where it’ll have maximum impact.
This strategic home improvement approach helps kill pests efficiently by intercepting them at their preferred travel routes.
Focus on these critical common pest pathways:
- Entry points – Apply diatomaceous earth along baseboards, window sills, and door frames where insects routinely enter your home.
- Hidden harborage areas – Target cracks, crevices, and spaces behind appliances where cockroaches and ants prefer to hide.
- Pet zones – Treat pet bedding and high-traffic pet areas to eliminate fleas and ticks before they spread.
Don’t forget outdoor pathways around patios, gardens, and your home’s foundation.
These serve as primary entry routes for spiders, beetles, and other crawling pests seeking indoor shelter.
Apply Around Entry Points
Three strategic zones require your immediate attention when applying diatomaceous earth around entry points: doors, windows, and foundation cracks where pests typically infiltrate your home.
Apply around these vulnerable spots to create a barrier that effectively blocks pest access before they establish themselves indoors.
Focus your efforts on high-traffic areas like kitchens and bathrooms where pests congregate most frequently.
Use a fine flour sifter to distribute an even, thin layer of diatomaceous earth in these critical zones.
Don’t overlook hidden spaces behind appliances and beneath cabinets where insects often travel undetected.
Maintain your defensive perimeter by reapplying DE regularly, especially after cleaning or moisture exposure.
Monitor these treated entry points consistently, adjusting your application strategy based on observed pest activity patterns.
Treat Dark Hiding Spots
Where do pests feel most secure in your home? They gravitate toward dark hiding spots where they can breed undisturbed.
Apply diatomaceous earth strategically in these pest areas to disrupt their safe havens.
Target these high-traffic locations with food-grade diatomaceous earth using proper application techniques:
- Under sinks and behind appliances – Use a flour sifter for even distribution in these cramped spaces where cockroaches and ants establish colonies.
- Cracks and crevices – Sprinkle DE into these narrow hiding spots where pests nest and travel undetected.
- Dark corners – Apply a fine dusting where insects congregate away from light and disturbance.
Remember that regular reapplication is essential, especially after cleaning or moisture exposure, as wet diatomaceous earth loses effectiveness.
Vacuum periodically to remove dead pests and excess powder.
Combine Dry and Wet Application Methods for Different Situations
While each application method has its strengths, you’ll achieve the best results by strategically combining dry and wet diatomaceous earth applications based on your specific situation.
For outdoor pest control, start by applying diatomaceous earth as a dry powder in areas prone to infestations, then follow with a wet application using 4 tablespoons of food grade diatomaceous earth mixed with 1 gallon of water. This combination guarantees better adherence in windy conditions and reaches hard-to-access spots like plant undersides.
Use dry diatomaceous earth for indoor areas like carpets and pet bedding, while wet applications work better where dust might blow away.
Reapply dry powder after rain and use wet solutions for immediate treatment where pests are actively present.
Monitor and Reapply After Rain or Moisture Exposure
Your carefully planned diatomaceous earth applications won’t maintain their effectiveness once rain or heavy moisture hits the treated areas. The powder loses its pest control power when wet, making reapplication essential for continued protection.
Follow these steps after moisture exposure:
- Wait for complete drying – Allow treated areas to dry thoroughly before reapplying diatomaceous earth to guarantee maximum adherence.
- Monitor for pest activity – Check for signs of new infestations that may emerge after DE has washed away.
- Apply thin layers – Reapply with a fine dusting rather than thick coverage for best pest contact.
You’ll need to reapply diatomaceous earth after every significant rainfall or watering session. This consistent approach prevents pest populations from resurging and maintains your protective barrier against unwanted insects throughout changing weather conditions.
Frequently Asked Questions
How Do You Apply Diatomaceous Earth Properly?
You’ll apply diatomaceous earth by dusting thin layers in targeted areas like baseboards and corners during dry conditions. Use specialized applicators for even distribution, and reapply every few weeks to maintain effectiveness.
What Not to Mix With Diatomaceous Earth?
Don’t mix diatomaceous earth with essential oils, water, chemical pesticides, fertilizers, or any wet substances. You’ll reduce its effectiveness since oils and moisture coat particles, preventing proper contact with pests.
Do I Need to Wear a Mask When Using Diatomaceous Earth?
You should wear a mask when using diatomaceous earth to prevent inhaling fine particles that can irritate your throat and respiratory system, especially in enclosed spaces or during extended applications.
Is It Better to Apply Diatomaceous Earth Wet or Dry?
You’ll get better results with dry application since it adheres to surfaces longer and maximizes pest contact. Use wet application only for hard-to-reach areas like plant undersides.
In Summary
You’ll achieve the best results by consistently following these seven application tips. Don’t forget to reapply after weather events and always monitor treated areas for effectiveness. Remember that patience is key—diatomaceous earth works gradually but delivers lasting pest control when applied correctly. Stay committed to proper application techniques, and you’ll soon enjoy a safer, chemical-free solution that protects your home and garden from unwanted pests naturally.

Leave a Reply