To effectively seal cracks with diatomaceous earth, you’ll need food-grade DE and proper application tools like a hand duster. First, vacuum all debris and make sure surfaces are completely dry, as moisture reduces effectiveness. Apply a thin, even layer of DE powder into cracks using gentle techniques adapted to each crack’s size. Focus on baseboards, window sills, and areas around appliances where pests commonly enter. Reapply every 3-7 days in high-traffic areas and monitor regularly for the best results. Master these fundamentals to create lasting pest barriers throughout your home.
Selecting the Right Type of Diatomaceous Earth for Crack Sealing
When selecting diatomaceous earth for crack sealing, you’ll need to choose food-grade diatomaceous or pet-grade DE to guarantee safety and effectiveness.
Avoid pool-grade options that contain hazardous particles and harmful additives. Look for products labeled as amorphous silicon dioxide, which confirms they’re safe for various sealing applications.
Choose a fine powder form for better adhesion and easier application into cracks. This consistency allows you to apply a thin layer more effectively than coarser versions.
Consider the moisture content of your target area, as diatomaceous earth works best on dry surfaces. Moisture greatly reduces its sealing capabilities and pest control effectiveness.
Use a duster or sieve when selecting diatomaceous earth application methods to guarantee even distribution into crevices for ideal results.
Essential Tools and Safety Equipment for Application
You’ll need specific tools to apply diatomaceous earth effectively and safely in crack-sealing applications.
A hand duster or powder spreader guarantees even distribution, while a dust mask protects your respiratory system from inhaling fine particles.
Additionally, you should have gloves for skin protection and a HEPA-filter vacuum ready for cleanup after application.
Required Application Tools
Before applying diatomaceous earth to seal cracks effectively, you’ll need specific tools and safety equipment to guarantee proper distribution and protect yourself during the process.
| Tool Category | Essential Equipment |
|---|---|
| Application Tools | Hand duster or powder spreader, sieve for targeted areas |
| Safety Equipment | Dust mask, protective gloves |
| Cleanup Tools | Vacuum with a HEPA filter, brush or broom |
When applying DE, use a hand duster for even distribution across crack areas. A dust mask prevents inhalation of fine particles during application. Gloves protect your skin from dryness caused by prolonged contact with diatomaceous earth. After creating this effective solution for pest control, you’ll need to apply Diatomaceous Earth systematically into carpet fibers using a brush. Finally, cleanup requires a vacuum with a HEPA filter to prevent clogging from the abrasive powder.
Personal Protective Equipment
Since diatomaceous earth generates fine particles that can irritate your respiratory system and skin, you must prioritize proper protective equipment before starting any application.
Essential gear includes wearing a mask or dust mask to prevent inhaling harmful particles that cause respiratory irritation. You’ll also need protective gloves, particularly if you have sensitive skin, as prolonged DE contact leads to dryness and irritation.
Safety goggles protect your eyes from dust particles generated during application. Guarantee adequate ventilation in your work area to minimize inhalation risks and maintain air quality.
When applying it around cracks, use a hand duster or powder spreader for controlled, even distribution. This equipment reduces excess exposure while maximizing application effectiveness and your personal safety throughout the sealing process.
Locating and Assessing Cracks That Need Treatment
When dealing with pest infestations, identifying every potential entry point becomes essential for effective treatment with diatomaceous earth. You’ll need to conduct a thorough inspection of your home, focusing on areas where cracks commonly develop and pests frequently hide.
Start by examining baseboards, window sills, and room corners for visible crevices. Pay special attention to spaces around appliances like refrigerators and stoves, as these locations often harbor insects. Use a flashlight to illuminate dark areas, making small cracks easier to spot.
Don’t forget to check under furniture, cushions, and around pet bedding where fleas and bed bugs commonly hide. Document all identified cracks for targeted pest control treatment.
| Location | Common Crack Types | Target Pests |
|---|---|---|
| Baseboards | Foundation gaps | Ants, roaches |
| Window sills | Weather seal cracks | Flying insects |
| Appliance areas | Installation gaps | Cockroaches |
| Furniture base | Floor separation | Bed bugs, fleas |
| Room corners | Joint separations | Various crawlers |
Preparing Surfaces Before Diatomaceous Earth Application
Before you apply diatomaceous earth to seal cracks, you’ll need to prepare your surfaces properly for maximum effectiveness.
Start by thoroughly vacuuming all debris, dust, and existing pests from the target areas, then guarantee every surface is completely dry since moisture reduces diatomaceous earth’s pest-fighting power.
You’ll also want to move furniture away from walls and identify all potential entry points like gaps around windows and doors.
Clean Surface Debris
Successful diatomaceous earth application depends heavily on starting with pristine surfaces.
You’ll need to clean surface debris thoroughly using a vacuum cleaner to remove dust, dirt, and existing pests from all target areas. This step creates the foundation for an effective solution for pest control by guaranteeing ideal adhesion when you apply diatomaceous earth.
Pay special attention to cracks and crevices where pests typically hide, as these spots are critical for successful pest management.
After vacuuming, wipe down surfaces with a damp cloth to eliminate sticky residues or oils that could interfere with the diatomaceous earth’s performance.
Confirm all areas are completely dry surfaces before proceeding, as moisture greatly reduces the product’s effectiveness in sealing and controlling pests.
Ensure Complete Dryness
Since moisture greatly compromises diatomaceous earth’s pest control capabilities, you must verify that all treated surfaces are completely dry before application. Water prevents the powder from adhering properly and reduces its ability to dehydrate insects effectively.
After cleaning, allow areas to air dry completely—rushing this step undermines your efforts. Check for water leaks or moisture sources in treated areas, as persistent dampness rapidly degrades the effectiveness of diatomaceous earth.
In humid environments, run a dehumidifier to maintain ideal dryness levels. This pest control method only works when moisture isn’t present to interfere with the DE’s dehydrating properties.
When applying diatomaceous earth, confirm complete dryness throughout the process. Even small amounts of humidity can compromise this otherwise reliable pest barrier system.
Locate Entry Points
Finding pest entry points requires systematic inspection of your home’s most vulnerable areas. You’ll need to locate entry points by examining cracks in walls, floors, and around baseboards where insects commonly travel.
Check gaps around windows, doors, and appliances that provide access routes for pests. Look under furniture, cushions, pet bedding, and carpets where pest activity often goes unnoticed.
Before applying diatomaceous earth, confirm you’ve identified all potential pathways thoroughly. Remove items from treatment areas to achieve better access during inspection.
This systematic approach helps you target the right locations for maximum effectiveness. When you properly locate entry points first, diatomaceous earth becomes an effective solution for pest control that’s safe to use around pets and family members.
Proper Techniques for Applying DE in Different Crack Types
While different crack types require specific application approaches, you’ll achieve the best results by adapting your technique to match the size and location of each opening.
When you use DE as an effective solution for pest control, proper application methods guarantee maximum effectiveness around entry points.
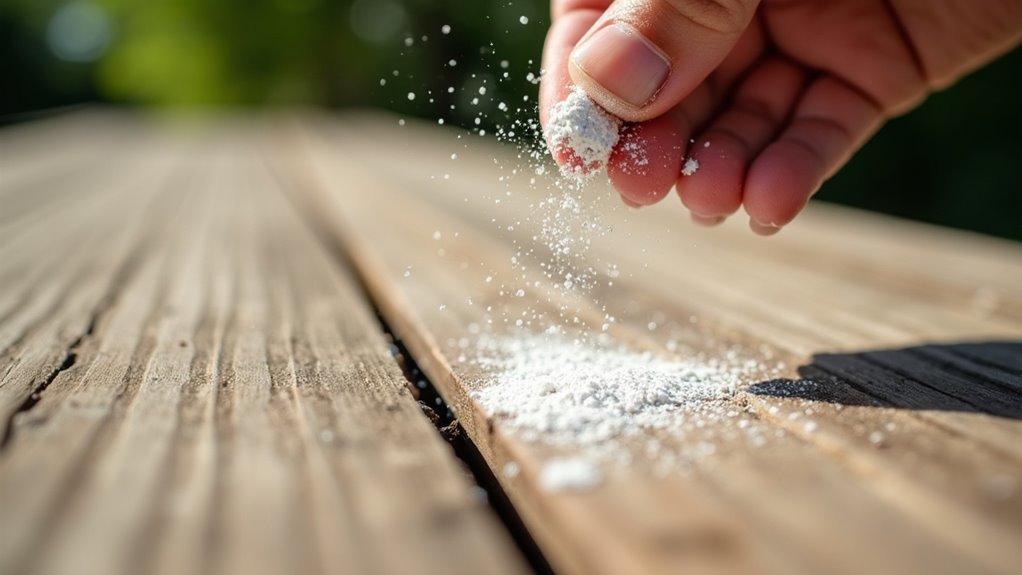
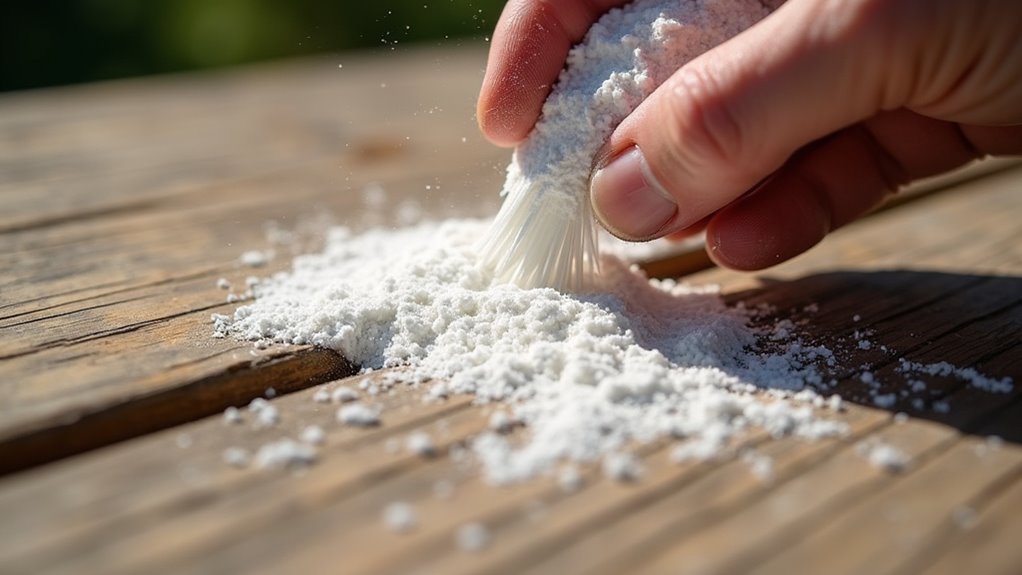
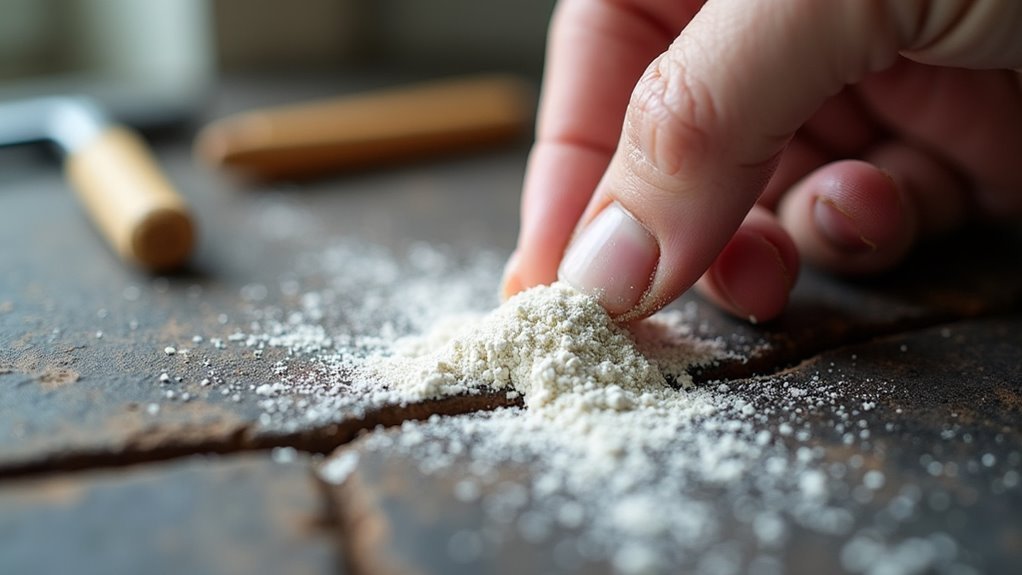
- Narrow cracks: Use a hand duster or sieve to apply a thin, even layer of Diatomaceous Earth into tight spaces around windows, doors, and baseboards where pests commonly enter.
- Wide cracks: Push DE deeper using a spatula to reach hidden areas where insects travel and hide.
- Surface preparation: Always clean and dry the area before application, as moisture reduces DE’s pest-controlling properties.
- Maintenance schedule: Reapply every 3-7 days or after cleaning to maintain protective barriers.
Maintaining and Monitoring Your Sealed Cracks
Successfully applying diatomaceous earth to cracks marks just the beginning of your pest control strategy.
You’ll need to regularly inspect your sealed cracks for signs of pest activity or damage to maintain this effective solution for pest control. Monitor humidity levels carefully, as moisture reduces DE’s effectiveness and may require immediate reapplication.
Environmental vibrations can displace the powder, so check for gaps that need touch-ups. Document any changes in pest activity patterns over time to gauge your treatment’s success.
Regular monitoring of treated areas helps identify powder displacement and tracks treatment effectiveness against pest populations.
Schedule reapplication every few weeks or after cleaning surfaces to guarantee consistent protection. Pay special attention to high-traffic areas where the barrier might get disturbed.
Reapplication Strategies for Long-Term Effectiveness
Since diatomaceous earth loses potency over time, you’ll need consistent reapplication strategies to maintain its pest-blocking power.
Regular monitoring and strategic timing guarantee this effective solution for pest control continues protecting your sealed cracks.
To maintain effectiveness, follow these key reapplication practices:
- Reapply diatomaceous earth every 3-7 days in high-traffic areas or where moisture reduces potency
- Monitor pest activity regularly and respond immediately to signs of re-infestation with fresh DE applications
- Remove old DE layers when vacuuming and apply fresh diatomaceous earth to restore the protective barrier
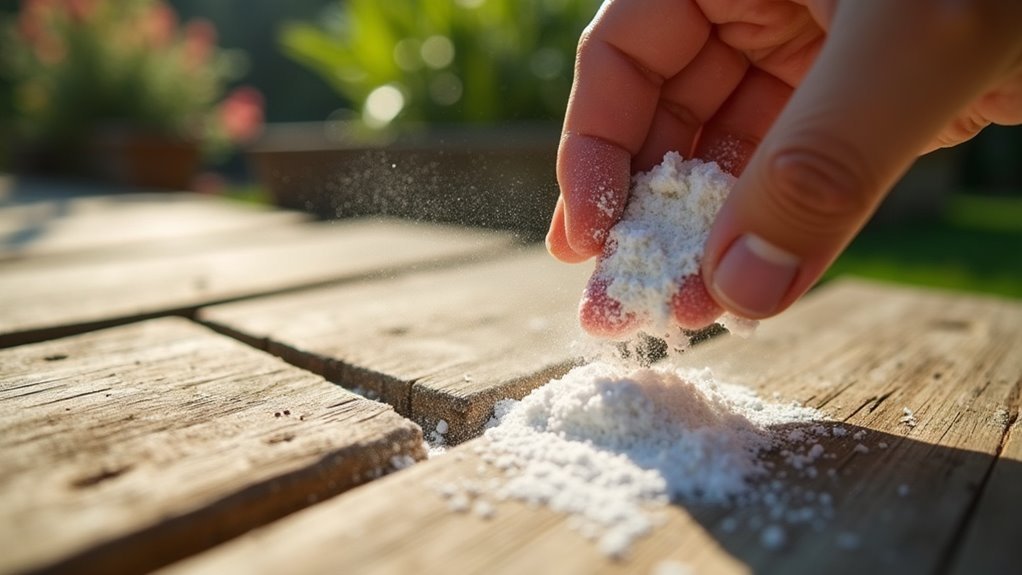
- Reapply after rainfall or watering when using DE outdoors, as moisture diminishes effectiveness
Combine DE application with sealing entry points and maintaining cleanliness for extensive pest control that prevents new infestations from developing.
Frequently Asked Questions
Why Do Exterminators Not Use Diatomaceous Earth?
Exterminators don’t use diatomaceous earth because you’ll wait 7-17 days for results, while chemical pesticides work faster. You’d also need perfect dry conditions, and it doesn’t provide long-term protection like chemicals do.
Do I Vacuum After Using Diatomaceous Earth?
You should vacuum after using diatomaceous earth, but wait 3-7 days first for maximum effectiveness. Use a HEPA filter vacuum, wear a dust mask, and dispose of contents carefully to prevent re-infestation.
What Are the Downsides of Diatomaceous Earth?
You’ll face skin irritation and respiratory issues from DE’s abrasive dust. It’s ineffective in moist conditions and against soft-bodied pests. You’ll need frequent reapplication and cleanup of accumulated dead insects.
What Not to Mix With Diatomaceous Earth?
Don’t mix diatomaceous earth with water, chemical pesticides, oils, or moisture-retaining soil amendments. You’ll reduce its effectiveness and create clumping issues that prevent proper application and diminish its pest control properties.
In Summary
You’ve now learned how to effectively use diatomaceous earth for sealing cracks throughout your property. By selecting food-grade DE, using proper safety equipment, and following correct application techniques, you’ll achieve lasting results. Remember to monitor your sealed cracks regularly and reapply DE when necessary. With consistent maintenance and the right approach, you’ll keep moisture and pests out while maintaining structural integrity. Start implementing these strategies today for reliable, long-term crack sealing success.


Leave a Reply