You’ll need to inspect your foundation for cracks as small as 1/4 inch, seal gaps around utility penetrations with weatherproof caulk, repair deteriorated mortar joints through tuck pointing, fill hollow spaces in cinder blocks with quality sealants, address material changes where different surfaces meet, fix water damage that creates settlement gaps, and secure foundation vents at least 12 inches above soil level. These thorough fixes create an impenetrable barrier that’ll transform your vulnerable foundation into a fortress against rodent invasion.
Identifying Foundation Cracks and Deteriorating Mortar Joints

Before you can effectively seal your foundation against mice, you’ll need to conduct a thorough inspection to identify potential entry points.
Start by examining your foundation walls for cracks as small as 1/4 inch, which serve as common entry routes for rodents. Pay special attention to mortar joints, particularly in older homes with terra cotta blocks where deterioration creates larger gaps.
Walk around your home’s perimeter during daylight hours, looking for crumbling mortar, foundation cracks, and other vulnerabilities.
Check areas where utilities enter your home, as these often have gaps. Don’t forget to inspect weather stripping around foundation-level doors and windows.
Document each problem area with photos or notes, measuring crack widths and gap sizes to determine appropriate repair methods for each specific issue.
Sealing Gaps Around Utility Lines and Pipe Penetrations
After identifying foundation cracks and mortar deterioration, you’ll need to focus on utility penetrations—spots where pipes, electrical cables, and gas lines enter your home.
These gaps around utility lines create common entry points that mice exploit regularly. To maintain control over rodent access, inspect these areas frequently for new openings that develop over time.
Use weatherproof caulk to seal penetrations, ensuring a tight fit that blocks access completely. For enhanced protection, apply rodent-proof sealant specifically designed to resist chewing.
Consider layering materials—start with foam insulation, then add caulk for a more robust barrier.
Check seal integrity regularly, as wear and tear creates fresh vulnerabilities mice can exploit, compromising your foundation’s defense system.
Repairing Foundation Block Openings and Hollow Spaces
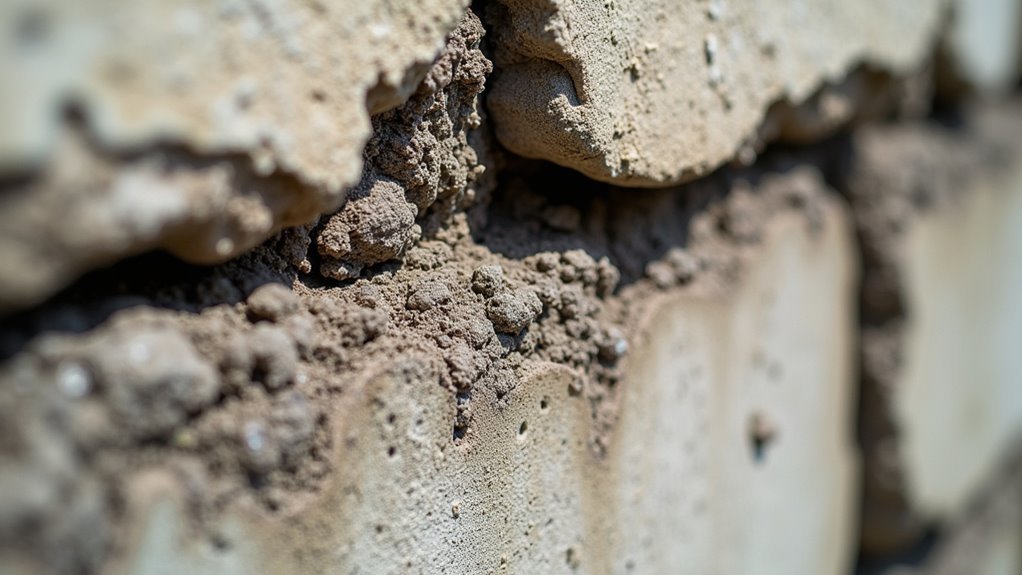
Foundation blocks present unique challenges since their hollow cores and mortar joints create multiple pathways for mouse entry. You’ll need to address both the structural integrity and pest prevention aspects when repairing these vulnerabilities.
Start by inspecting your foundation walls for small gaps measuring 1/4 inch or larger. Use tuck pointing to repair deteriorated mortar, guaranteeing the new material matches existing colors. Fill hollow spaces in cinder blocks with quality sealants or foam to eliminate entry points.
| Gap Size | Primary Material | Final Seal |
|---|---|---|
| Under 1/4″ | Direct sealant | Weatherproof caulk |
| 1/4″ – 1″ | Backing rod | Polyurethane sealant |
| Over 1″ | Copper mesh | Expanding foam |
Clean out old mortar completely before applying new materials to secure proper adhesion and long-lasting repairs.
Addressing Foundation Wall Meeting Points and Material Transitions
You’ll find that corner material gaps present some of the most challenging mouse entry points around your foundation.
These shifts between different building materials create natural weak spots where settling and temperature changes cause separations over time.
Brick façade cracks near foundation connections are particularly problematic since they’re often overlooked during routine maintenance but provide direct pathways for rodents.
Corner Material Gaps
Where concrete foundations meet wood framing, brick shifts to siding, or different building materials come together, gaps inevitably form that create perfect entry points for mice.
These corner alterations are common culprits in mouse control failures, particularly gaps behind siding where materials don’t maintain flush connections.
Effective sealing requires strategic attention to these vulnerable areas:
- Inspect corner joints where different materials meet for even the smallest openings
- Apply high-quality sealants or install rodent-proof materials in identified gaps
- Perform tuck pointing on deteriorated mortar around corner alterations
- Maintain regular inspections especially in older homes with settling foundations
You’ll need to guarantee your bottom siding row connects flush with the foundation, eliminating potential entry routes mice exploit.
Brick Façade Cracks
As seasons change and temperatures fluctuate, brick façades develop cracks that become prime entry routes for determined mice seeking shelter.
You’ll find the most vulnerable spots where brick walls meet different materials like wood or concrete. These connection areas expand and contract at different rates, creating gaps that invite mouse infestation.
Regular inspection of these meeting points helps you catch problems early. When you spot deteriorated mortar, use tuck pointing to restore the seal.
Even tiny openings of 1/4 inch allow rodents inside, so don’t ignore small cracks.
Apply high-quality, rodent-proof sealant to damaged areas for maximum protection. This approach is vital for keeping mice out while providing weather resistance.
Prompt repairs maintain your home’s defensive barrier against unwanted guests.
Fixing Water-Damaged Foundation Areas and Settling Issues
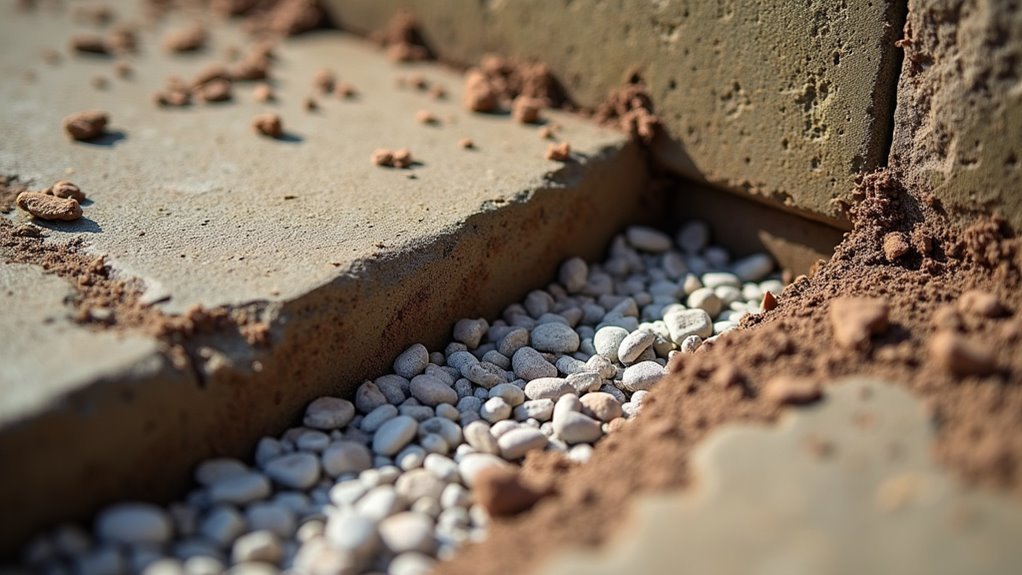
When water seeps into your foundation, it creates a perfect storm for mouse infestations by weakening concrete and opening new entry routes.
You’ll need to tackle both moisture problems and structural repairs to effectively block rodent access.
Here’s your action plan for water-damaged foundations:
- Inspect regularly for efflorescence, cracks, and settling signs along foundation walls
- Improve drainage by grading soil away from your home to prevent water accumulation
- Seal gaps immediately using waterproof sealants and caulks in damaged areas
- Reinforce repairs with copper mesh or steel wool before applying final sealants
For extensive damage, you’ll want professional tuckpointing services.
They’ll guarantee proper structural repairs that prevent future settling and mouse entry points you might miss.
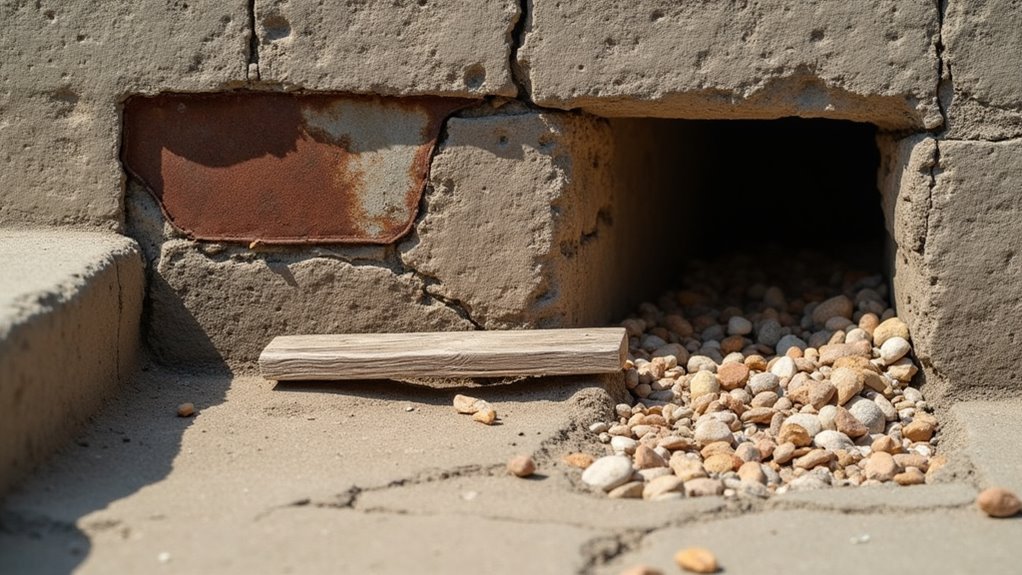
Securing Foundation Vents and Below-Grade Openings
Foundation vents and below-grade openings create the most vulnerable access points for mice seeking shelter in your home’s lower levels.
Foundation vents and crawl spaces offer prime entry points where determined mice can easily infiltrate your home’s vulnerable lower areas.
You’ll need to cover foundation vents with fine mesh hardware cloth that maintains proper airflow while blocking rodent entry. Inspect all below-grade openings around utility lines and seal gaps with weatherproof caulk to eliminate potential access routes.
For effective rodent exclusion, fill larger gaps with copper mesh or steel wool before applying caulk or foam—these materials prevent mice from gnawing through your repairs.
Position accessible vents at least 12 inches above soil level to prevent debris accumulation that creates easier access. Regularly check vent cover integrity and replace damaged materials to maintain long-term protection against rodent intrusion.
Reinforcing Foundation Perimeter With Rodent-Proof Materials
Beyond addressing individual openings, you’ll want to create a thorough defensive barrier around your foundation’s entire perimeter. This all-encompassing approach to rodent control involves strategic reinforcement using different materials that mice can’t penetrate or chew through.
Consider these essential perimeter reinforcement strategies:
- Install continuous concrete barriers along vulnerable foundation sections to eliminate ground-level access points.
- Apply heavy gauge metal sheeting vertically against foundation walls, extending several inches below and above ground.
- Use rodent-proof sealants to create airtight containers around utility penetrations and foundation joints.
- Implement tuck pointing for deteriorated mortar areas, strengthening weak spots that compromise your barrier.
These combined methods create an impenetrable fortress that effectively prevents mouse entry while maintaining your foundation’s structural integrity.
Frequently Asked Questions
What Can I Put Around Foundation to Keep Mice Away?
You’ll want to seal cracks with caulk or expandable foam, stuff larger gaps with steel wool, and remove debris around your foundation that provides nesting spots for mice.
How Do I Stop Mice From Digging Under My Foundation?
Seal foundation cracks with caulk or foam, install wire mesh barriers around the perimeter, clear debris from the area, and add gravel to make digging difficult for mice.
What Should I Block a Mouse Hole With?
You should block mouse holes with steel wool or copper mesh, then secure it with caulk or a staple gun. Don’t use spray foam alone since mice easily chew through it.
What Sealant Can Mice Not Chew Through?
You can’t rely on foam sealants alone since mice chew through them easily. Use copper mesh or steel wool with silicone caulk for best results. Quality sealants like Xcluder fabric resist chewing better.
In Summary
You’ve now got seven proven strategies to mouse-proof your foundation. Don’t wait until you hear scratching in your walls—inspect your foundation regularly and address vulnerabilities immediately. Remember, mice can squeeze through gaps smaller than a dime, so be thorough with your sealing efforts. By implementing these foundation fixes, you’ll create an effective barrier that’ll keep rodents outside where they belong, protecting your home year-round.


Leave a Reply