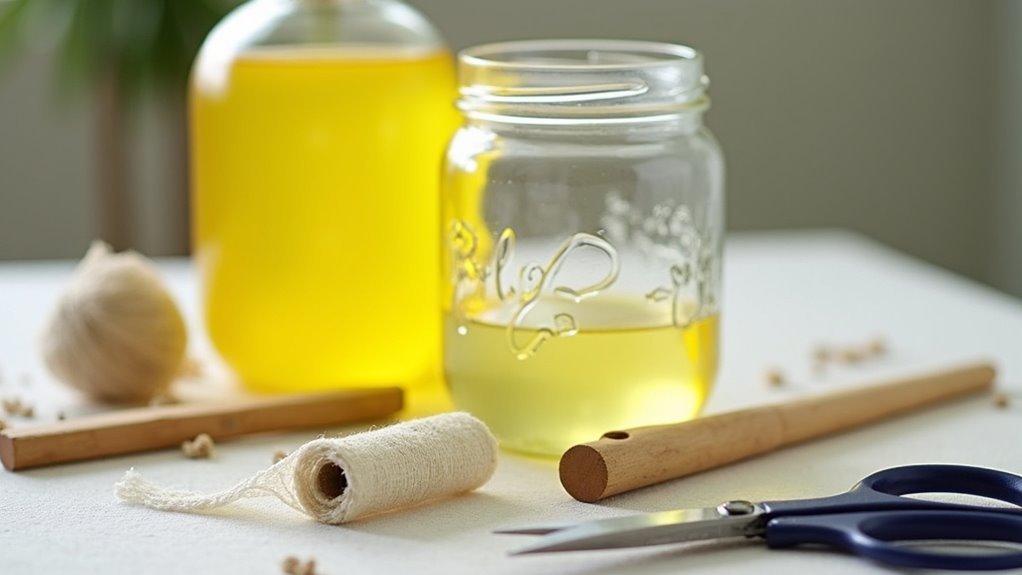
You’ll need two empty 2-liter plastic bottles as your trap’s foundation, plus a bright battery-powered LED tap light or broad-spectrum bulb for attraction. Gather electrical tape to secure components, masking tape for entry strips, and basic tools like scissors and a drill with 1/8 inch bit. These simple materials create an effective stink bug capture system that outperforms many commercial options when properly constructed and strategically positioned around your home’s entry points.
Essential Materials for Building Your Stink Bug Trap
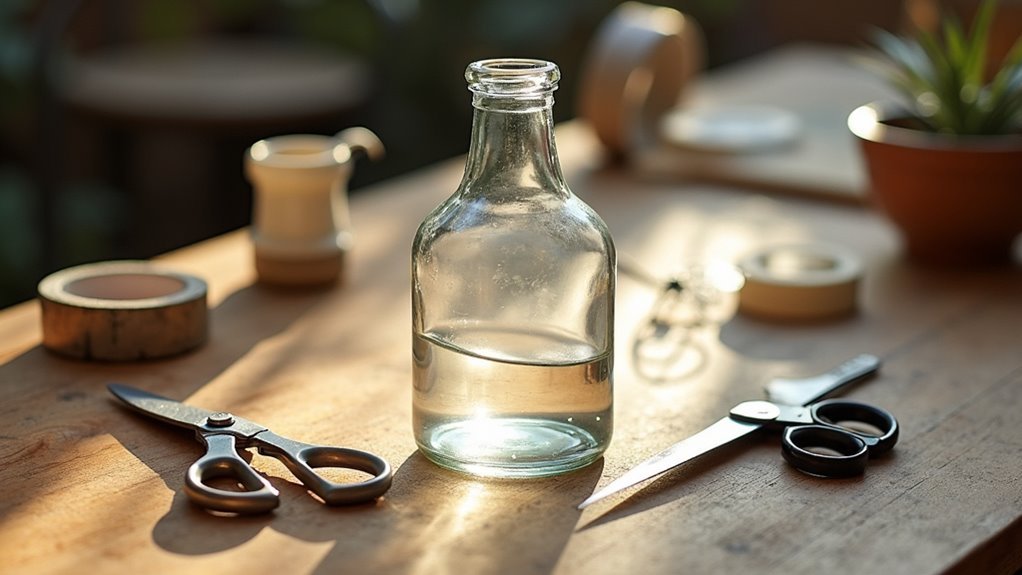
Before you can effectively capture these unwanted invaders, you’ll need to gather the right materials for your DIY stink bug trap. Start with two empty 2-liter plastic bottles as your trap’s foundation.
You’ll require a bright, battery-powered LED tap light to attract the bugs effectively. Electrical tape secures all components together, while masking tape creates entry strips that make it easier for stink bugs to access the trap.
Essential tools include scissors for cutting bottles, a drill with a 1/8 inch bit for light installation holes, and wire strippers if you’re using plug-in lighting sources.
These materials form the backbone of effective stink bug control. With proper preparation, your DIY stink bug traps will provide an efficient, cost-effective solution for managing these persistent pests around your home.
Understanding Stink Bug Behavior and Light Attraction
You’ll find that stink bugs respond differently to various light wavelengths, with broad-spectrum bulbs proving more effective than LEDs for trap attraction.
Their seasonal activity patterns shift dramatically as spring daylight increases, triggering heightened movement and mating behaviors that draw them toward bright light sources.
Understanding these preferences lets you optimize your trap’s lighting setup and timing for maximum effectiveness.
Light Wavelength Preferences
Understanding which light wavelengths attract stink bugs most effectively can dramatically improve your homemade trap’s success rate. Research shows that stink bugs are particularly attracted to broad-spectrum lighting over LED alternatives because these bulbs emit a wider range of wavelengths that naturally draw them in.
When selecting light sources for your trap, consider these key factors:
- Broad-spectrum bulbs – These emit multiple wavelengths that stink bugs find irresistible compared to narrow-spectrum alternatives.
- Spring timing – Mating season increases their light-seeking behavior, making traps more effective during this period.
- Strategic placement – Position your light source where stink bugs can easily orient themselves toward it.
While scientists continue studying specific wavelengths for ideal attraction, current evidence supports using traditional incandescent or fluorescent bulbs over LEDs for maximum trapping success.
Seasonal Activity Patterns
Timing your trap deployment around stink bug seasonal patterns can make the difference between catching a few stragglers and successfully controlling an infestation.
Spring represents your prime opportunity when stink bugs are most active due to increasing daylight hours triggering their mating season. You’ll notice more indoor activity and sightings during this period, making it ideal for trap placement.
Since stink bugs are attracted to light, position your traps near entry points where they’ll encounter them first.
However, you’ll find traps become less effective during autumn when these pests shift their behavior to seeking indoor shelter rather than being drawn to illumination.
Focus your trapping efforts in spring when their light-seeking behavior peaks for maximum success.
Selecting the Right Plastic Bottle for Maximum Effectiveness

When building an effective stink bug trap, the plastic bottle you select serves as the foundation for your entire setup. You’ll want to choose a clear 2-liter soda bottle that’s completely empty and clean. The smooth surface prevents stink bugs from climbing out once they’re trapped inside, while the transparent material lets you monitor your catch.
Here are three essential bottle characteristics for maximum trap effectiveness:
- Clear, smooth surface – Prevents bugs from gripping and escaping
- Wide opening – Allows easy modifications for creating entry funnels
- Sturdy construction – Withstands outdoor weather conditions without breaking
Plastic bottles with labels actually help guide your cutting when creating the funnel entrance. This guarantees you’ll get a uniform shape that effectively directs stink bugs into your homemade trap while preventing their escape.
Choosing Optimal LED Lighting for Bug Attraction
After selecting your plastic bottle foundation, you’ll need to focus on the lighting element that actually draws stink bugs into your trap.
Choose a high-lumen LED light to maximize visibility and attract bugs effectively. Position your LED light to mimic natural sunlight, as stink bugs naturally gravitate toward bright environments. During spring mating season, use brighter lights since stink bugs show increased attraction to light during this period.
Experiment with different light wavelengths to improve your trapping success rates. Some studies indicate certain wavelengths appeal more to stink bugs than others.
While broad-spectrum bulbs outperform standard LEDs in attracting stink bugs, a quality LED tap light still provides excellent results for DIY traps while offering energy efficiency and durability advantages.
Step-by-Step Bottle Preparation and Cutting Techniques
With your LED lighting strategy in place, you’re ready to construct the physical trap that’ll house your light source. Start by gathering two 2-liter plastic bottles and follow the label as your cutting guide for precise results.
Here’s your step-by-step preparation process:
- Cut strategically – Remove the top from one bottle and the bottom from another, then smooth rough edges with scissors for seamless assembly.
- Apply containment tape – Wrap black electrical tape around the bottom section, covering 2-3 inches upward to contain light and enhance stink bug attraction.
- Create the funnel assembly – Invert the top-cut bottle into the bottom section, forming a funnel shape, and secure with electrical tape for stability.
Creating the Funnel Entry System
You’ll need to cut your 2-liter bottle cleanly to create an effective funnel that fits snugly with the bottom section.
Once you’ve made the cut, invert the top portion into the bottom half to form the entry system that allows stink bugs in but prevents their escape.
Proper assembly techniques using electrical tape and masking tape will guarantee your funnel stays secure and provides easy bug access.
Bottle Cutting Techniques
The funnel-entry system forms the heart of your stink bug trap, and proper bottle cutting techniques guarantee maximum effectiveness. You’ll need precise cuts to create a functional trap that bugs can enter but can’t escape.
Follow these essential cutting steps:
- Make the initial cut – Use a serrated knife to create a slit above the label on your 2-liter bottle, establishing a clean starting point for your cuts around the circumference.
- Complete the separation – Cut carefully around the bottle following the label line, keeping cuts straight to confirm both halves fit together snugly during final assembly.
- Finish and seal – Remove labels, smooth rough edges with scissors, then apply black electrical tape around the bottom section to create a light-tight seal before inverting the top half into the bottom.
Funnel Assembly Methods
Once you’ve completed your bottle cuts, assembling the funnel entry system requires careful positioning to create an effective one-way passage.
Take the top-cut bottle and invert it into the bottom-cut bottle, forming the essential funnel assembly that’ll trap stink bugs effectively. The inverted bottle creates a funnel shape that allows easy entry while preventing escape.
Secure this assembly using electrical tape along the seam where both bottle sections meet, ensuring you’ve created a tight seal.
Apply additional masking tape strips around the funnel opening to make access even easier for stink bugs.
Position your completed trap in a dark area where you’ve frequently spotted these pests. This strategic placement maximizes your trap’s effectiveness by targeting their preferred hiding spots.
Proper Light Installation and Positioning
When installing your light source, choose a bright LED tap light or broad-spectrum bulb that’ll maximize stink bug attraction during their active mating season.
Position the light inside your trap facing upward to create an effective funnel system that guides bugs in while preventing escape. Since stink bugs are naturally attracted to the light, proper placement is essential for successful light traps.
Follow these installation guidelines:
- Use plug-in lights instead of battery-operated options to guarantee continuous operation without frequent replacements.
- Place traps in dark areas to enhance light visibility and increase attraction rates.
- Operate from dusk until dawn during evening hours when stink bugs are most active.
This strategic positioning maximizes your trap’s effectiveness throughout peak activity periods.
Securing Components With Electrical Tape
After positioning your light source correctly, you’ll need electrical tape to create an airtight seal that prevents stink bugs from escaping your homemade trap.
Start by securely fastening the inverted bottle top to the bottom section, wrapping electrical tape around all seams to eliminate gaps. This creates a light-tight seal that prevents illumination from escaping while attracting more stink bugs.
Apply 2-3 inches of electrical tape around the bottle’s bottom to secure your LED light and maintain consistent brightness.
For extra reinforcement, add strips of electrical tape down the trap’s sides to strengthen the connection between bottle halves. Any loose areas compromise your trap’s effectiveness, so guarantee thorough coverage.
Proper electrical tape application maintains the trap’s integrity and maximizes your stink bug capture success.
Strategic Placement for Maximum Bug Capture
Strategic placement determines whether your stink bug trap succeeds or fails completely. You’ll need to think like a stink bug to maximize captures. Since bugs are attracted to light sources, position your traps near windows, doors, and other entry points where they naturally congregate.
Strategic placement makes or breaks your stink bug trap success – think like the pest to outsmart it.
Here’s your strategic placement checklist:
- Height matters – Mount traps 2-3 feet off the ground to match stink bugs’ typical flight patterns.
- Timing is essential – Set up traps during evening hours when stink bugs become most active.
- Multiple locations – Deploy several traps around your home’s perimeter for thorough coverage.
Monitor trap effectiveness regularly and relocate them based on observed activity patterns.
Weather changes and seasonal shifts can affect stink bug behavior, so you’ll need to adjust your strategic placement accordingly for best results.
Alternative Soapy Water Trap Construction
While commercial traps can drain your wallet, you’ll find that constructing a simple soapy water trap costs mere pennies and delivers superior results.
You’ll need just 2 quarts of water mixed with 2 tablespoons of dishwashing liquid in a shiny roasting pan. The soap eliminates surface tension, ensuring stink bugs can’t escape once they contact the solution.
Position a desk lamp directly beside your trap to illuminate the soapy water overnight. The light draws stink bugs to their doom, making this method incredibly effective.
Volunteers have proven this DIY approach eliminates 14 times more bugs than store-bought alternatives.
After each night, strain out captured bugs and dispose of the solution. Simply repeat this process whenever you notice renewed stink bug activity in your home.
Safety Considerations for Indoor Use
Before deploying your homemade stink bug trap, you’ll need to address several safety concerns to protect your household. Indoor trap placement requires careful consideration to prevent accidents and maintain a healthy environment.
Safety measures for your bug-catching setup include:
- Secure light positioning – Keep lamps and light sources stable to prevent them from falling into water traps, which creates fire hazards.
- Chemical avoidance – Don’t combine pesticides with homemade traps, as this compromises indoor air quality and exposes residents to harmful toxins.
- Strategic placement – Position traps in well-ventilated areas away from children and pets to prevent accidental contact.
Regular maintenance prevents overflow situations that attract additional pests.
Proper ventilation also guarantees trapped bugs don’t create lingering odors throughout your living space.
Maintenance and Trap Monitoring Best Practices
You’ll need to establish a consistent cleaning schedule to keep your stink bug traps working at peak efficiency.
Empty and clean your traps at least once weekly, removing dead bugs and washing trap components with warm soapy water to eliminate odors that might repel new insects.
Time your placement adjustments during early morning or evening hours when stink bugs are most active, allowing you to observe their movement patterns and identify the most productive locations.
Regular Trap Cleaning
Since stink bug traps only work effectively when properly maintained, you’ll need to establish a consistent cleaning routine that keeps your homemade trap operating at peak efficiency.
Regular trap cleaning prevents trapped bugs from accumulating and creating odor issues that can actually repel other stink bugs. Check your traps every few days to remove dead insects and debris that might clog the system or reduce its attractiveness.
Your cleaning schedule should include:
- Remove trapped bugs from the soapy water solution using a strainer or tweezers.
- Replace the soapy water mixture with fresh solution to maintain ideal trapping conditions.
- Wipe down the bottle and light components to remove any residue or buildup.
Consistent maintenance guarantees your trap continues attracting stink bugs rather than deterring them through neglect.
Optimal Placement Timing
Timing plays an essential role in maximizing your homemade stink bug trap’s effectiveness. You’ll achieve ideal placement results by setting your traps around 7 PM when stink bugs become most active and seek light sources. This timing coincides with their natural behavior patterns, greatly improving your catch rates.
| Time Period | Stink Bug Activity Level |
|---|---|
| Morning (6-10 AM) | Low |
| Afternoon (12-5 PM) | Moderate |
| Evening (7-9 PM) | High |
| Night (10 PM-12 AM) | Moderate |
Position traps near entry points like windows and doors during these peak evening hours. You should also adjust your timing based on seasonal changes, as stink bugs’ activity patterns shift with temperature fluctuations. Monitor your traps regularly and maintain consistent placement timing for maximum effectiveness.
Frequently Asked Questions
What Is the Best Homemade Stink Bug Trap?
You’ll find the DIY soapy pan trap works best, capturing 14 times more stink bugs than store-bought options. Mix two quarts water with two tablespoons dish soap in a shiny roasting pan, then add lamp light overnight.
What Attracts Stink Bugs to a Trap?
You’ll attract stink bugs using bright lights, especially broad-spectrum bulbs that mimic sunlight. They’re drawn to warmth and light when seeking mates in spring, making illuminated traps highly effective for capturing them.
What Is a Homemade Recipe for Stink Bugs?
You’ll need a shallow container filled with water and a few drops of dish soap. The soap reduces surface tension, causing stink bugs to sink and drown when they contact the soapy water mixture.
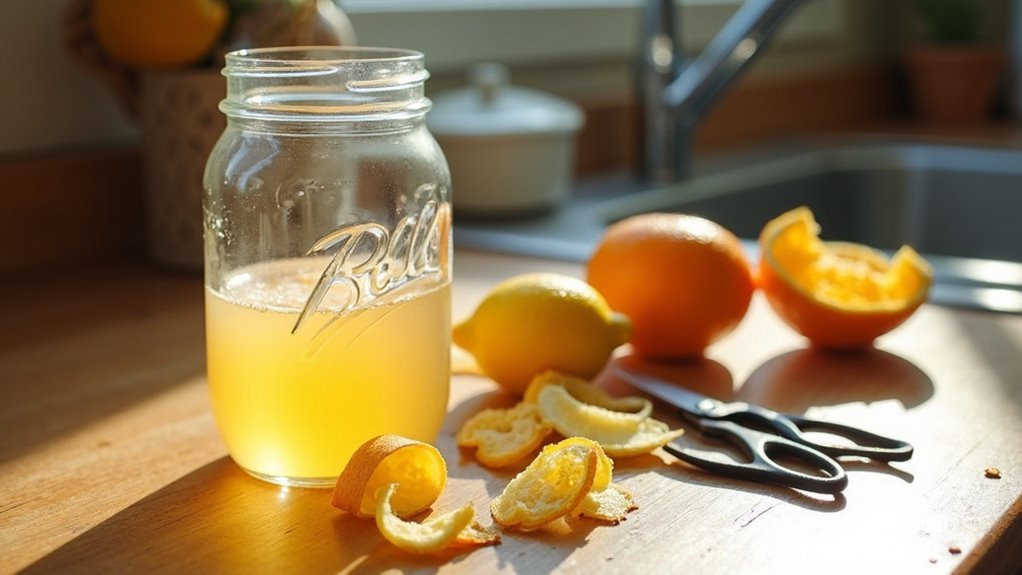
What Scent Keeps Stink Bugs Away?
You’ll find that peppermint, citrus scents like lemon or orange, vinegar, and garlic effectively repel stink bugs. These strong fragrances overwhelm their senses, making them avoid treated areas when you apply them regularly.
In Summary
You’ve got everything you need to build effective stink bug traps using simple household materials. Remember to check your traps regularly, replace the soapy water as needed, and reposition them based on seasonal bug patterns. Don’t forget to clean up captured bugs promptly to prevent odors. With proper maintenance and strategic placement, you’ll greatly reduce stink bug populations in your home while avoiding harsh chemicals or expensive commercial solutions.


Leave a Reply