You’ll create an effective garlic sulfur spray by crushing two fresh garlic bulbs and blending them with hot water, then steeping for 2-3 days before straining. Dilute the concentrate at a 10:1 ratio with water and apply during early evening hours to avoid leaf burn. This natural deterrent confuses pests like aphids and slugs while providing antifungal benefits, costing less than $5 for multiple applications that’ll protect your entire garden naturally and sustainably.
The Science Behind Garlic’s Pest-Fighting Properties
When you crush or chop garlic, you’re releasing a powerful chemical transformation that turns this common kitchen ingredient into nature’s pest control system. The secret lies in garlic’s sulfur compounds, primarily alliin, which converts to allicin when the cell walls break.
This conversion creates the pungent smell that makes garlic so effective against garden pests. Allicin’s unique odor confuses insects by interfering with their sensory receptors, effectively repelling aphids, slugs, and mosquitoes.
When you prepare a garlic spray, you’re harnessing these same compounds that also provide antibacterial and antifungal benefits. The high sulfur content doesn’t just repel pests—it actively prevents molds and fungi, promoting overall plant health while offering an eco-friendly alternative to synthetic pesticides.
Essential Ingredients for Your Garlic Sulfur Spray
Creating your own garlic sulfur spray requires just a handful of simple ingredients that you likely already have in your kitchen.
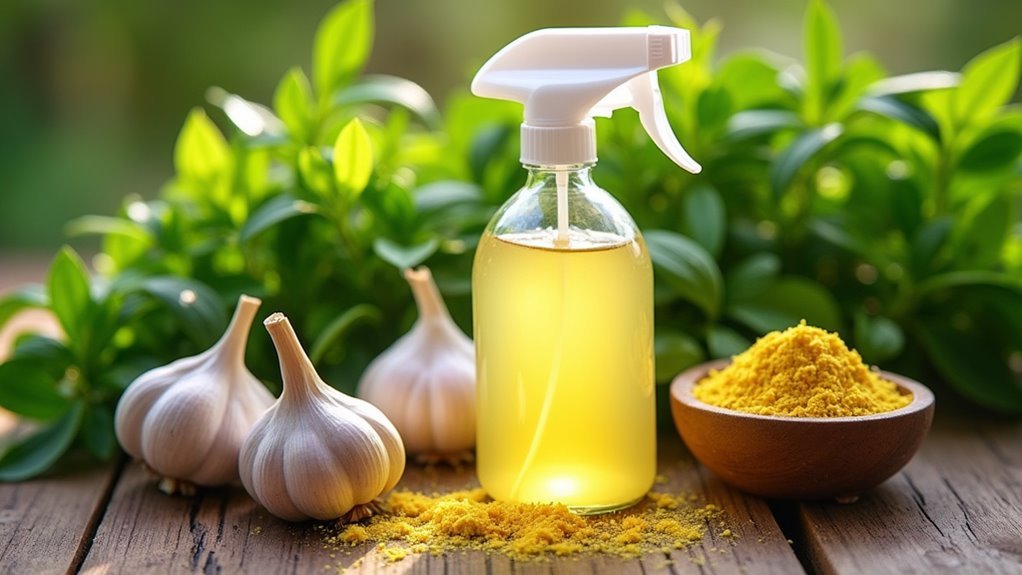
You’ll need two fresh garlic bulbs, which contain the sulfur compounds that make this spray effective against pests. Hot water serves as your extraction medium, helping release garlic’s beneficial properties.
Two fresh garlic bulbs provide the sulfur compounds needed to create an effective, natural pest-fighting spray solution.
Start by chopping your garlic cloves and blending them with hot water until you achieve a soup-like consistency.
Let this mixture steep for two to three days to maximize its potency. After steeping, strain the solution through a muslin bag or fine sieve to remove all pulp, creating your concentrated garlic base.
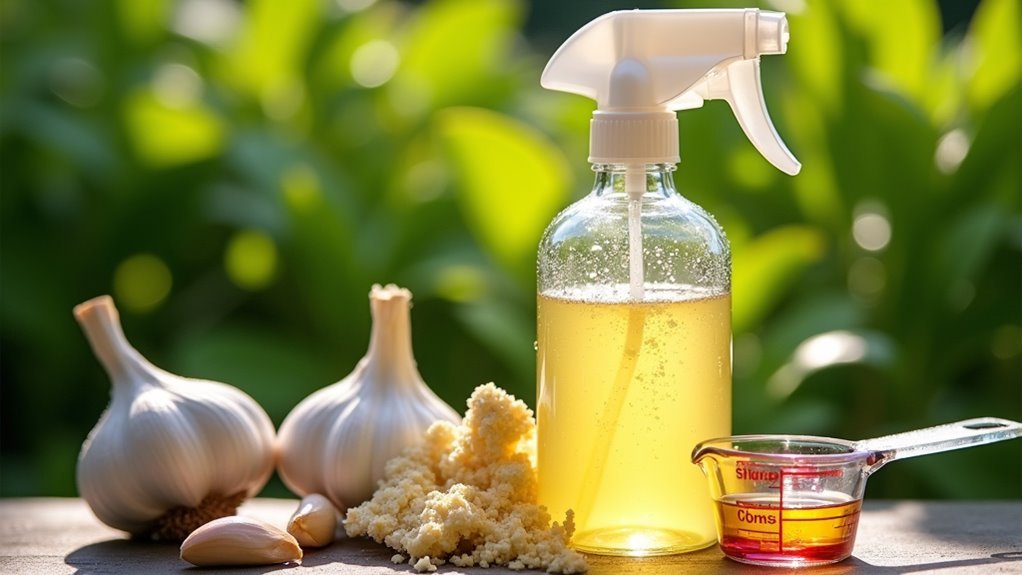
You’ll dilute this concentrate at a 10:1 ratio with water for application.
Step-by-Step Preparation Method

You’ll start by properly preparing your garlic bulbs to maximize their pest-deterrent properties.
The blending process requires specific water ratios and timing to extract the garlic’s natural sulfur compounds effectively.
Following the correct steeping duration guarantees you’ll create a potent solution that protects your plants from harmful insects and fungal infections.
Garlic Preparation Techniques
The key to an effective garden defender spray lies in properly preparing fresh garlic to release its powerful sulfur compounds. Start by selecting two fresh garlic bulbs and chopping them into individual cloves.
Don’t remove the skins or roots—they’ll add valuable nutrients during the steeping process. These garlic preparation techniques maximize the extraction of sulfur compounds that make your spray effective against garden pests.
Next, you’ll blend the chopped garlic with half a pint of hot water. Blend until you achieve a smooth, soup-like consistency that guarantees maximum release of those beneficial compounds.
This thorough blending breaks down cell walls, allowing the garlic’s natural oils and sulfur to infuse properly into your garden defender spray mixture.
Blending and Steeping Process
Pour your blended garlic mixture into a clean container and add the remaining hot water to reach a total of two pints. This blending and steeping process extracts powerful sulfur compounds that’ll protect your garden naturally.
Let the mixture steep for two to three days, allowing the garlic’s beneficial properties to fully infuse into the water. If you used a food processor instead of a blender, you’ll still achieve excellent results.
| Day | Action | Notes |
|---|---|---|
| 1 | Begin steeping | Cover container loosely |
| 2 | Check progress | Mixture should smell strongly |
| 3 | Complete steeping | Ready for straining |
| 4 | Strain and dilute | Use 10:1 water ratio |
After steeping, strain through muslin or fine sieve, then dilute before transferring to your spray bottle.
Proper Steeping and Straining Techniques
After blending your garlic cloves with hot water into a soup-like consistency, you’ll need to let this potent mixture steep for two to three days.
This steeping period allows the sulfur compounds to fully infuse into the liquid, creating a powerful pest deterrent. Proper steeping and straining techniques are essential for maximizing your garlic spray’s effectiveness.
Once steeping’s complete, strain the mixture through a muslin bag or fine sieve to remove all pulp and solids.
This guarantees smooth application and prevents clogging your spray bottle. After straining, dilute the concentrated garlic solution using a 10:1 ratio—ten parts water to one part garlic mixture.
This creates an effective 10% solution that’ll defend your garden without harming plants. Store in a clearly labeled spray bottle.
Dilution Ratios for Maximum Effectiveness
You’ll need to get your dilution ratios right to guarantee your garlic spray works effectively without harming your plants.
The standard 10:1 water-to-garlic ratio creates a 10% concentration that’s proven effective against most garden pests while remaining plant-safe.
You can adjust this strength based on your specific pest problems and how your plants respond to initial applications.
Standard Concentration Guidelines
While the concentrated garlic mixture forms the backbone of your garden defender spray, you’ll need to dilute it properly to achieve peak effectiveness without harming your plants.
Following standard concentration guidelines guarantees you’re creating a powerful pest deterrent that won’t damage delicate foliage.
For best results, dilute one part of your concentrated garlic mixture with ten parts water, creating a 10% solution. This ratio provides the perfect balance between pest control effectiveness and plant safety.
- Always test the diluted spray on a small plant section before full application
- Apply spray to both leaf tops and undersides for complete coverage
- Use the mixture within one week for maximum potency
Application frequency varies from weekly to monthly, depending on pest pressure and environmental conditions in your garden.
Adjusting Strength Levels
The 10% standard concentration works well for general pest control, but you’ll often need to adjust these ratios based on specific garden challenges.
When adjusting strength levels, start with stronger pest pressure requiring a 5:1 water-to-garlic ratio in your spray bottle. Monitor plants carefully at this concentration to prevent damage.
For stubborn pests or powdery mildew, you can use a 1:1 ratio, but watch for stress signs closely. Always test new dilutions on small plant sections first before treating entire crops.
Your spray bottle application should match pest severity—lighter infestations need weaker solutions, while heavy pressure demands stronger concentrations. Regular monitoring helps you fine-tune ratios, ensuring maximum effectiveness without compromising plant health throughout the growing season.
Target Pests and Plant Diseases
Because garlic contains high levels of sulfur compounds, this homemade spray becomes a powerful weapon against common garden invaders like aphids, slugs, and caterpillars.
Garlic’s natural sulfur compounds create an effective homemade defense system against destructive garden pests like aphids and caterpillars.
You’ll discover that garlic spray doesn’t just stop at pest control – it’s equally effective against fungal diseases like powdery mildew that can devastate your plants.
The spray works by disrupting pests’ sensory receptors, making it nearly impossible for them to find food sources or locate mates. This interference creates a hostile environment that forces unwanted visitors to seek other locations.
Key benefits of garlic sulfur spray include:
- Natural insecticide properties that eliminate multiple pest species
- Antifungal action that prevents and treats plant diseases
- Sensory disruption that deters future infestations
Regular applications transform your garden into an inhospitable zone for both pests and diseases.
Best Application Timing and Weather Conditions
You’ll get the best results from your garlic sulfur spray when you apply it during early evening hours, as cooler temperatures prevent leaf burn while pests are most active.
Avoid spraying during direct sunlight or extremely hot weather conditions that can reduce the spray’s effectiveness and potentially damage your plants.
Monitor humidity levels and consider applying after rain or watering sessions, as moderate moisture helps the sulfur compounds work more effectively against target pests and diseases.
Optimal Daily Timing
When should you apply your homemade garlic sulfur spray for maximum effectiveness? The ideal daily timing centers around late afternoon or early evening when temperatures drop and plants are completely dry. This timing strategy prevents leaf burn while targeting peak pest activity periods.
Avoid midday applications when intense sunlight causes rapid evaporation and potential foliage damage. Instead, wait for cooler conditions that allow better spray adhesion and penetration.
Key timing considerations:
- Apply between 4-6 PM when temperatures are cooler
- Verify plants are dry before application
- Target early evening hours when pests are most active
Monitor weather patterns and choose days with stable conditions. Higher humidity levels after light rain can enhance spray effectiveness, but avoid windy or stormy weather that compromises coverage.
Weather Considerations
While timing plays an essential role in application success, weather conditions can make or break your garlic sulfur spray’s effectiveness. Avoid applying during windy conditions, which creates uneven distribution and reduces pest control results.
You’ll need to reapply after heavy rainfall since water washes away the protective barrier your spray creates.
Smart weather considerations involve monitoring forecasts to time applications before expected pest activity. Warm, humid conditions often trigger pest infestations, so apply your spray proactively during these periods.
Schedule regular mid-week checks after rain or watering sessions to spot new pest activity early. This allows you to reapply promptly when needed.
Always verify plants are completely dry before application to maximize adhesion and effectiveness against garden pests.
Spray Coverage and Technique Guidelines
Proper application technique determines whether your garlic sulfur spray delivers maximum pest control or falls short of expectations. Achieving thorough spray coverage requires attention to detail and proper positioning.
Successful garlic sulfur spray application hinges on precise technique and methodical coverage to achieve optimal pest control results.
Hold your sprayer 15-30 cm from the foliage to create an even coating without damaging delicate plant tissues.
- Cover both leaf surfaces – Spray the tops and undersides of leaves where pests commonly hide
- Test before full application – Apply to a single leaf first to check for adverse plant reactions
- Maintain consistent distance – Keep 15-30 cm spacing throughout the spraying process
You’ll need to reapply every few days or after rainfall to maintain effectiveness against pests and powdery mildew.
This systematic approach guarantees your homemade defender provides reliable garden protection.
Frequency and Reapplication Schedule
Garden maintenance requires consistent timing to keep your garlic sulfur spray working effectively against pests and diseases.
You’ll need to reapply garlic sulfur spray every 7 to 14 days during active growing seasons for ideal pest control. Heavy rainfall washes away the protective layer, making immediate reapplication essential to maintain efficacy.
Monitor your plants closely for pest activity signs. During infestations, increase application frequency to combat problems effectively.
Apply the spray during early evening or on cloudy days to prevent potential leaf burn from direct sunlight.
Before widespread application, always test new batches on a small plant area to verify no adverse effects occur.
This consistent schedule keeps your garden protected while avoiding plant damage from improper timing or application methods.
Storage Requirements and Shelf Life
Since garlic sulfur spray loses potency quickly, you’ll need to store it properly to maximize its effectiveness. The storage requirements are straightforward but vital for maintaining the solution’s pest-fighting power.
Store your strained spray in a reusable bottle in the refrigerator immediately after preparation. The cool temperature helps preserve the active compounds that make this natural deterrent work. You’ll get the best results when you use the mixture within a week, as its effectiveness diminishes rapidly after a few days.
Essential storage tips include:
- Use dark glass spray bottles to protect against light degradation
- Keep unused mixture in cool, dark places away from direct sunlight
- Shake well before each application to guarantee even ingredient distribution
Always prepare fresh batches weekly for maximum garden protection.
Enhancing Your Spray With Additional Ingredients
While proper storage keeps your garlic spray potent, you can boost its pest-fighting power by incorporating additional natural ingredients. Adding neem oil creates a dual-action formula that fights pests while preventing powdery mildew with its antifungal properties.
Maximize your garlic spray’s effectiveness by adding neem oil for dual pest control and powdery mildew prevention.
Hot pepper sauce or cayenne pepper intensifies the deterrent effect, as the heat irritates and repels insects more effectively.
You’ll enhance both scent and pest-repelling qualities by mixing in a few drops of peppermint essential oil. Including insecticidal soap helps your enhanced spray adhere better to plant surfaces, maximizing contact time with pests.
When you use garlic spray with these additions, you’re creating a customized solution. Experiment with different ratios of garlic to water and ingredient combinations to match your garden’s specific pest challenges.
Safety Precautions for Plants and Beneficial Insects
Although garlic spray offers an effective natural pest control solution, you must apply it thoughtfully to protect beneficial insects and maintain plant health. The sulfur compounds in garlic can harm pollinators like bees if applied carelessly, so timing and application methods are critical.
Apply your spray during early morning or late evening when beneficial insects are less active. Always coat both leaf surfaces, but avoid excessive application that might deter essential pollinators. Target only affected plants rather than blanket-spraying your entire garden.
Key protective measures include:
- Properly diluting the spray to reduce harm to non-target organisms
- Monitoring pest activity to determine actual treatment necessity
- Avoiding application during peak pollinator activity periods
Regular monitoring helps you minimize environmental impact while maintaining effective pest control throughout your garden.
Troubleshooting Common Application Issues
Even with proper safety measures in place, you might encounter application problems that reduce your garden defender spray’s effectiveness. Clogged nozzles are the most common issue – make sure you strain your garlic mixture thoroughly to remove all pulp before adding it to your sprayer. If blockages occur, disassemble and clean the nozzle immediately.
Leaf burn indicates your concentration’s too strong. Dilute at 10:1 water-to-garlic ratio and test on a small area first. Apply during evening hours or cloudy conditions to prevent sun damage.
Poor coverage often results from inconsistent spray patterns. Clean your sprayer after each use and check for residue buildup regularly.
Monitor plant health closely – yellowing or wilting suggests you’re over-applying the solution.
Cost-Effective Benefits of Homemade Garlic Spray
Beyond solving application challenges, creating your own garlic spray delivers impressive financial benefits that make it an attractive alternative to store-bought pesticides. You’ll spend less than $5 creating enough spray for multiple garden applications, using simple ingredients like garlic and water that you likely already have at home.
The cost-effective benefits extend beyond initial savings:
- Waste reduction – Transform leftover or slightly deteriorated garlic bulbs into useful pest deterrent
- Long-term savings – Regular applications prevent costly pest damage and eliminate expensive chemical treatments
- Sustainable practice – Support eco-friendly gardening without the financial burden of synthetic alternatives
You’re investing in a budget-friendly solution that protects your garden while promoting sustainable practices, making garlic spray an economically smart choice for conscientious gardeners.
Frequently Asked Questions
How Do You Make Garlic Spray for the Garden?
You’ll blend 1/4 pound garlic with 1 quart water until liquefied, then strain through cheesecloth. Dilute 1 part concentrate with 10 parts water and spray plants weekly in early evening.
How Do You Make Garlic Spray to Deter Slugs?
You’ll blend one garlic head with 235ml water, add 700ml more water plus 30ml liquid soap, steep twelve hours, strain, then spray evening applications every few days during infestations.
How to Make Garlic Spray for Ticks?
Crush 2-3 garlic cloves and infuse them in 500ml food-grade oil for 24 hours. Mix with lemon juice and water, strain, then spray around tick-prone areas every few days.
What Is the Best Homemade Spray to Keep Bugs off Plants?
You’ll find garlic sulfur spray works best for repelling bugs from plants. Blend garlic bulbs with hot water, steep, strain, and dilute. Apply evenings every week for maximum effectiveness.
In Summary
You’ve now mastered creating an effective, budget-friendly garlic sulfur spray that’ll protect your garden naturally. Remember to test on small areas first, apply during cooler hours, and store your mixture properly. This homemade solution saves you money while keeping harmful pests at bay without damaging beneficial insects. With consistent application and proper timing, you’ll maintain a healthier garden ecosystem that thrives throughout the growing season.


Leave a Reply