
You’ll need to select tightly woven cotton or polyester fabric labeled “bed bug proof” for maximum protection. Measure your mattress’s length, width, and height, then add two inches to each dimension for seam allowances before cutting your top, bottom, and side pieces. Install a heavy-duty zipper closure and use zigzag stitches with elastic around the perimeter to create a snug, secure fit. These foundational steps will set you up for complete pest-prevention success.
Choose the Right Fabric for Bed Bug Protection
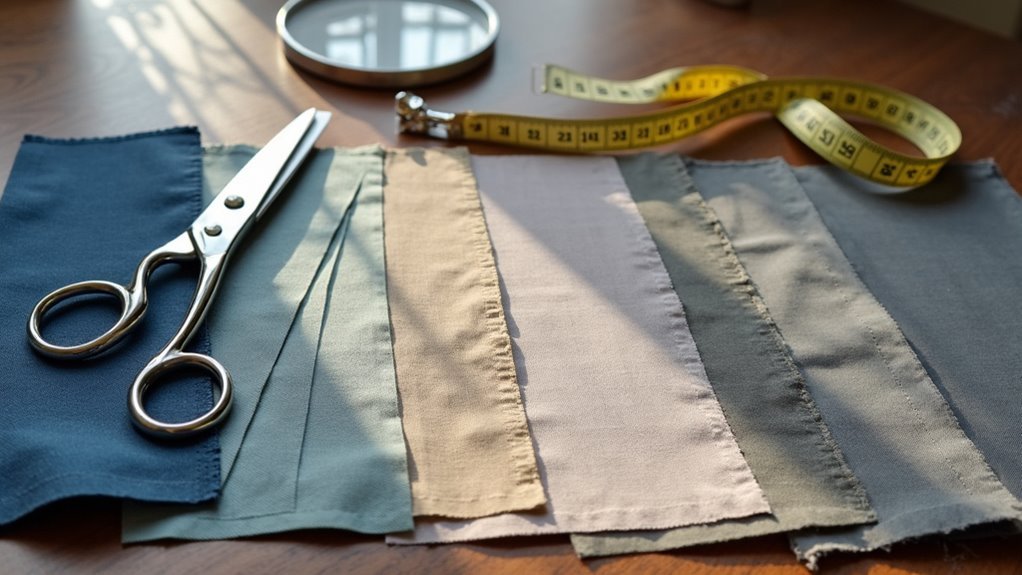
When selecting fabric for your DIY mattress cover, you’ll want to prioritize tightly woven materials like cotton or polyester that create an effective barrier against bed bugs.
Tightly woven cotton or polyester fabrics provide the most effective protection against bed bug penetration in homemade mattress covers.
These dense weaves prevent pests from penetrating through the fabric and reaching your mattress. Look for materials specifically labeled as “bed bug proof” or “bed bug resistant” for ideal protection.
Consider fabrics treated with insect-repellent chemicals, which provide additional defense while maintaining comfort.
The tight weave structure is essential because it eliminates tiny gaps that bed bugs could exploit.
Cotton and polyester offer durability and washability, making them practical choices for long-term use.
The right fabric selection forms the foundation of an effective mattress cover that’ll protect your sleeping surface from infestations while ensuring you get quality rest.
Measure and Cut Your Encasement Pieces
After choosing your protective fabric, you’ll need precise measurements to create a properly fitting encasement.
Begin by measuring your mattress’s length, width, and height accurately using a measuring tape. Add two inches to the height measurement for seam allowance – this guarantees your cover will fit snugly without being too tight.
Cut your fabric into three main pieces: top, bottom, and side strips that wrap around the mattress edges. When cutting, add an additional two inches around the perimeter for proper seams.
Create corner patterns if needed to guarantee complete coverage without exposed areas.
Mark seam lines with a pencil to guide your stitching. These careful measurements and cuts are essential for creating effective mattress covers that provide complete protection.
Seal and Secure Your DIY Encasement
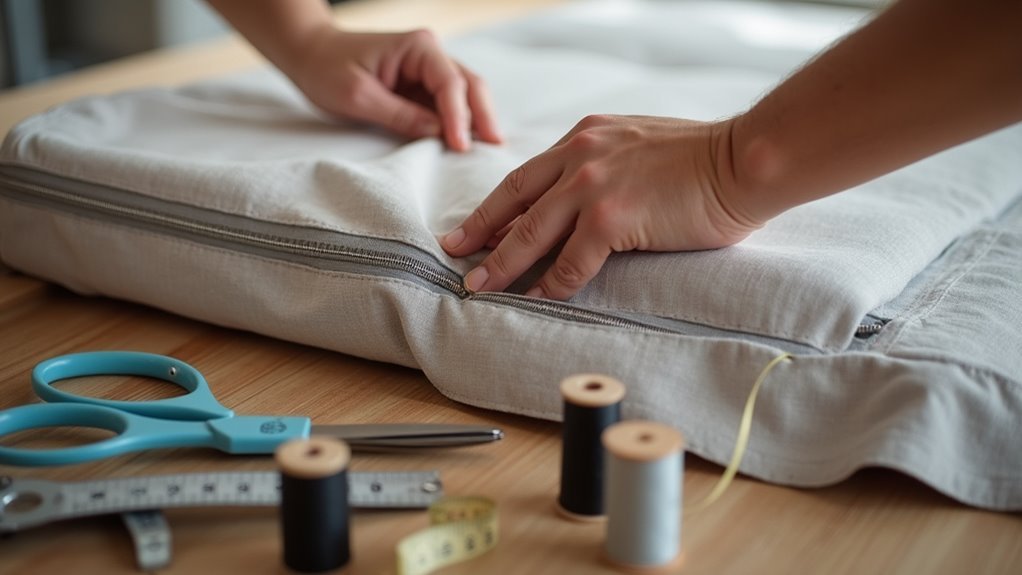
Since proper sealing determines your encasement’s effectiveness, you’ll need to install a durable closure system that allows easy access while maintaining complete protection.
Your sewing machine becomes essential for creating professional-grade seams that won’t fail over time.
Focus on these critical sealing steps:
- Install a heavy-duty zipper or Velcro closure along one side for easy cover removal during washing
- Use zigzag or straight stitches to secure all fabric edges and prevent fraying
- Add elastic around the perimeter to accommodate the depth of your mattress and guarantee a snug fit
- Maintain 2-inch seam allowances throughout to ensure proper coverage without excess looseness
Test your completed cover by placing it on your mattress, checking that all closures secure properly and the encasement stays positioned during movement.
Frequently Asked Questions
What Can I Use to Protect My Mattress From Urine?
You can use a waterproof mattress cover made from vinyl or polyurethane to block urine effectively. Add an absorbent pad underneath for extra protection, and make certain it fits snugly without gaps.
What Material Is Best for Mattress Cover?
You’ll want cotton for breathability and comfort, polyester for durability and low maintenance, or waterproof fabrics if you need protection from spills. Choose hypoallergenic materials if you have allergies.
How to Make a Mattress Topper DIY?
You’ll need to measure your mattress accurately, cut high-quality foam or latex to size, layer materials for best comfort, secure them with bands, and create a removable zippered cover.
Can You Use a Comforter as a Mattress Topper?
You can use a comforter as a temporary mattress topper for added softness and warmth. However, it won’t provide the same support as purpose-built toppers and may shift during sleep.
In Summary
You’ve now got the knowledge to create an effective mattress cover that’ll protect against bed bugs. By selecting the right fabric, measuring accurately, and properly sealing your encasement, you’re taking control of your sleep environment. Don’t rush the process – take time with each step to guarantee you’ve created a barrier that’ll keep pests out. Your DIY mattress cover will provide peace of mind and better sleep for years to come.

Leave a Reply