You can build an effective bed bug detection light by assembling a high-intensity UV LED flashlight with a rechargeable lithium-ion battery pack and orange filter goggles. You’ll need UV LEDs emitting 100-400 nanometers, basic wiring supplies, and aerospace-grade aluminum housing for durability. Connect the 3.7V battery to LED terminals, incorporate an on/off switch, and guarantee proper heat dissipation. This DIY setup costs under $50 and provides 300+ hours of operation for thorough pest inspections in complete darkness.
Understanding UV Light Technology for Pest Detection
When you’re hunting for bed bugs in the dark corners of your home, UV light technology becomes your most powerful ally. This detection method harnesses wavelengths between 100 to 400 nanometers to reveal what’s invisible to the naked eye.
UV light makes bed bug exoskeletons and their droppings fluoresce, fundamentally lighting them up in darkened environments. The science behind this detection relies on phosphors present in bed bugs themselves.
UV light reveals bed bugs by making their exoskeletons and waste fluorescent through natural phosphors in their bodies.
Different strains show varying fluorescence levels under specific UV wavelengths, so you’ll want to understand this variation when building your detection device. Black light flashlights typically use LED bulbs that emit the necessary UV spectrum.
For maximum effectiveness, you’ll need to conduct inspections in completely darkened rooms where fluorescent materials become clearly visible against dark backgrounds.
Essential Materials and Tools Required for Assembly
You’ll need specific electronic components, housing materials, and power supplies to build an effective bed bug detection light.
Start by gathering a high-intensity blue LED flashlight with aerospace-grade aluminum housing for maximum durability during inspections.
Don’t forget to secure a rechargeable battery that’ll provide approximately 300 hours of operation, along with orange filter goggles and magnification tools for proper specimen identification.
Basic Electronic Components Needed
Success in building an effective bed bug detection light depends on gathering the right electronic components before you begin assembly. Your homemade UV flashlight requires specific parts to function properly and safely.
| Component | Specification | Purpose |
|---|---|---|
| UV LED | 365-395nm wavelength | Emits fluorescent detection light |
| Power Source | Battery pack or AC adapter | Provides electrical energy |
| Resistors | Appropriate ohm rating | Controls current flow safely |
| Housing | Plastic or aluminum casing | Protects internal components |
| Switch | On/off toggle (optional) | Controls power activation |
You’ll need basic wiring supplies including solder, wire strippers, and electrical wire to connect everything together. These components guarantee your detection light operates efficiently while remaining portable for thorough bed bug inspections throughout your home.
Housing and Lens Materials
After selecting your electronic components, choosing durable housing and lens materials becomes critical for creating a reliable detection device.
You’ll need aerospace-grade aluminum for your housing, which provides exceptional durability and heat resistance that guarantees your flashlight withstands regular use over time. This robust housing protects internal components from damage while dissipating heat effectively.
For the lens, select tempered Pyrex glass that can handle high temperatures and impacts without compromising performance. This lens material maintains clear visibility when detecting bed bug signs under UV light.
The tempered Pyrex won’t crack or shatter easily, making it ideal for repeated use. Together, these premium housing and lens materials create a professional-grade detection tool that’ll serve you reliably for years while maintaining peak functionality.
Power Supply Requirements
Three essential power components form the backbone of your bed bug detection light: the battery, voltage regulation system, and charging circuit.
Your power supply requirements depend on the high-intensity blue LED you’re using, though many builders mistakenly assume UV wavelengths are necessary when blue light actually works more effectively.
A rechargeable battery delivering 3.7V to 12V provides superior performance for extended detection sessions. You’ll need sufficient amperage to maintain consistent brightness without voltage drops that could compromise detection accuracy.
Consider these critical power specifications:
- Battery capacity: Minimum 2000mAh for 4+ hours continuous operation
- Voltage stability: Regulated output to prevent LED degradation
- Charging protection: Built-in overcurrent and thermal safeguards
Your circuit board must accommodate these power supply requirements while maintaining portable form factor and reliable connections.
Selecting the Right UV LED Components
Choosing the right UV LED components forms the foundation of an effective bed bug detection light.
You’ll want to select LEDs with wavelengths between 365nm to 395nm, as this range effectively fluoresces bed bug exoskeletons and fecal matter. Don’t compromise on brightness—choose high-intensity units offering at least 100mW to guarantee effective illumination in dark hiding spots.
Consider your power requirements carefully. Most UV LED components operate between 3 to 12 volts, so verify compatibility with your circuit design.
Verify your UV LED voltage requirements match your circuit design—most components need 3 to 12 volts for optimal performance.
Build your housing from durable materials like aerospace-grade aluminum or high-quality plastics to withstand drops and environmental factors.
Finally, incorporate a heat sink into your design. This dissipates LED-generated heat, extending component lifespan and maintaining consistent performance during extended detection sessions.
Building the Flashlight Housing and Circuit
You’ll need to select a durable housing material like aerospace-grade aluminum or high-impact plastic that can withstand regular inspection use.
Next, you’ll assemble the LED circuit by connecting your UV LED to a compatible power source through a simple electrical pathway.
Finally, you’ll wire the power supply system, whether it’s batteries or a rechargeable unit, ensuring proper voltage delivery to your UV LED components.
Housing Material Selection
When selecting materials for your bed bug detection light housing, durability should be your top priority since this tool will likely endure frequent use and occasional drops.
A robust housing material selection directly impacts how effectively you’ll tackle your bed bug problem over time.
Consider these top-tier materials for peak performance:
- Aerospace-grade aluminum – Provides exceptional impact resistance and lightweight portability
- High-density plastic – Offers cost-effective durability with excellent shock absorption
- Heat-resistant composites – Prevents housing damage during prolonged UV operation
You’ll also need a tempered Pyrex lens for superior light transmission and scratch resistance.
Don’t forget waterproof seals or O-rings to protect internal components from moisture.
Verify your design allows easy battery compartment access for quick replacements during extended detection sessions.
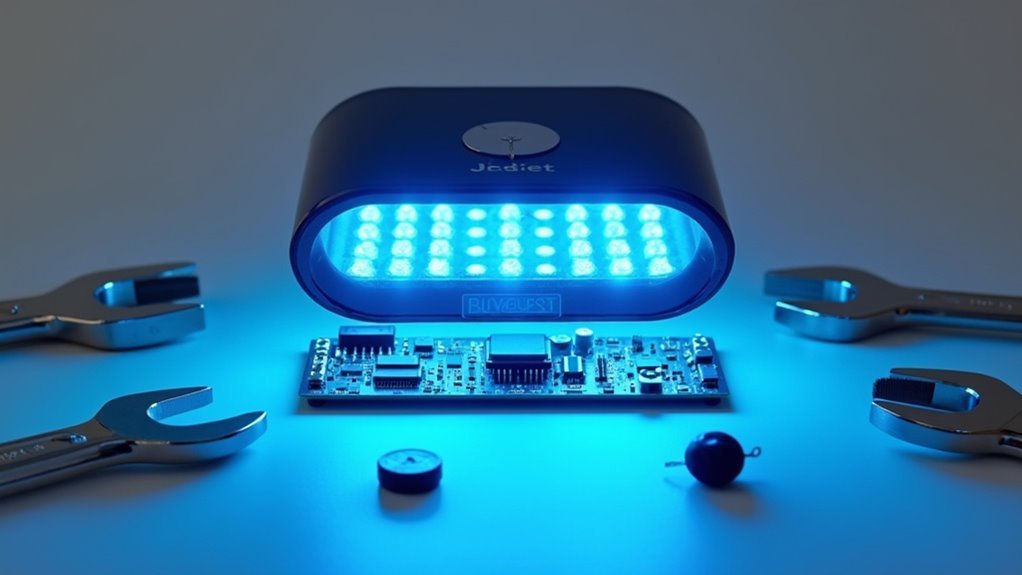
LED Circuit Assembly
Precision becomes critical as you begin assembling your LED circuit, since improper connections can damage components or create safety hazards.
Start your LED circuit assembly by identifying the positive and negative terminals on your high-intensity blue LED. Connect the positive terminal to your rechargeable battery’s positive side, then link the negative terminal to the battery’s negative side, maintaining proper polarity throughout the process.
Install a switch between the positive connection to control power flow easily during inspections. This allows you to turn the flashlight on and off without disconnecting wires.
Before finalizing connections, incorporate a heat sink near the LED to dissipate generated heat effectively. This component prevents overheating, extending your LED’s lifespan while maintaining consistent performance during bed bug detection work.
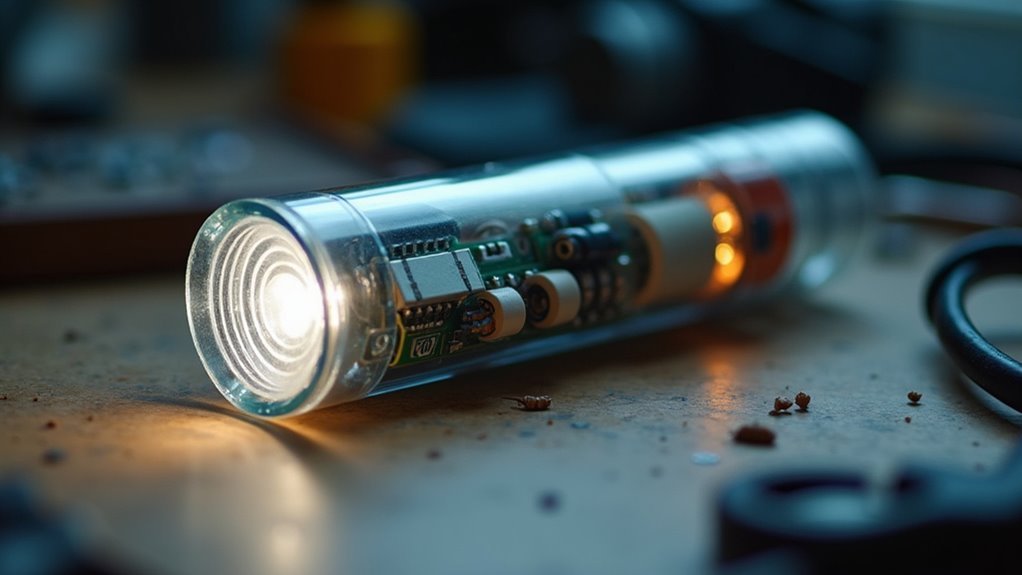
Power Supply Wiring
Three essential components form the foundation of your power supply wiring: the battery, wiring connections, and protective insulation.
You’ll need to select a 3.7V rechargeable lithium-ion battery that matches your LED’s voltage requirements for peak performance and longevity.
When wiring your power supply, connect the positive and negative terminals of the battery to the corresponding LED leads. Confirm these connections are secure to prevent short circuits that could damage your detection light.
Your power supply wiring must include these critical safety measures:
- Insulate all connections with electrical tape or heat shrink tubing
- Incorporate a switch for easy on/off control during inspections
- Verify proper heat dissipation within your housing
These precautions prevent accidental contact and electrical hazards during operation while maintaining reliable functionality.
Wiring Instructions for Optimal Performance
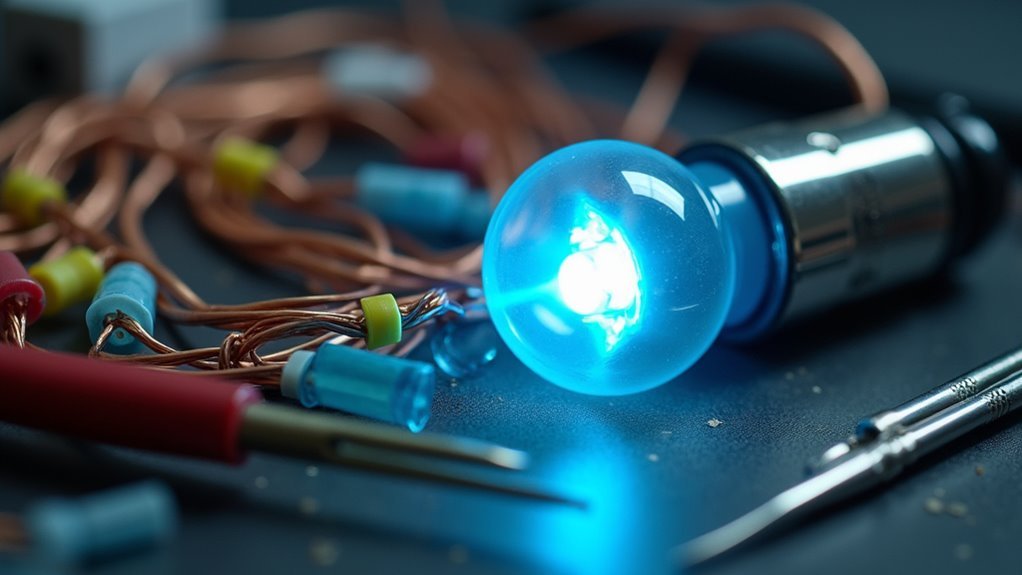
Although proper component selection forms the foundation of your bed bug detection light, the wiring process determines whether your device will function reliably.
Start by connecting your 220-ohm resistor to the positive terminal of your 9V battery, then link this to the positive lead of your 395nm blue LED. The resistor prevents overheating and extends your LED’s lifespan considerably.
Proper resistor placement between your 9V battery and 395nm LED prevents component damage while ensuring optimal detection performance.
Connect the LED’s negative lead directly to the battery’s negative terminal, creating a complete circuit. Double-check that you’ve aligned the positive and negative terminals correctly—reversed polarity can damage your components.
Before securing everything in your housing, test the circuit by connecting the battery. You should see consistent blue illumination without flickering or dimming, indicating proper wiring connections.
Creating Protective Filter Goggles
You’ll need protective goggles when operating your UV bed bug detection light to shield your eyes from harmful radiation.
Orange-tinted filters work best because they enhance contrast and make fluorescent bed bug traces more visible against dark surfaces.
Building your own goggles requires careful attention to UV filtration ratings and proper fit to guarantee complete eye protection during inspections.
Orange Filter Benefits
Enhanced visibility becomes your greatest asset when incorporating orange filter goggles into your bed bug detection setup. These specialized goggles filter out blue wavelengths and reduce glare, allowing you to distinguish between actual bed bug traces and other fluorescent materials in your environment.
Orange filter goggles provide several critical advantages:
- Eye protection – Shield your eyes from harmful UV light during extended inspections
- Reduced strain – Enable prolonged use without discomfort or fatigue
- Improved accuracy – Help identify genuine fluorescent bed bug signs more effectively
You’ll find these goggles included in professional bed bug detection kits, highlighting their essential role in thorough inspections.
They transform your detection process from guesswork into precise identification, making your homemade detection light greatly more effective and safer to operate.
DIY Goggle Assembly
Creating your own protective filter goggles requires just four basic materials and takes less than 15 minutes to complete.
Start with comfortable safety goggles that fit properly over your eyes. Purchase orange filter sheets or salvage them from old camera equipment, as these enhance fluorescent bed bug trail visibility.
Secure the orange filter sheets over each goggle lens using strong adhesive or tape, ensuring complete coverage for maximum effectiveness.
Add foam padding around the goggle edges to prevent light leakage and improve comfort during extended use.
Test your completed goggle assembly in a dark room with black light to verify proper light filtering and enhanced visibility of bed bug signs.
The goggle should block ambient light while allowing fluorescent trails to appear clearly.
Safety Considerations Required
While assembling your protective filter goggles, you must prioritize eye safety by selecting lenses that effectively block harmful UV radiation. Your goggles should filter out both UVA and UVB rays to prevent eye damage during bed bug detection work.
Essential safety considerations include:
- Proper fit: Guarantee goggles fit snugly against your face to prevent light leakage that compromises protection.
- Material quality: Choose polycarbonate or UV-resistant plastic lenses that maintain visibility while blocking harmful rays.
- Standards compliance: Verify your goggles meet ANSI safety standards for adequate UV protection.
You’ll need to regularly inspect your goggles for wear or damage, as compromised lenses won’t provide necessary protection.
Replace them immediately if you notice scratches, cracks, or other deterioration that could affect their UV-blocking capabilities.
Testing Your Homemade Detection Device
After constructing your bed bug detection light, you’ll need to confirm it works properly before relying on it for actual inspections.
Start by verifying your black light emits UV effectively—test it on highlighters or certain fabrics that fluoresce under UV light. Always conduct tests in darkened rooms where UV light performs best and contrast is enhanced.
Test your UV light’s effectiveness using highlighters or fluorescent fabrics in a completely darkened room for optimal contrast.
For realistic testing, use actual bed bug droppings or shed skins to assess your device’s sensitivity.
Monitor the light’s brightness consistency over time and verify your construction doesn’t impair functionality.
Document everything by noting tested locations and positive indicators you observe. This documentation helps refine your detection methods and improves your homemade device’s accuracy for future bed bugs inspections.
Calibrating Light Intensity and Wavelength
Once you’ve confirmed your detection device functions properly, you’ll need to fine-tune its wavelength and intensity for ideal bed bug detection.
Target the 365nm to 395nm range, as this wavelength maximizes fluorescence in bed bug exoskeletons and droppings.
Calibrating light intensity requires careful balance—higher intensity improves visibility but poses eye damage risks.
Use these essential tools for proper calibration:
- Light meter – Guarantees intensity stays within safe, effective ranges
- Protective eyewear – Prevents UV-related eye damage during testing
- Distance gauge – Maintains consistent inspection distance for accurate readings
Regular testing and adjustment of your light’s output maintains peak performance and enhances detection accuracy.
Keep a consistent distance from inspection surfaces, as varying distances affect perceived fluorescence and reduce detection effectiveness.
Proper Inspection Techniques and Methods
Since your detection light is properly calibrated, you’ll need to master systematic inspection techniques to maximize your bed bug detection success.
Start your inspection in a completely dark room using your black light flashlight to enhance visibility of bed bug droppings and trails that fluoresce under UV light.
Begin from one corner and work methodically through the space, focusing on common hiding spots like mattress seams, headboards, box springs, and furniture joints where bed bugs conceal themselves during daylight hours.
Don’t rely solely on fluorescence—combine visual inspection with UV detection since not all glowing materials indicate bed bugs.
Document everything meticulously by photographing or noting any suspicious signs with dates and locations for tracking infestation progress and planning future treatments.
Maintenance and Battery Management Tips
To maintain peak detection performance, you’ll need to establish a regular battery maintenance routine for your bed bug detection light. Effective battery management starts with using high-quality alkaline batteries rather than cheaper alternatives that reduce brightness and usage time. Most models require 3xAA standard alkaline batteries, which you should replace when light output diminishes.
Follow these essential maintenance practices:
- Clean the lens periodically with a soft, lint-free cloth to maintain maximum light transmission.
- Store your flashlight in a cool, dry place to prevent battery leaks and corrosion.
- For rechargeable models, follow manufacturer charging guidelines to avoid overcharging.
Proper battery management guarantees your detection light remains reliable when you need it most. Regular maintenance protects internal components and extends your device’s lifespan considerably.
Safety Precautions and Best Practices
While building and using your bed bug detection light can be highly effective, proper safety measures protect you from potential health hazards associated with UV exposure and pest handling.
Always wear protective goggles to prevent eye damage from ultraviolet rays. Keep UV light away from your skin, as prolonged contact causes irritation or burns. These safety precautions are essential for every detection session.
Ensure your workspace is well-ventilated since certain materials may release harmful fumes during construction. Use gloves when handling bed bugs or contaminated materials to prevent spreading pests and pathogens.
Follow local regulations when disposing of construction materials to maintain environmental compliance. Proper ventilation, protective equipment, and responsible disposal practices create a safer detection process while maintaining the effectiveness of your homemade device.
Frequently Asked Questions
How Do You Make Homemade Bed Bug Detectors?
You’ll glue a small container inside a larger one, add rough tape to inner walls for climbing surfaces, then place under bed legs. Monitor daily and use tweezers to remove any trapped bugs.
Is There a Light You Can Use to See Bed Bugs?
You can use a black light or UV flashlight to detect bed bug signs like droppings and shed skins, which fluoresce under UV light. However, you won’t see the actual bugs themselves glowing.
Do Bed Bug UV Detection Lights Work?
UV detection lights work partially by making bed bug fecal matter and exoskeletons fluoresce, but they won’t show live bugs themselves. You’ll need to combine them with other inspection methods for reliable detection.
Is There a Way to Draw Bed Bugs Out of Hiding?
You can draw bed bugs out using carbon dioxide traps made with sugar and yeast, applying heat to mimic body temperature, or placing interceptor traps under furniture legs where they travel.
In Summary
You’ve now got the knowledge to build an effective bed bug detection light that’ll help you spot infestations early. Remember to regularly check your LED’s performance and replace batteries as needed. Always wear protective eyewear when using UV light, and don’t look directly at the LEDs. With proper construction and maintenance, your homemade detector will serve you well for years, giving you peace of mind and helping you catch pest problems before they become major headaches.


Leave a Reply