
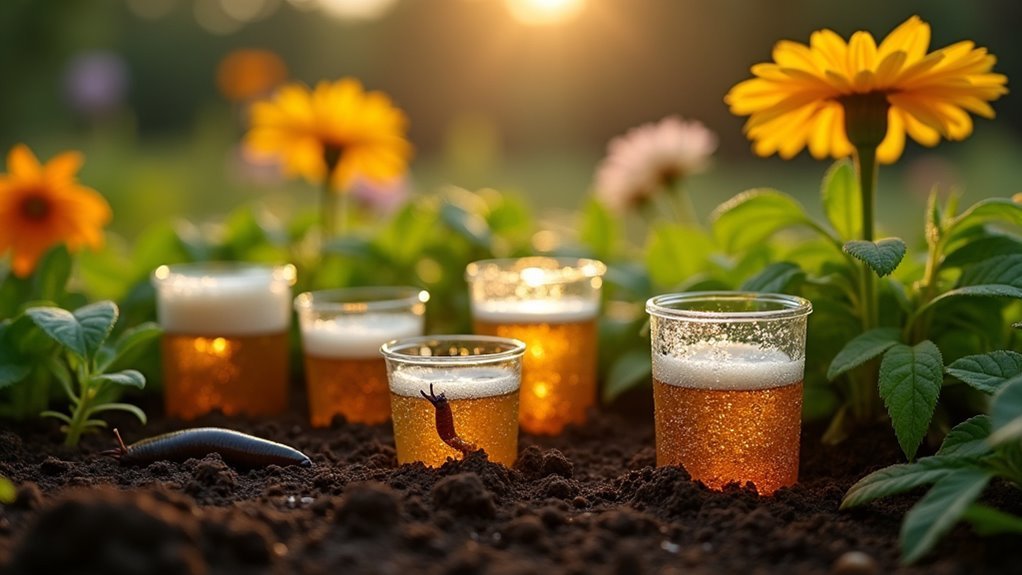
You’ll eliminate garden slugs most effectively by using light, yeasty beers like lagers or pilsners in shallow containers buried at ground level. Fill yogurt cups or aluminum pie pans with 2-3 inches of beer and place them in shaded, moist areas where you’ve spotted slug trails. The fermented yeast attracts slugs from a 3-foot radius, causing them to drown or die from alcohol poisoning. These traps also capture snails, earwigs, and cutworms while remaining safe for beneficial insects, and proper placement strategies can maximize your slug elimination results.
Understanding How Beer Traps Attract and Eliminate Garden Slugs
While commercial slug baits contain harmful chemicals that can endanger pets and beneficial insects, beer traps offer a safer alternative that exploits slugs’ natural attraction to fermented yeast.
The sweet, fermented aroma proves more enticing than plant smells, drawing slugs within a 3-foot radius to your strategically placed slug beer traps.
When slugs consume the beer, they’ll either drown or die from alcohol poisoning, providing humane pest control.
You’ll find any beer works effectively, though light, yeasty options like lagers and pilsners maximize slug activity around your traps.
Regular maintenance guarantees consistent results—stale beer loses its appealing scent and becomes less effective.
Fresh beer keeps the attraction strong, making your slug beer traps continuously productive throughout the growing season.
Choosing the Right Beer Type for Maximum Slug Attraction
Now that you understand beer’s effectiveness against slugs, selecting the ideal beer type will maximize your trap’s success rate.
Light, yeasty beers like lagers, pilsners, hefeweizen, and blonde ales work exceptionally well since slugs are attracted to their appealing aromas.
Slugs gravitate toward light, yeasty beer varieties due to their irresistible fermentation aromas that act as powerful natural attractants.
Don’t worry about price—cheap and expensive lagers perform equally in your slug beer trap, so save money and choose budget options.
Slugs respond to fermentation volatiles rather than alcohol content, meaning any beer style can serve as effective bait.
Fill your traps with 1-3 inches of beer, ensuring at least one inch depth for easy slug access.
Consider experimenting with different beer types to discover which varieties your local slugs prefer, as preferences can vary between slug populations.
Essential Container Options for Effective Beer Trap Setup
Since your beer choice is sorted, you’ll need the right container to complete your slug trap setup. Upcycled containers work perfectly for creating effective slug traps.
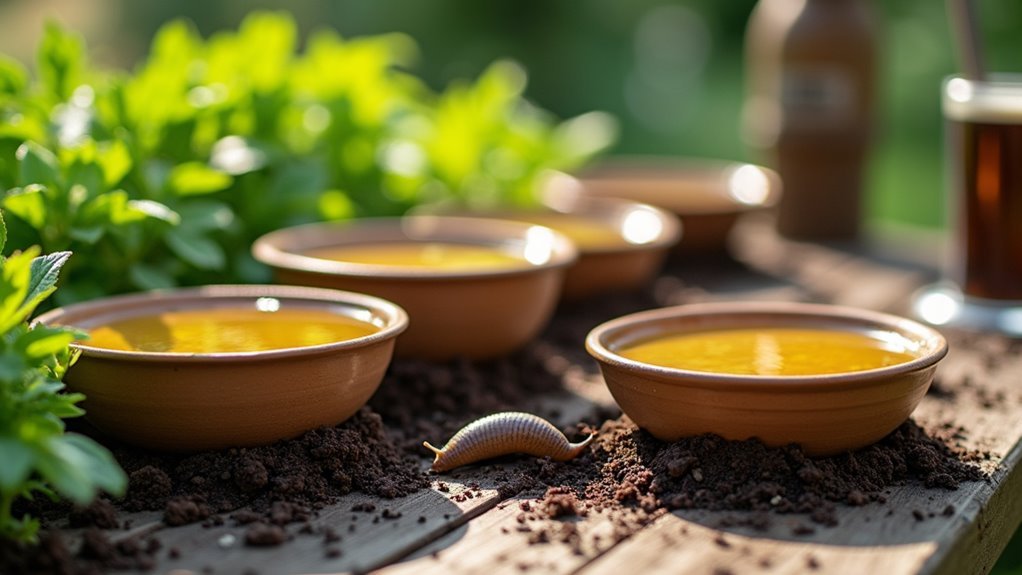
Choose wide-opening options like yogurt cups, dog food cans, or aluminum pie pans that are at least 4 inches deep.
Partially bury your container so the rim sits level with or slightly above ground, making access easier for slugs. Fill with 2-3 inches of beer for slug bait—avoid overfilling to prevent escapes. Shallow containers provide better slug access than deep ones.
Position traps in shaded areas under vulnerable plants for higher capture rates. Consider adding lids with holes to protect against rain dilution while maintaining slug entry. Guarantee smooth edges for easy access and refresh contents every couple days.
Proper Placement Strategies for Optimal Trap Performance
You’ll dramatically improve your beer trap success by focusing on strategic location selection and ideal spacing between traps.
Place your traps in shaded, moist areas where slugs naturally congregate during daylight hours, particularly under plants that show signs of slug damage.
Position multiple traps within a 3-foot radius of each other to create an effective capture zone that draws slugs from the surrounding garden areas.
Strategic Location Selection
While slugs may seem unpredictable in their movements, they actually follow consistent patterns that you can exploit for trap placement success.
Position your slug traps within three feet of visible activity zones, particularly along garden paths and near damaged vegetation where these pests congregate. Look for telltale shiny trails that reveal high-traffic routes, then strategically place trap containers in these proven pathways.
Focus on shaded spots beneath plants that naturally attract slugs, as these locations mimic their preferred hiding environments.
Bury containers so rims sit level with soil surface, ensuring easy access while preventing escape. Target moist soil conditions where slug problems typically intensify, and concentrate efforts around areas showing fresh feeding damage for maximum effectiveness.
Optimal Trap Spacing
Creating effective coverage across your garden requires careful consideration of trap spacing intervals that balance thoroughness with practicality.
You’ll want to position your slug traps approximately 10-15 feet apart across larger garden areas where slugs commonly roam. This spacing guarantees extensive coverage without overcrowding your garden beds with excessive containers.
Focus on placing beer traps within a 3-foot radius of your most susceptible plants, as this proximity maximizes their effectiveness in protecting vulnerable vegetation. The strategic spacing allows you to trap slugs moving between different garden zones while maintaining cost-effectiveness.
Remember that slugs travel considerable distances during their nighttime foraging, so proper spacing creates overlapping zones of attraction.
Monitor trap performance and adjust spacing based on activity patterns you observe in different areas.
Step-by-Step Instructions for Building Your Beer Trap
You’ll need to start by selecting the right container and preparing it properly for maximum slug attraction.
Once you’ve chosen your trap vessel, you’ll focus on strategic placement and filling techniques that guarantee slugs can easily access the bait.
These two essential steps form the foundation of an effective beer trap that’ll considerably reduce your garden’s slug population.
Container Selection and Preparation
Since effective slug control starts with choosing the right container, you’ll want to select wide-opening vessels like yogurt tubs, tuna cans, or shallow bowls that measure at least 4 inches deep. Proper container selection guarantees slugs can easily enter your traps while preventing escape.
| Container Type | Depth Required | Opening Width | Best For |
|---|---|---|---|
| Yogurt tubs | 4+ inches | Wide | Heavy infestations |
| Tuna cans | 4+ inches | Medium | Targeted areas |
| Shallow bowls | 4+ inches | Extra wide | Open garden spaces |
| Mason jars | 4+ inches | Narrow | Precision placement |
Before setting up your slug traps, thoroughly clean containers to remove food residues that might interfere with the fresh beer’s effectiveness. Ascertain there aren’t any sharp edges that could damage plants during installation.
Proper Placement and Filling
Once you’ve prepared your containers, positioning them correctly determines your trap’s success rate. Focus on proper placement by locating areas under plants showing slug damage, particularly in shaded, moist spots where these pests naturally congregate during daylight hours.
Your slug traps should sit flush with soil level, making entry effortless for slugs while preventing escape. Fill each container with 2-3 inches of beer, roughly one-third to half full. Avoid overfilling, as this creates an escape route for trapped slugs.
Position multiple traps throughout affected garden areas for maximum coverage. Replace beer every couple of days, especially during hot weather when evaporation occurs rapidly.
Daily monitoring guarantees ideal effectiveness, allowing you to empty captured slugs and refresh contents as needed throughout the active slug season.
Creating Weather-Resistant Lids to Protect Your Traps
While beer traps work effectively against slugs, they’ll quickly become useless if rain dilutes the bait or larger animals raid your setup. Creating weather-resistant lids guarantees your slug traps maintain beer quality while keeping unwanted visitors out.
Start with original plastic lids and drill entry holes large enough for slugs but small enough to exclude raccoons and opossums. Smooth all hole edges to prevent slug injury and facilitate easy access.
| Lid Component | Material Options | Purpose |
|---|---|---|
| Prop Support | Popsicle sticks, yard sticks | Maintain slug access |
| Securing Method | Rubber bands, small rocks | Keep lid stable |
| Cover Design | Partial solid cover | Reduce evaporation |
Prop your lids slightly open using sticks, then secure with rubber bands or rocks. This design prevents rainwater dilution while maintaining slug accessibility and preserving bait effectiveness.
Homemade Beer Substitute Recipes Using Kitchen Ingredients
Beer can be expensive when you’re covering large garden areas or running multiple traps throughout the growing season.
You can create effective homemade bait using common kitchen ingredients that’ll eliminate garden slugs just as efficiently as beer.
Mix these simple ingredients to create your cost-effective slug traps:
- 1 tablespoon yeast – Creates the fermentation scent slugs can’t resist
- 1 tablespoon flour – Provides substance and texture to the mixture
- 1 tablespoon sugar – Adds sweetness that attracts slugs from distances
- 1 cup water – Binds everything together into an irresistible solution
Adding honey enhances attractiveness without precise measurements needed.
Monitor and refresh your homemade bait regularly for continued effectiveness.
Once slug populations decrease, you can remove traps and recycle containers for sustainable gardening practices.
Daily Maintenance and Monitoring for Trap Success
You’ll need to check your beer traps every single day to guarantee they’re working effectively and capturing slugs as intended.
Fresh beer attracts more slugs than stale beer, so you should refill the traps every few days or whenever the liquid becomes cloudy or develops an off smell.
Daily monitoring also lets you remove dead slugs promptly and adjust trap placement based on where you’re seeing the most activity.
Check Traps Daily
Once you’ve set your beer traps in strategic locations around your garden, establishing a daily checking routine becomes essential for maintaining their effectiveness.
When you check traps daily, you’ll stay ahead of potential problems and maximize your slug control success.
Your daily inspection should include these critical tasks:
- Remove dead slugs immediately to prevent disgusting odors that’ll make you want to abandon your pest control efforts.
- Monitor capture rates to see if your slug army is finally retreating from your precious plants.
- Look for shiny trails around traps to identify hotspots where these slimy invaders are most active.
- Refresh the beer every couple of days, especially during hot weather when evaporation reduces trap appeal.
Consistent monitoring helps you track population decline and determine when you’ve won the battle.
Refill Beer Regularly
Every 2-3 days, you’ll need to top off your beer traps with fresh brew to maintain their slug-catching power.
Hot weather accelerates evaporation, making frequent refills vital for consistent results. When you change out the beer, you’re preventing fungal growth that can develop in stale liquid and reducing unpleasant odors that might deter new slugs.
Fill each trap with 2-3 inches of fresh slug beer, avoiding overfilling that allows slugs to escape.
Remove dead slugs and snails during each refill to keep traps appealing to new visitors. Fresh beer maintains the yeasty aroma that attracts slugs effectively.
Regular maintenance guarantees your traps continue working efficiently to rid of slugs from your garden throughout the growing season.
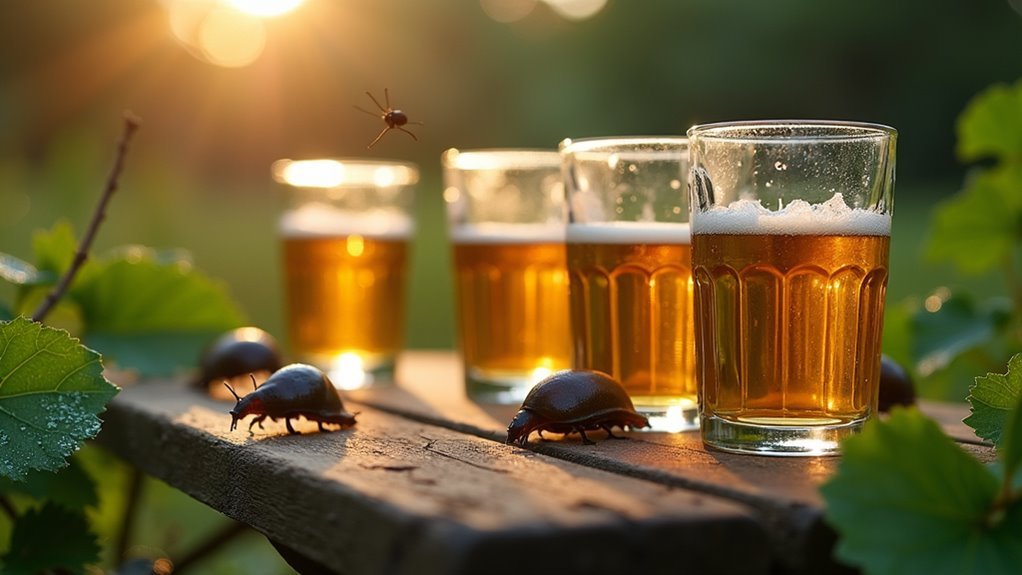
Additional Garden Pests Controlled by Beer Traps
While slugs remain the primary target, beer traps prove remarkably versatile in capturing several other destructive garden pests. The fermented aroma draws multiple unwanted visitors within a 3-foot radius, making your pest control efforts incredibly efficient.
You’ll find beer traps effectively control these additional garden nuisances:
- Snails – Those shell-carrying plant destroyers can’t resist the beer’s scent.
- Pill bugs – These moisture-loving rolly pollies get trapped alongside slugs.
- Earwigs – Night-feeding earwigs fall victim to the same fermented attraction.
- Cutworms – These stem-severing caterpillars meet their demise in beer pools.
What’s particularly impressive is that beer traps won’t harm beneficial insects like bees or ladybugs, preserving your garden’s natural ecosystem while eliminating the troublemakers.
Safe Disposal Methods for Captured Slugs and Cleanup
After your beer traps have successfully captured slugs and other garden pests, proper disposal becomes essential for maintaining both trap effectiveness and garden hygiene.
You can safely compost captured slugs, as they’ll provide valuable nutrients to your compost pile and support natural decomposition processes. Alternatively, leave dead slugs in your garden for local wildlife like birds or beneficial insects to consume, promoting a healthy ecosystem.
Daily cleanup prevents odor and fungal growth in the beer. Remove deceased slugs from traps immediately, then rinse and clean the containers thoroughly to eliminate lingering smells and prepare them for reuse.
Regular maintenance guarantees effective slug control while facilitating responsible disposal of captured pests, keeping your garden clean and your traps functioning efficiently.
Frequently Asked Questions
What Is the Best Beer for Slug Traps?
You’ll get the best results with light, yeasty beers like lagers, pilsners, or blonde ales. Don’t worry about buying expensive brands—cheap lagers work just as effectively for attracting slugs to your traps.
How Do I Make a Beer Trap for Slugs?
Bury a wide container like a yogurt cup so its rim’s level with soil. Fill it with 2-3 inches of beer, place it in shaded areas, and check every couple days.
Does Beer Work to Get Rid of Slugs?
Yes, beer’s incredibly effective for eliminating slugs. You’ll attract them with its fermented yeast aroma, and they’ll drown in traps. You can expect around 6.4 slugs per trap compared to water’s 0.1.
Where Is the Best Place to Put Beer Traps for Slugs?
You’ll want to place beer traps in shaded, moist areas under slug-damaged plants. Bury them level with soil and position multiple traps within three feet of each other for maximum effectiveness.
In Summary
You’ve now mastered beer trap techniques that’ll transform your slug-infested garden into a thriving space. Remember, consistency’s key—check your traps daily and refresh the beer every few days. Don’t forget to place them strategically near vulnerable plants and maintain proper depth. With these proven methods, you’ll see significant slug reduction within weeks. Your plants will thank you, and you’ll enjoy a healthier, more productive garden all season long.
Leave a Reply