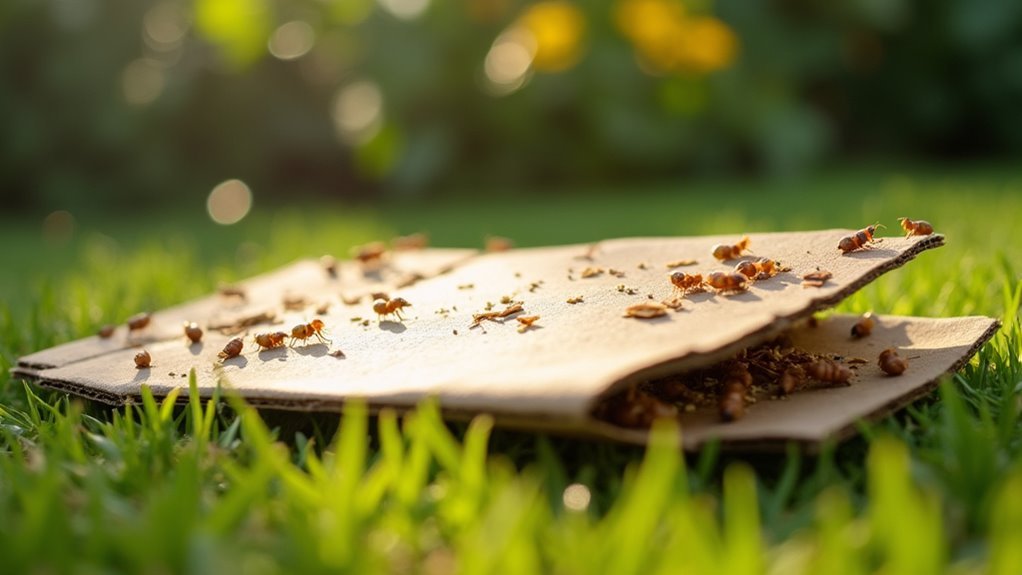
The cardboard trap termite method involves using damp, untreated cardboard as bait to detect and monitor termite activity on your property. You’ll place moistened cardboard pieces in strategic locations where termites are likely to forage, exploiting their natural attraction to cellulose – their primary food source. The damp cardboard creates an irresistible combination of food and moisture that draws termites in. While these traps won’t eliminate existing infestations, they’re excellent monitoring tools that help you identify problem areas before calling professionals for treatment.
Understanding How Cardboard Traps Attract Termites
While termites can devastate wooden structures, cardboard traps exploit their natural feeding behaviors to detect and monitor infestations effectively.
You’ll find these traps work because they’re made from cellulose material, which serves as termites’ primary food source. When you place damp cardboard pieces near vulnerable areas, you’re creating an irresistible combination of food and moisture that termites can’t ignore.
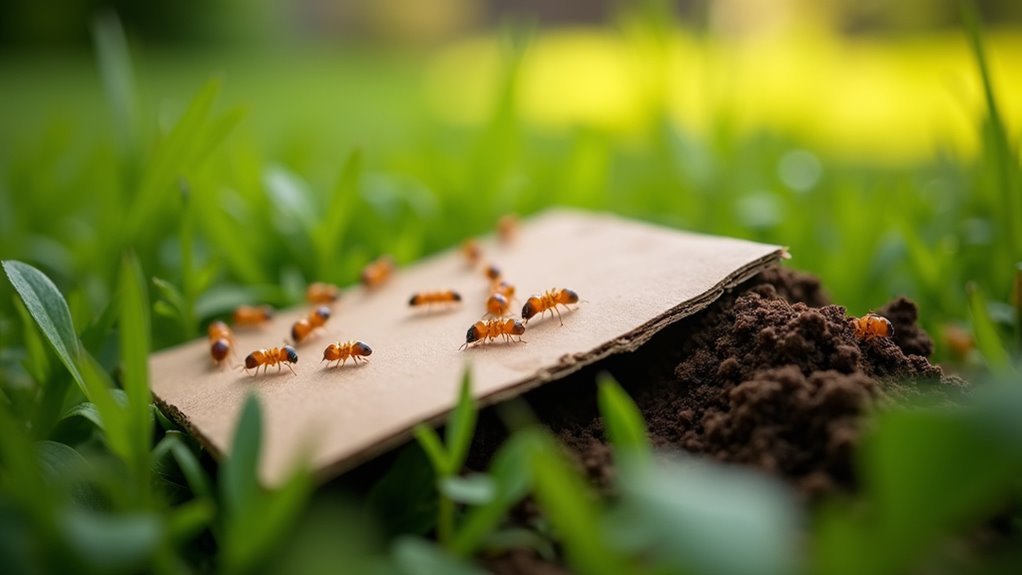
The specially treated cardboard contains pheromones that trigger termites’ trail-making instincts. Once they discover the trap, they’ll leave chemical trails that guide other colony members directly to the location.
Pheromone-treated cardboard triggers termites’ instinctive trail-making behavior, creating chemical pathways that systematically draw entire colonies to detection points.
This natural behavior causes termites to accumulate within your cardboard traps, making detection simple. By monitoring these traps regularly, you can identify active termite presence and assess infestation levels in surrounding areas.
Materials Needed for Building Effective Cardboard Traps
Five basic materials will help you construct professional-grade cardboard termite traps that deliver reliable results. You’ll need specific components to create an effective cardboard termite monitoring system.
| Material | Purpose |
|---|---|
| Untreated cardboard pieces | Cellulose food source that attracts termites |
| Water for dampening | Increases cardboard appeal to termites |
| Small plastic organizer baskets (2) | Creates structured trap container system |
| Drill with small bits | Makes ventilation holes in plastic baskets |
| Shovel or digging tool | Buries trap near target locations |
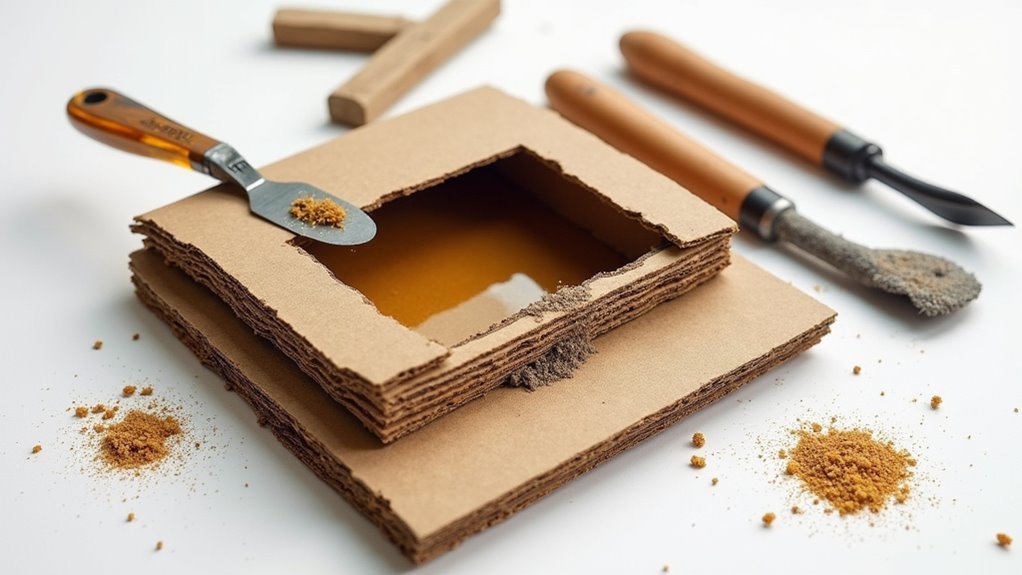
These materials work together to create your cardboard termite detection system. The damp, untreated cardboard serves as bait, while the ventilated basket design contains and protects the trap. You’ll stack the moistened cardboard in one basket, use the second as a lid, then bury it strategically near woodpiles or decaying logs where termites actively forage.
Step-by-Step Construction of Your Termite Trap
You’ll need plastic organizer baskets, a drill, damp cardboard, and rotten wood to build your termite trap.
Start by drilling ventilation holes in the basket sides, then stack the damp cardboard firmly in the bottom basket.
Complete assembly by adding rotten wood to the top basket before placing it as a lid, then bury the entire trap in shaded areas near rotting logs.
Materials and Tools Needed
Building an effective cardboard termite trap requires just a handful of common materials and basic tools you likely have around the house. You’ll need specific items to create a functional trap that attracts and captures termites effectively.
| Materials | Tools |
|---|---|
| Damp cardboard pieces | Drill with bits |
| Two plastic organizer baskets | Water source |
| Moisture retention medium | Measuring tape |
| Ventilation materials | Marking pen |
| Burial location markers | Shovel |
Your cardboard trap depends on moisture-rich cardboard that mimics cellulose found in termites’ natural food sources. The plastic baskets create the containment system, while drill holes guarantee proper ventilation. You’ll stack the damp cardboard firmly in one basket, drill ventilation holes, then use the second basket as a lid for your completed trap.
Assembly and Hole Drilling
Now that you’ve assembled your materials and tools, start construction by thoroughly cleaning both plastic organizer baskets with soap and water, then let them dry completely.
Once dry, drill several small holes along the sides of both containers using your drill and appropriate bit size. These ventilation holes are essential for creating the proper environment inside your termite trap.
Space the holes evenly around each basket’s perimeter, ensuring adequate airflow without compromising structural integrity. Make holes approximately quarter-inch in diameter to prevent termites from escaping while maintaining proper ventilation.
After drilling, remove any plastic debris and smooth rough edges around each hole. Your termite trap containers are now ready for the next assembly phase involving cardboard placement.
Placement and Burial Tips
Three critical factors determine your trap’s success: location selection, burial depth, and moisture retention. Position your cardboard trap next to rotten logs or in naturally shaded areas where termites actively forage. Don’t bury too deeply—hard clay soil makes shallow burial more practical and effective.
| Location Type | Burial Depth | Success Rate |
|---|---|---|
| Near rotten logs | 2-3 inches | High |
| Shaded garden areas | 1-2 inches | Medium |
| Open sunny spots | 3-4 inches | Low |
Deploy multiple traps strategically around your property to maximize capture potential. Space them 10-15 feet apart in likely termite territories. The damp cardboard inside your plastic basket system will attract foraging termites naturally. Check each trap after two weeks, adjusting placement if you don’t find termite activity.
Optimal Placement Locations for Maximum Results
Strategic placement of your cardboard traps determines whether you’ll successfully intercept termite colonies or watch them march past undetected.
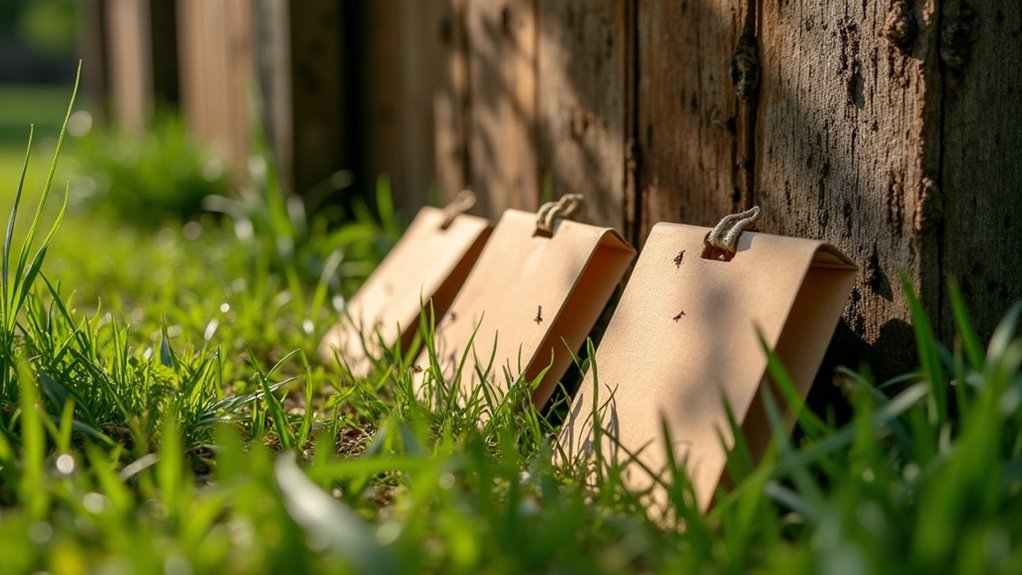
Position your wet cardboard pieces near woodpiles where termites commonly gather as a food source. Install treated cardboard in shady areas around your home, since these pests prefer darker environments.
Place cardboard pieces close to wooden structures like decks and fences to maximize attraction. Make sure you space traps adequately across different types of terrain to prevent termites from bypassing them entirely.
Take care to monitor trap effectiveness and adjust locations based on observed activity. This DIY method requires strategic thinking rather than random placement.
Proper positioning transforms commonly used cardboard into effective pest control tools that actually intercept termite movements.
Creating the Perfect Moisture Environment
You’ll need to achieve the right balance when dampening your cardboard traps—too little moisture won’t attract termites, while too much creates mold that repels them.
Keep the cardboard consistently damp by misting it lightly every few days, ensuring it feels like a wrung-out sponge rather than dripping wet.
Monitor the humidity levels regularly, as maintaining this sweet spot between dry and soaked will maximize your trap’s effectiveness in drawing termites to the cellulose.
Optimal Dampness Levels
Why does cardboard become irresistible to termites when it’s damp? Moisture transforms ordinary cardboard into a termite magnet by mimicking their natural cellulose food source found in moist environments. You’ll need to maintain 20-30% moisture content for ideal effectiveness.
| Moisture Level | Effectiveness | Maintenance Required |
|---|---|---|
| 0-10% (Dry) | Poor | Daily misting needed |
| 15-20% (Slightly damp) | Good | Check every 2 days |
| 20-30% (Ideal) | Excellent | Monitor twice weekly |
| 35-45% (Very wet) | Moderate | Risk of mold growth |
| 50%+ (Soaked) | Poor | Replace immediately |
You’ll need to check moisture levels regularly since cardboard dries quickly in warm conditions. Mist periodically to maintain dampness without oversaturating. Using soil-contacted cardboard enhances attraction through absorbed pheromones, especially when termites have invaded your property.
Maintaining Consistent Humidity
While achieving ideal moisture content in your cardboard is essential, maintaining consistent humidity levels around the entire trap environment proves equally important for long-term success.
You’ll need to monitor humidity levels regularly, keeping them between 30-50% to create favorable conditions that termites actively seek for nesting and feeding.
Check your trap’s surroundings frequently, as humidity fluctuations can deter termites from approaching. In dry climates or hot weather, add small amounts of water to maintain proper moisture levels without oversaturating the cardboard.
You must strike the right balance—keeping material damp but not soaking wet.
Watch for mold growth, which indicates excessive moisture and will actually repel termites, undermining your trap’s effectiveness completely.
Monitoring and Inspection Schedule
Since termite activity fluctuates throughout the year, you’ll need to establish a consistent monitoring routine that adapts to seasonal changes.
Inspect your cardboard traps every two to four weeks for ideal termite detection. During peak seasons like spring and summer, you should monitor traps more frequently when infestations are most likely.
Document the number of termites captured during each inspection to track infestation levels and identify trends over time.
If traps show no activity for several consecutive checks, reposition them near potential food sources like woodpiles or shaded areas.
Consider engaging professional pest control services to enhance your monitoring process. They’ll provide expertise in identifying active infestations and guarantee you’re placing traps effectively for maximum results.
Safe Removal and Disposal of Trapped Termites
Once you’ve successfully trapped termites in your cardboard traps, you’ll need to handle their removal carefully to protect yourself and guarantee complete elimination.
You must follow proper handling techniques, choose the right disposal method, and take essential safety precautions throughout the process.
Getting this step wrong can lead to reinfestation or potential health risks, so let’s examine each critical aspect of safe termite removal and disposal.
Proper Handling Techniques
After confirming termite presence in your cardboard traps, you’ll need to handle the removal process with care to prevent escapes and maintain safety.
Start by putting on gloves to avoid direct contact with pests and maintain proper hygiene throughout the process.
Use tongs or similar tools to carefully remove the damp cardboard from your trap. This prevents termites from escaping during extraction and keeps you at a safe distance.
Once removed, immediately place the collected termites in an airtight container to retain moisture and minimize stress on the insects.
For disposal, you can either burn the cardboard and termites together or seal the container and discard it in a secure waste bin.
Always wash your hands thoroughly afterward to prevent transferring pests or pathogens.
Disposal Methods Available
Three primary disposal methods guarantee you’ll eliminate trapped termites effectively while maintaining safety protocols.
You can burn the cardboard and termites in a controlled outdoor fire for complete destruction, assuring no pests survive.
Alternatively, seal trapped termites in a plastic bag before throwing them in the trash to prevent escape or reinfestation.
For freezer treatment, place termites in an airtight container and freeze for at least 48 hours before disposal. This method guarantees they’re completely dead.
Essential safety practices include:
- Always wear gloves when handling trapped termites to avoid allergic reactions
- Clean traps thoroughly after each use
- Dispose of remaining cardboard to prevent attracting new termites
These methods provide reliable termite elimination while protecting your health and preventing future infestations.
Safety Precautions Required
Before handling any cardboard trap, put on protective gloves to shield yourself from potential pathogens that trapped termites might carry. After collecting termites, you’ll need to follow proper disposal procedures to prevent re-infestation.
| Safety Step | Equipment Needed | Purpose | Location |
|---|---|---|---|
| Wear gloves | Protective gloves | Pathogen protection | During collection |
| Vacuum collection | Sealed-bag vacuum | Secure removal | Trap sites |
| Sealed disposal | Plastic bags | Prevent escape | Outdoor trash |
| Hand washing | Soap and water | Remove pheromones | After handling |
Consider using a vacuum with sealed bags for efficient collection, then empty it outside. If keeping termites as pet food, store them in ventilated containers. Always wash hands and tools thoroughly afterward to eliminate residual pheromones that might attract other termites.
Enhancing Trap Effectiveness With Natural Attractants
While cardboard traps work effectively on their own, you can greatly boost their termite-catching potential by incorporating natural attractants that draw these pests more aggressively to your setup.
Adding damp, rotten wood pieces provides extra cellulose material that termites naturally seek. Essential oils like clove or orange oil create attractive scents that lure termites from greater distances. These natural enhancers make your traps irresistible to passing colonies.
Natural attractants like damp wood and essential oils transform basic cardboard traps into powerful termite magnets that draw colonies from wider areas.
Strategic placement maximizes your success:
- Position traps in shaded, moist yard areas
- Place near existing woodpiles where termites congregate
- Rotate trap locations regularly to prevent habituation
You’ll need to monitor and refresh the dampness of both cardboard and attractants consistently. This maintenance guarantees your traps remain appealing over time, maintaining their enhanced effectiveness throughout your termite detection efforts.
Common Mistakes That Reduce Trap Success
Even when you follow proper setup techniques, several critical errors can sabotage your cardboard trap effectiveness and leave termite populations undetected.
Spacing traps too far apart lets termites bypass them entirely, reducing detection chances. You’ll miss termite activity if you don’t inspect and maintain traps regularly, allowing infestations to grow unchecked.
Using dry cardboard instead of damp material fails to attract termites, who’re drawn to moisture-rich cellulose.
You’re also reducing effectiveness by neglecting to position traps near known food sources like woodpiles or shady areas where termites naturally congregate.
Another common mistake is using too few traps. You need multiple monitoring points to maximize your chances of capturing termites and successfully controlling populations throughout your property.
Combining Cardboard Traps With Other Natural Methods
Although cardboard traps work effectively on their own, you’ll achieve superior termite control by integrating them with complementary natural methods that target different aspects of termite behavior and habitat preferences.
Combining cardboard traps with other natural termite control methods creates a comprehensive defense system that targets multiple termite vulnerabilities simultaneously.
Start by eliminating moisture sources throughout your home. Move furniture to dry areas and fix any leaks, making your environment less attractive to moisture-loving termites. This approach works perfectly alongside your cardboard monitoring system.
For small furniture pieces, use freezer treatment before positioning them near your traps:
- Wrap items in plastic bags and freeze for 72 hours
- Allow items to reach room temperature before unwrapping
- Place treated furniture strategically near cardboard traps
Position your cardboard traps in sunny areas where possible. Sunlight exposure naturally deters termites while your traps continue monitoring activity levels effectively.
When to Replace or Refresh Your Traps
No matter how strategically you’ve positioned your cardboard traps or integrated them with other natural methods, they won’t remain effective indefinitely.
You’ll need to replace or renew your traps every 4 to 6 weeks to maintain their termite-attracting power. Inspect them regularly for signs of mold, deterioration, or heavy termite activity—these conditions require immediate replacement to prevent further infestations from spreading.
Environmental factors also dictate replacement timing. If your traps become too dry and lose their dampness, renew them promptly since moisture attracts termites.
Consider seasonal renewal, particularly during warmer months when termite activity peaks. If you discover traps heavily infested with termites, replace them immediately rather than waiting for the standard timeline.
This proactive approach guarantees your monitoring system remains effective throughout your termite control efforts.
Limitations and Realistic Expectations
While cardboard traps offer a simple and natural approach to termite monitoring, you must understand their inherent limitations before relying on them as your primary defense strategy.
These traps won’t eliminate existing infestations or address the underlying moisture problems that attract termites in the first place. They’re monitoring tools, not solutions.
The effectiveness depends entirely on termites discovering your traps, which isn’t guaranteed. Environmental factors also play a role—termites might prefer nearby wood sources over your cardboard bait.
Key limitations include:
- Detection delays – Termites may take weeks or months to find traps
- Incomplete coverage – Traps can’t detect all colony activity areas
- Environmental competition – Other food sources may be more attractive
You’ll need professional pest control services for thorough termite eradication and long-term protection.
Frequently Asked Questions
How to Make a Cardboard Trap for Termites?
You’ll stack damp cardboard pieces in a plastic basket with drilled ventilation holes. Bury it near rotten logs or shady areas where termites gather. Check regularly after several weeks for termite activity and collection.
What Is the Most Effective Termite Control Method?
You’ll get best results with professional treatments using industrial-grade chemicals targeting entire colonies. Combine baiting systems containing insect growth regulators with barrier treatments, then maintain regular monitoring for thorough, long-term termite control.
What Does Wet Cardboard Do to Termites?
Wet cardboard attracts termites because it mimics their favorite cellulose food source. The moisture makes it irresistible, drawing them from hiding spots to feed and leaving pheromone trails that’ll attract even more termites.
Do Termite Traps Actually Work?
Yes, termite traps work effectively for monitoring and detecting activity before infestations worsen. You’ll catch termites attracted to the cellulose, but they won’t completely eliminate colonies—you’ll need additional treatment methods.
In Summary
You’ll find cardboard traps work best as part of a broader termite management strategy rather than a standalone solution. While they’re environmentally friendly and cost-effective, don’t expect them to eliminate large infestations. You’re fundamentally using the termites’ natural behavior against them, but success requires patience and proper technique. Remember to monitor your traps regularly, maintain ideal moisture levels, and replace them frequently for the best results in your termite control efforts.


Leave a Reply