You can permanently stop mice from entering through concrete foundations by sealing all cracks and gaps larger than 1/8 inch using professional-grade elastomeric caulk. Focus on critical areas like sill plate gaps, utility penetrations, and foundation-to-siding junctions where mice commonly enter. Use backer rods for gaps over 1/4 inch before applying sealant, and install flexible foam barriers for enhanced protection. Schedule regular inspections every six months to maintain your barriers and discover advanced techniques that guarantee lasting results.
Why Concrete Foundations Attract Mice in Winter Months

As winter temperatures drop, your concrete foundation becomes a prime target for mice seeking warm shelter. The ground beneath your home retains heat, making concrete foundations naturally warmer than surrounding areas. This temperature difference creates an attractive microclimate that draws mice during harsh winter conditions.
Concrete’s porous nature creates small gaps and cracks that enable mice entry into your home’s warm interior. These openings become highways for determined rodents searching for ideal nesting sites.
The insulation properties of concrete contribute to temperature differentials that make these areas irresistible to mice. Utility entrances and other openings near your foundation compound the problem by providing additional access points.
Without a thorough inspection and proper sealing, these vulnerable areas invite winter infestations that can persist throughout the cold season.
Essential Materials and Tools for Foundation Sealing Projects
You’ll need professional-grade sealants like elastomeric caulk or Quad exterior sealant to create long-lasting, weather-resistant seals on your concrete foundation.
Before applying any sealant, you must accurately measure gaps to determine if they’re larger than 1/4 inch, which requires backer rod installation first.
Your application toolkit should include a caulk gun, backer rod, paint scraper for rod placement, and finger tools for smoothing the sealant after cutting the tip at a 45-degree angle.
Professional Grade Sealants
When sealing concrete foundations against mouse intrusion, professional-grade sealants form the backbone of any effective pest control strategy.
You’ll need elastomeric caulk specifically designed for sealing entry points in concrete surfaces. These professional-grade sealants create durable, flexible barriers that withstand temperature fluctuations and structural movement.
Quad exterior-grade sealant stands out as your finest choice for foundation work. It’s engineered for various surfaces and delivers exceptional weathering resistance.
Unlike standard household caulks, these professional formulations won’t crack, shrink, or fail over time.
For proper application, cut your sealant tip at a 45-degree angle using a razor knife. This creates the ideal bead size for precise coverage.
Gap Measurement Tools
Before applying any sealant to your foundation, precise gap measurement determines whether you’re dealing with a simple caulk job or a more complex sealing project requiring backer rods.
Gap measurement tools like feeler gauges and calipers accurately assess opening sizes around your foundation, guaranteeing you can effectively seal against mice intrusion.
Here’s what you’ll need for proper gap assessment:
- Feeler gauge – Measures narrow openings with precision to determine exact gap width
- Digital caliper – Provides accurate measurements for both width and depth of foundation openings
- Metal ruler – Offers quick reference measurements for longer cracks or gaps
- Flashlight or headlamp – Illuminates dark areas around your foundation for thorough inspection
Accurate measurement prevents wasted materials and guarantees you select appropriate sealing methods for each gap size you encounter.
Application Equipment Essentials
Five essential materials form the foundation of any successful concrete sealing project: elastomeric caulk for flexible, long-lasting adhesion, backer rods to fill larger gaps before sealant application, flexible foam insect barriers for irregular openings, exterior-grade Quad sealant for various surfaces, and silicone-based products that provide excellent weather resistance.
You’ll need specific tools for professional results. A paint scraper helps position backer rods accurately in larger gaps exceeding 1/4 inch. Cut sealant tube tips at 45-degree angles using a razor knife for ideal flow control. Your finger works perfectly for smoothing silicone-based exterior caulking applications.
Before starting, inspect all foundation entry points thoroughly, including vents and wall protrusions. This all-encompassing approach guarantees you’ve identified every potential mouse access point that requires sealing.
Identifying Critical Entry Points Around Your Foundation
- Sill plate gaps – Check where your home’s wooden frame meets the foundation and apply elastomeric caulk to seal any openings.
- Utility penetrations – Examine areas where pipes and wires enter, ensuring holes aren’t more than 1/8 inch larger than the utility itself.
- Foundation-to-siding junction – Look for gaps where your foundation meets exterior siding and fill with tight sealant beads.
- Garage door seals – Inspect door sweeps regularly for damage or missing sections that create mouse highways.
Step-by-Step Foundation Crack Sealing Techniques

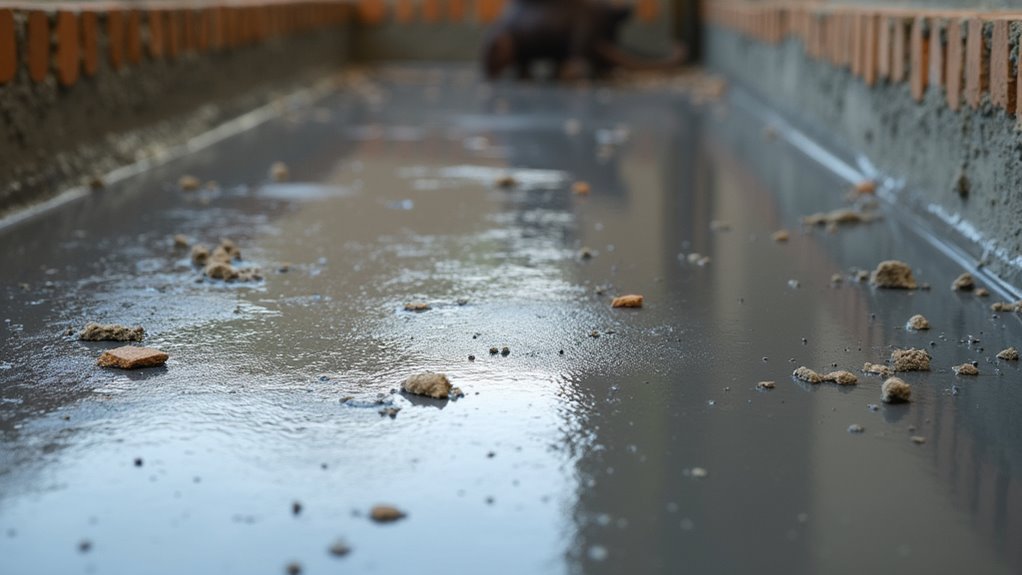
Once you’ve identified the cracks that need attention, start by clearing away all debris, dirt, and loose concrete from the damaged area using a stiff brush or scraper. Use a paint scraper to create a smooth surface for maximum adhesion.
| Crack Size | Preparation | Sealant Application |
|---|---|---|
| Under 1/4 inch | Clean and smooth surface | Apply direct bead |
| Over 1/4 inch | Insert backer rod first | Apply over rod |
| Gaps larger than 1/2 inch | Use foam backer rod | Heavy sealant coverage |
| Hairline cracks | Widen slightly for access | Thin, precise application |
Cut your exterior-grade sealant tip at a 45-degree angle for precise control. Apply a tight bead ensuring it adheres to both crack sides. Don’t over-apply—excess creates mess without improving effectiveness. Inspect regularly for new damage.
Proper Sill Plate and Rim Joist Sealing Methods
You’ll need to address three critical sealing areas where your foundation meets the wooden frame structure.
First, seal any gaps between your concrete foundation and sill plate using direct contact methods and quality materials.
Next, focus on proper elastomeric caulk application at sill plate joints and install foam barriers to create an effective pest-resistant seal.
Foundation to Sill Gaps
The junction between your concrete foundation and sill plate represents one of the most vulnerable entry points for mice and drafts in your home’s envelope.
Foundation to sill gaps create perfect highways for rodents, but when properly sealed, mice can’t penetrate these critical joints.
Here’s how to eliminate these entry points:
- Apply elastomeric caulk to fill all joints between the foundation and sill plate, creating an impenetrable barrier against rodents.
- Install flexible foam barriers between concrete and wood surfaces to enhance pest blocking while maintaining insulation properties.
- Ensure flush alignment of your sill plate with the foundation, avoiding shims that create exploitable gaps.
- Use 50-year elastomeric caulk for exterior barriers, providing long-lasting protection against environmental conditions and pest infiltration.
Elastomeric Caulk Application
Three critical zones demand your attention when applying elastomeric caulk: the sill plate-to-foundation joint, the sill plate-to-rim joist connection, and any corners where these components meet.
Clean all surfaces thoroughly, removing dust and debris before application to guarantee ideal adhesion.
Apply high-quality 50-year elastomeric caulk in continuous beads without gaps. Any opening larger than 1/8″ provides an entry point for mice and other pests. The caulk’s flexibility accommodates structural movement while maintaining an effective seal.
Work systematically around your foundation’s perimeter, checking for missed spots.
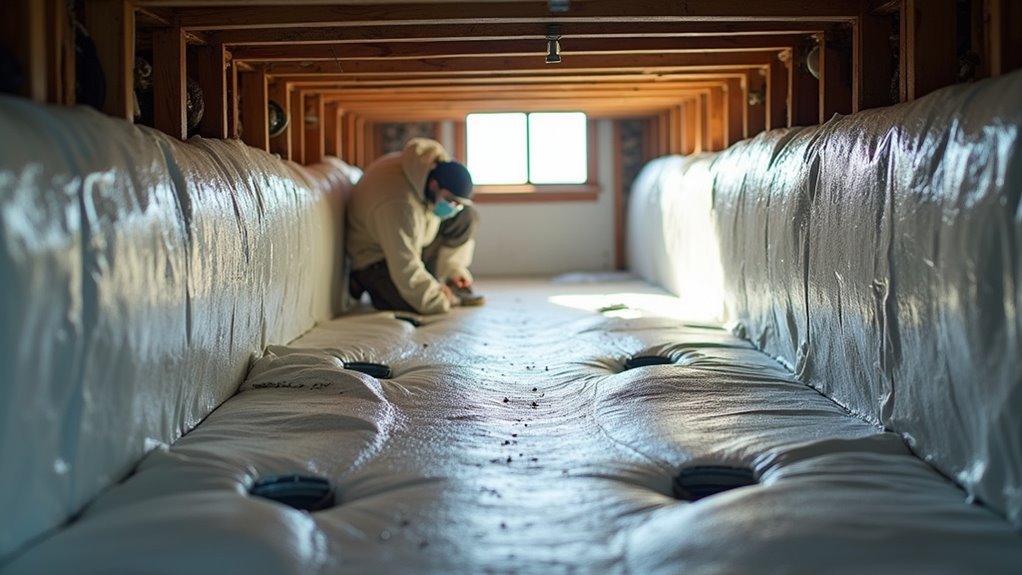
For enhanced protection, install flexible foam insect barriers between the foundation and sill plate before caulking. This dual approach will prevent mice infiltration and greatly boost your home’s pest resistance for decades.
Foam Barrier Installation
Four essential steps guarantee proper foam barrier installation between your concrete foundation and sill plate.
This flexible foam insect/wind barrier creates an additional protective layer that greatly reduces mice activity around your home’s perimeter.
You’ll want to install this barrier carefully to maximize its pest-blocking effectiveness.
- Measure and cut the foam barrier to fit precisely along your foundation’s perimeter, ensuring complete coverage without gaps.
- Position the barrier directly between the concrete foundation and sill plate before final installation.
- Compress the foam slightly during sill plate installation to create a tight seal that eliminates potential entry points.
- Inspect the installation thoroughly, confirming no sections exceed 1/8″ gaps where mice could potentially squeeze through and establish entry routes.
Garage Foundation Areas That Require Special Attention
While most homeowners focus on sealing obvious foundation cracks, garages present unique challenges that require targeted attention to prevent unwanted pest entry. Areas where mice commonly infiltrate require gaps no larger than 1/8″ to maintain effective barriers. Corner-posts, door seals, and service entry points are critical zones that mice may use to access your garage.
| Location | Required Action |
|---|---|
| Corner-posts | Seal gaps larger than 1/8″ at bottom |
| Garage doors | Install proper seals at bottom/sides |
| Service entries | Limit holes to 1/8″ larger than piping |
| Brick-eave junction | Caulk all seams thoroughly |
| Drywall surfaces | Inspect and seal cracks exceeding 1/8″ |
Regular inspection of these vulnerable areas guarantees your garage foundation remains impenetrable to mice seeking shelter.
Service Entry Penetration Sealing Best Practices

Service entries represent the most challenging sealing points in garage foundations because they require balancing functional access with complete pest prevention.
You’ll need to address these vulnerable areas where utilities penetrate your foundation walls, as they’re prime targets for mouse activity.
Follow these essential sealing practices:
- Size holes precisely – Limit openings to no more than 1/8″ larger than the actual piping diameter.
- Use elastomeric caulk – Seal all seams where brick meets eave fascia with high-quality caulk.
- Install foam barriers – Place flexible foam insect/wind barriers between concrete foundation and sill plate.
- Close corner-posts completely – Confirm all service area corner-posts have no gaps exceeding 1/8″ at the bottom.
Regular inspection and maintenance of these service entries will prevent mice from exploiting these access points.
Common Foundation Sealing Mistakes That Allow Mice Entry
Even with the best intentions, foundation sealing efforts often fail because homeowners make critical mistakes that leave their garages vulnerable to mouse infiltration. These oversights create persistent mice issues despite your hard work.
| Common Mistake | Problem Created | Mice Impact |
|---|---|---|
| Gaps over 1/8 inch | Easy access points | Direct entry routes |
| Using expanding foam | Chewable material | Temporary barrier only |
| Skipping elastomeric caulk | Vulnerable joints | Multiple entry points |
When you Seal Concrete Foundations, avoid these critical errors: leaving gaps larger than 1/8 inch between foundation and sill plate, using improper materials like expanding foam that mice chew through, and failing to install flexible foam barriers. Confirm your concrete foundation is level without shims, and always seal rim joist joints with quality elastomeric caulk for permanent protection.
Long-Term Maintenance Schedule for Foundation Barriers
After successfully sealing your foundation barriers, maintaining their integrity requires consistent vigilance to prevent mice from exploiting new vulnerabilities.
Effective pest control demands a proactive maintenance schedule to prevent mice infestation:
- Six-Month Inspections – Schedule routine checks for new gaps, cracks, or wear in foundation barriers. Document findings and address issues immediately to maintain protective integrity.
- Elastomeric Caulk Renewal – Reapply caulk to sill plate and rim joist connections annually. Fresh sealing materials guarantee long-lasting barriers against rodent entry points.
- Moisture Monitoring – Watch for water damage or deteriorating sealing materials. Damp conditions compromise barrier effectiveness and attract pests seeking water sources.
- Landscape Management – Trim vegetation away from your foundation regularly. Overgrown shrubs create hiding spots and provide mice with convenient access routes to potential entry points.
Professional Vs DIY Foundation Sealing Effectiveness
When deciding between professional services and DIY approaches for foundation sealing, you’ll face a significant gap in effectiveness rates that can determine your long-term success against mice infiltration.
Professional services achieve up to 50% higher success rates than DIY methods because experts identify and seal entry points you’d likely miss. While DIY sealing appears cost-effective initially, studies show homeowners only achieve a 10% success rate in complete mouse-proofing without professional help.
Professionals use specialized materials like elastomeric caulk and flexible foam barriers that aren’t readily available to homeowners. They also provide warranties lasting up to three years, ensuring long-term protection.
Additionally, professional services include regular inspections and maintenance, addressing new vulnerabilities as mice continuously attempt re-entry through any developing gaps.
Warning Signs Your Foundation Sealing Has Failed
Despite your best sealing efforts, foundation barriers will eventually deteriorate and create new vulnerabilities that mice can exploit.
Recognizing these warning signs helps you address problems before infestations become severe.
Watch for these critical indicators:
- Physical gaps and cracks – Gaps larger than 1/8 inch around your sill plate or foundation provide easy access points for rodents seeking entry.
- Mouse evidence – Droppings, nesting materials, or gnaw marks near your foundation signal active pest problems in unsealed areas.
- Temperature irregularities – Drafts or uneven heating indicate compromised sealing that allows both pests and air infiltration.
- Seasonal activity spikes – Mice often increase indoor activity during colder months when foundation sealing has failed and they’re seeking warmth.
Frequently Asked Questions
How to Seal Foundation to Keep Mice Out?
You’ll need to seal gaps with elastomeric caulk, keeping openings under 1/8 inch. Install foam barriers between foundation and sill plates, then regularly inspect and caulk seams where materials meet.
How Do I Stop Mice From Digging Under My Foundation?
Install quarter-inch hardware cloth around your foundation’s perimeter, burying it six inches deep. Seal gaps larger than one-eighth inch with steel wool and caulk. Regularly inspect for new digging signs.
Will Sealant Keep Mice Out?
Yes, you’ll keep mice out with high-quality sealants like 50-year elastomeric caulk. You must seal every gap since mice squeeze through 1/4-inch openings. You’ll need regular inspections and combine sealants with other exclusion methods.
Does Concrete Stop Mice?
Concrete doesn’t stop mice by itself. You’ll find they exploit cracks and gaps larger than 1/8 inch in your foundation. You must properly seal all openings at joints and service entries.
In Summary
You’ve now got the knowledge to permanently seal your foundation against mice. Don’t skip the maintenance schedule—check your seals annually and reapply caulk as needed. Remember, mice only need a dime-sized opening to enter, so you can’t afford to miss any gaps. If you’re seeing droppings or hearing scratching after sealing, you’ve missed an entry point and need to inspect more thoroughly. Stay vigilant and your home will remain mouse-free.


Leave a Reply