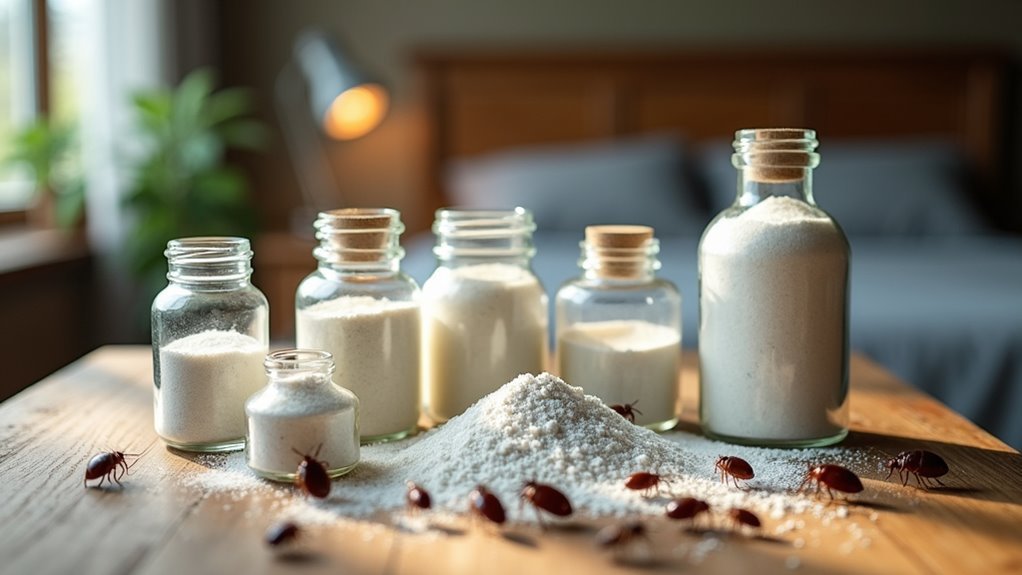
Apply food-grade diatomaceous earth around bed perimeters and baseboards to create protective barriers, then target mattress seams and box springs where bed bugs hide. Dust furniture legs and frames, plus electrical outlets and switch plates for thorough coverage. For hard-to-reach vertical surfaces, mix diatomaceous earth with water in a 1:4 ratio and spray the solution. Seal infested clothing with the powder in airtight bags for fourteen days. Follow these strategic application methods to discover the most effective techniques for eliminating bed bugs permanently.
Dry Powder Application Around Bed Perimeters
Picture a fortress wall protecting your sleep sanctuary—that’s exactly what diatomaceous earth creates when you apply it correctly around your bed’s perimeter.
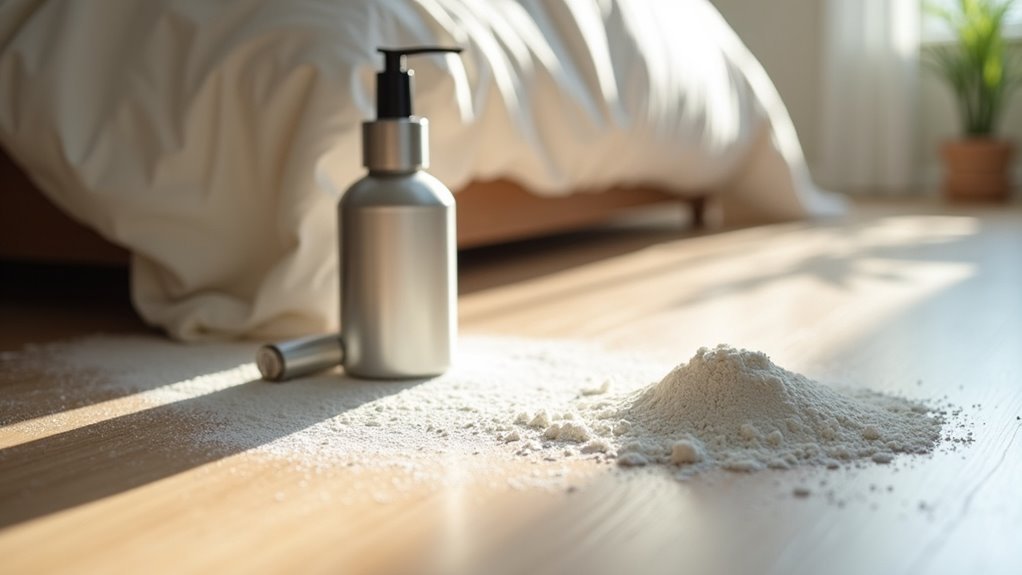
Start by sprinkling food grade diatomaceous earth in a thin layer along the entire bedroom baseboards and under your bed frame. You’ll want to apply diatomaceous earth around bed legs and nearby furniture where bed bugs might travel.
Create a protective barrier by dusting food grade diatomaceous earth along baseboards, under bed frames, and around furniture legs where bed bugs travel.
Use a duster or brush for even distribution—avoid thick clumps that bed bugs can easily walk around. The key is ensuring these pests make contact with the powder as they move toward your bed.
Let the barrier remain undisturbed for several days to maintain effectiveness, then vacuum excess powder weekly.
Targeted Treatment of Mattress Seams and Box Springs
You’ll need to focus your diatomaceous earth application on the mattress seams and box springs where bed bugs hide most frequently.
These areas require careful, targeted treatment since they’re the primary harborage sites for adult bugs and their eggs.
Apply a thin layer directly along every seam, fold, and crevice using a powder duster or small brush to guarantee thorough coverage.
Mattress Seam Application
When targeting mattress seams and box springs with diatomaceous earth, you’re focusing on bed bugs’ primary hideouts where they cluster during daylight hours.
These pests can’t escape when you apply diatomaceous earth strategically to their favorite shelter spots.
Use a powder duster to sprinkle Food Grade DE directly into seams and crevices, creating an even barrier.
Follow this precise application method:
- Dust all mattress seams – top, bottom, and edges where bed bugs crawl
- Cover box spring perimeters – don’t let these bloodsuckers find safe passage
- Wait 7-14 days – let dehydration work its deadly magic on hidden insects
- Vacuum and reapply DE weekly – maintain your pest control defense system
Monitor activity closely, as complete elimination often requires combining multiple treatment approaches for stubborn infestations.
Box Spring Treatment
Box springs demand special attention because bed bugs exploit every crack, crevice, and corner of these structures as perfect breeding grounds.
Apply food-grade diatomaceous earth as a thin layer along all seams and edges where these pests commonly hide and travel. Use a brush or duster to achieve even distribution, preventing clumps that reduce effectiveness.
Focus heavily on the underside of your box spring, as bed bugs frequently congregate in this hidden area. Ascertain the diatomaceous earth stays completely dry for maximum impact.
You’ll need to reapply after vacuuming or if the powder gets disturbed.
Monitor the treated box spring regularly for ongoing bed bug activity. Stay patient—it takes several days to see results from diatomaceous earth treatment.
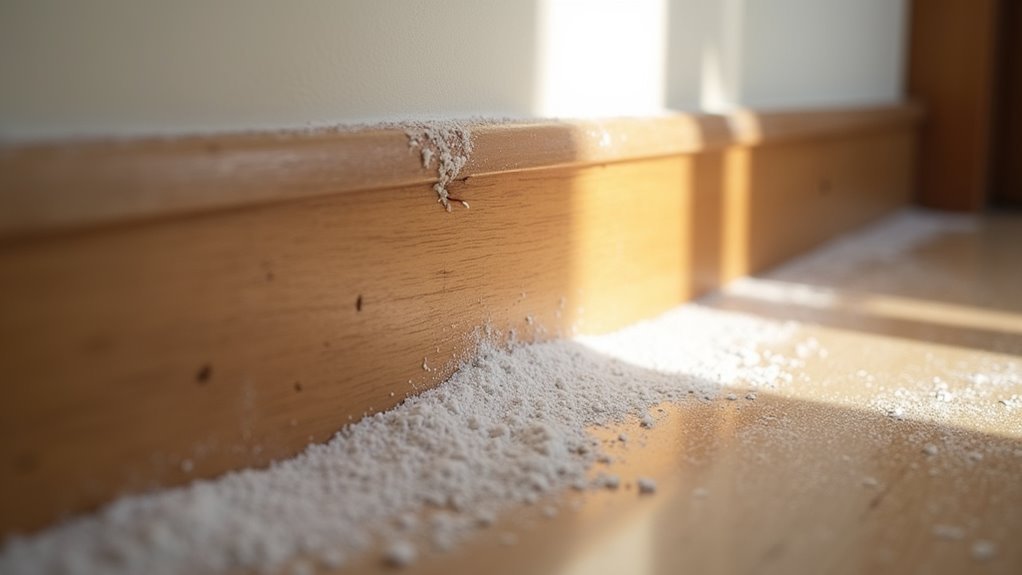
Baseboards and Wall Crevices Coverage
You’ll need to master the proper application technique when treating baseboards and wall crevices with diatomaceous earth to guarantee maximum bed bug elimination.
Coverage area requirements extend beyond obvious gaps to include every junction where walls meet floors, as these locations serve as primary bed bug highways.
Reapplication and maintenance schedules become critical since you’re targeting areas where bed bugs frequently travel and establish new hiding spots.
Proper Application Technique
Three critical zones require your focused attention when applying diatomaceous earth along baseboards and wall crevices.
You’ll need to target where walls meet floors, molding joints, and any visible cracks and crevices where bed bugs hide.
Before you apply diatomaceous earth, wear gloves and a mask to protect yourself.
Use a duster or plastic spoon to create thin, even layers throughout the perimeter.
Focus on these effective application steps:
- Wall-floor intersections – Create continuous barriers along every baseboard
- Molding gaps – Fill spaces where bed bugs travel between hiding spots
- Visible cracks – Target deep crevices with careful powder placement
- Weekly maintenance – Reapply for four weeks to eliminate emerging bed bugs
Keep powder dry for maximum effectiveness, and use a shop vac for cleanup.
Coverage Area Requirements
After mastering proper application methods, determining the right coverage area becomes your next priority for successful bed bug elimination.
You’ll need to apply diatomaceous earth strategically along baseboards, creating continuous barriers that bed bugs can’t avoid. Focus your coverage on wall crevices and gaps where these pests typically hide, ensuring you’re targeting their main travel routes and hiding spots.
Maintain thin, even coverage across all target areas to maximize effectiveness. Don’t skip corners or areas behind furniture where hidden bed bugs often lurk.
You must reapply diatomaceous earth every seven days to maintain ideal coverage, especially in high-traffic zones. Remember, thorough coverage means treating every potential pathway and hideout, not just obvious locations where you’ve spotted activity.
Reapplication and Maintenance
Since diatomaceous earth loses effectiveness over time, maintaining a consistent reapplication schedule becomes crucial for long-term bed bug control.
You’ll need to vacuum up excess powder weekly and refresh your application to guarantee bed bugs make proper contact with the treatment.
Follow this maintenance routine for maximum effectiveness:
- Reapply diatomaceous earth every seven days – new eggs hatch constantly, demanding fresh barriers
- Focus on baseboards and wall crevices consistently – these areas require thin, even coverage
- Target electrical outlets and wall junctions – bed bugs hide in these overlooked spaces
- Exercise patience during treatment – it takes 7-17 days for exposed bed bugs to die
Your diligent reapplication creates an effective barrier that disrupts their breeding cycle and forces contact with the powder.
Electrical Outlet and Switch Plate Application
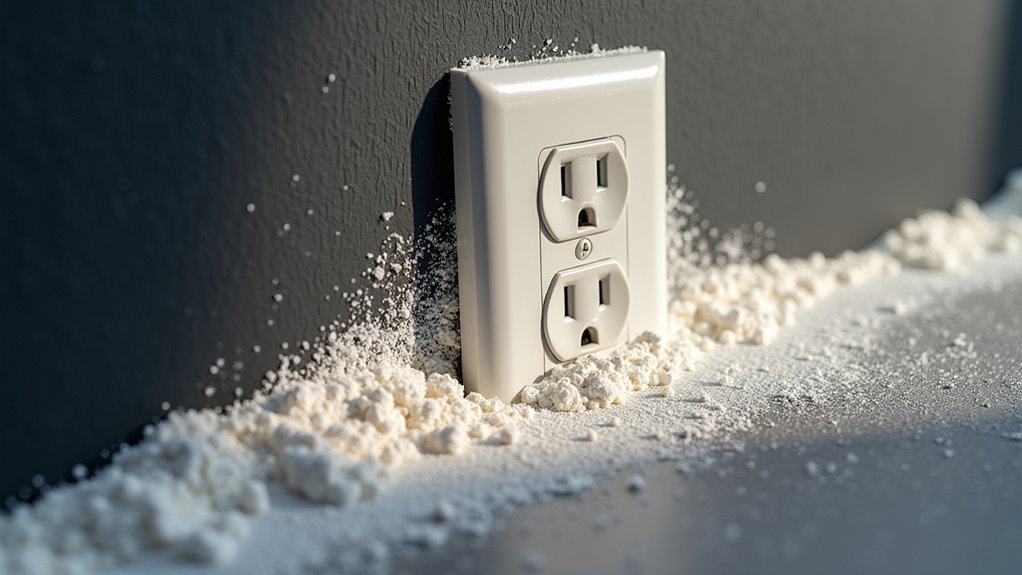
When targeting electrical outlets and switch plates with diatomaceous earth, you’ll need to take extra precautions while accessing these prime bedbug travel routes. First, turn off power to prevent electrical hazards during your application of DE. Use a duster or small spoon to sprinkle a thin layer of food-grade diatomaceous earth into outlet gaps where bed bugs travel through walls.
| Application Area | DE Amount | Safety Note |
|---|---|---|
| Outlet gaps | Thin layer | Power off |
| Behind face plates | Even coating | Remove plates safely |
| Switch plate edges | Minimal dust | Avoid electrical components |
Apply diatomaceous earth behind electrical face plates and switch plate areas, as these serve as bedbug hiding spots. Monitor and reapply every seven days for effective bed bug control, especially if activity persists.
Furniture Leg and Frame Dusting
Beyond wall cavities and electrical pathways, furniture presents another critical battleground in your fight against bed bugs. Apply food-grade diatomaceous earth strategically around furniture legs and frames where these pests commonly travel and hide.
Focus your dusting efforts on these key areas for maximum bed bugs control:
Target furniture strategically by dusting bed legs, chair frames, dresser edges, and table supports for optimal bed bug elimination results.
- Bed and couch legs – Create protective barriers at ground level where bugs climb.
- Chair bases and frames – Target wooden joints and metal connections where bugs shelter.
- Dresser and nightstand edges – Dust along bottom perimeters and leg joints.
- Table legs and supports – Apply thin layers around vertical surfaces.
Use a duster or small brush for even distribution. Keep the diatomaceous earth dry and reapply weekly.
Monitor treated areas regularly and refresh after cleaning to maintain consistent protection against bed bugs.
Wet Application Method for Hard-to-Reach Areas
While dry dusting works effectively in most situations, certain areas demand a different approach for ideal diatomaceous earth application.
The wet application method involves creating a mixture using diatomaceous earth and water in a 1:4 ratio, forming a sprayable slurry perfect for hard-to-reach areas.
You’ll find this technique particularly useful for vertical surfaces and undersides of furniture where powder won’t adhere properly. Apply the mixture along bed frames, box springs, and furniture edges where bed bugs commonly hide.
The key to success lies in the drying process – effectiveness only begins after complete moisture evaporation.
Remember to avoid contact with moisture during drying and reapply as needed. Results typically appear after several days once the mixture has thoroughly dried.
Clothing and Textile Treatment in Sealed Bags
Certain infested clothing and textiles require specialized treatment through bag sealing methods that create concentrated exposure environments.
You’ll need to prepare clean, dry items before sealing them with diatomaceous earth in plastic bags for fourteen days minimum. This creates an inescapable trap where bed bugs can’t avoid contact with the powder.
Here’s your step-by-step process:
- Seal your precious garments with food-grade DE in airtight plastic bags
- Wait fourteen anxious days while the treatment period eliminates hidden invaders
- Watch as diatomaceous earth disrupts exoskeletons causing fatal dehydration to bed bugs
- Thoroughly shake out treated clothing before wearing to remove residual powder
This sealed bag method guarantees concentrated exposure, making it impossible for bed bugs to escape the lethal effects of diatomaceous earth on their vulnerable exoskeletons.
Frequently Asked Questions
How to Properly Use Diatomaceous Earth for Bed Bugs?
You’ll apply a thin layer along baseboards, mattress seams, and furniture joints using a powder duster. Reapply weekly for four weeks, keep it dry, and wear protective gear during application.
Can I Sleep in a Room With Diatomaceous Earth?
You can sleep in a room with diatomaceous earth after it’s settled and dried. Let the powder remain undisturbed for effectiveness, and wear a mask during application to avoid inhaling particles.
Do I Vacuum After Using Diatomaceous Earth?
Yes, you’ll vacuum after using diatomaceous earth. Wait seven days first, then use a HEPA-filter vacuum to remove excess powder and dead bugs. Dispose of contents outside and reapply DE afterward.
What Is the Best Way to Spread Diatomaceous Earth?
You’ll get best results using a powder duster to apply thin, even layers in dry conditions. Target baseboards, mattress seams, and cracks where bed bugs hide, ensuring light coverage that won’t create avoidable clumps.
In Summary
You’ve now learned seven effective ways to apply diatomaceous earth against bedbugs. Remember, you’ll need food-grade DE for safety, and you should reapply after cleaning or vacuuming. Don’t expect instant results – it’ll take several days to weeks for complete elimination. You must be thorough and patient with your application. Keep the powder dry except when using the wet method, and you’ll see gradual improvement in your bedbug situation.


Leave a Reply