To keep pests out of your attic, you’ll need to seal entry points using durable materials like hardware cloth or metal flashing, and install fine-mesh screens on all vents and openings. Schedule inspections twice yearly to check for damage and activity signs, while removing food sources and scented materials that attract unwanted visitors. Regular maintenance of weatherstripping and caulking around windows prevents access, and proper storage in sealed containers eliminates attractants. Understanding these thorough strategies will help you maintain a pest-free space year-round.
Signs That Pests Have Invaded Your Attic Space
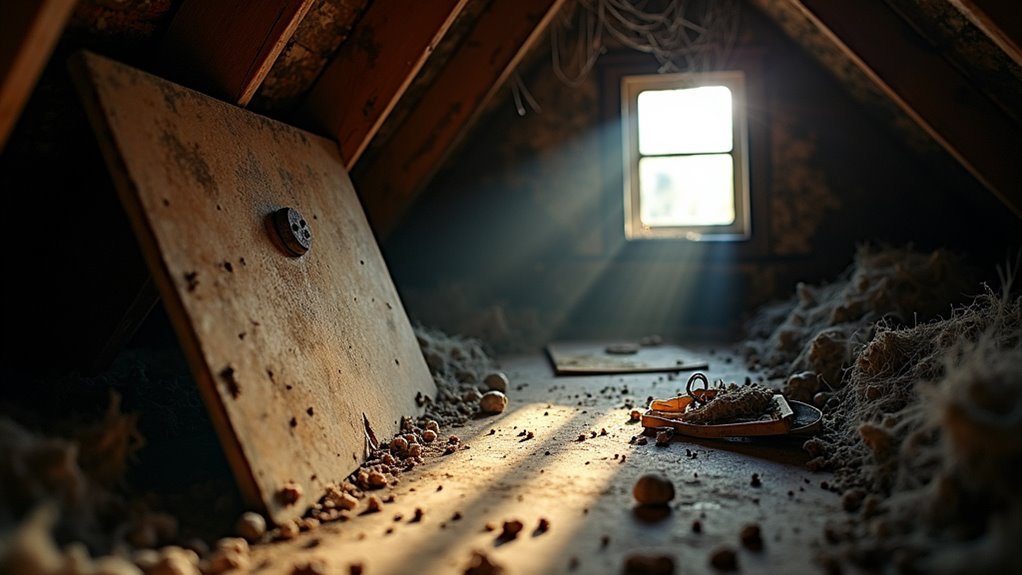
When you suspect unwanted guests have taken up residence in your attic, listening for telltale sounds will often confirm your suspicions. Scratching, scuttling, and squeaking noises, particularly at night, indicate active pest movement above your head.
You’ll also discover physical evidence during inspection. Look for droppings – rice-shaped feces suggest mice or rats, while larger droppings point to raccoons.
Check for visible damage to insulation, wiring, or structural elements, plus chewed papers and shredded materials.
Nests constructed from twigs, leaves, or soft materials warn that animals are establishing breeding grounds. Foul odors from accumulated droppings create another unmistakable sign, with opossum waste being especially pungent as it soaks into insulation.
These indicators warrant immediate professional pest control services.
Common Entry Points Where Pests Access Your Attic
Understanding where pests enter your attic gives you the power to stop invasions before they start. These entry points can seem insignificant but quickly become major problems when pests exploit them.
| Entry Point | Vulnerable Areas | Pest Types |
|---|---|---|
| Roof gaps | Eaves, vents, chimneys | Birds, rodents |
| Wall openings | Cracks, foundation holes | Mice, rats |
| Ventilation | Soffit vents, gable vents | Insects, birds |
Rodents can squeeze through openings as small as a dime, making thorough inspection essential. Trees touching your roof create bridges for squirrels and wildlife. Damaged insulation also attracts pests seeking warm nesting spaces during cold months. Regular maintenance and proper screening prevent these common entry points from becoming pest highways into your attic.
Sealing Cracks and Gaps to Block Pest Access
Since rodents can squeeze through openings as small as a dime, you’ll need to take a methodical approach to sealing every crack and gap in your attic.
Start by using hardware cloth or metal flashing for access points, as these materials are durable and rodent-proof. Don’t rely on easily gnawed materials like plastic or wood.
Regular inspection of attic vents and screens is essential since damaged protective barriers create easy entry points for insects and small animals.
Apply caulking and weatherstripping around windows and vents to block pests while improving energy efficiency.
Remember that sealing cracks and gaps works best when combined with maintaining a clean, clutter-free attic environment that doesn’t offer shelter or food sources to potential invaders.
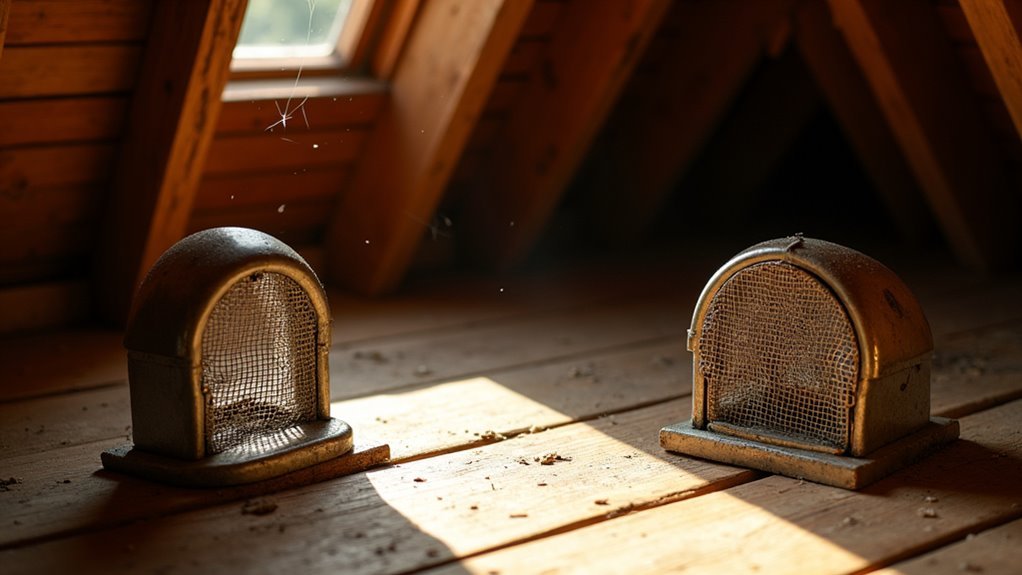
Installing Proper Screens on Attic Vents and Openings
While sealing cracks provides your first line of defense, installing proper screens on attic vents and openings creates an additional barrier that’s vital for thorough pest control.
You’ll need fine-mesh screening to block attic pests, including rodents and insects that can squeeze through openings the size of a dime.
Choose durable materials like stainless steel or heavy-duty fiberglass that’ll withstand environmental wear while maintaining their protective function.
Invest in stainless steel or heavy-duty fiberglass screens that resist weather damage and provide long-lasting pest protection.
Don’t forget to screen all openings—gable vents, soffit vents, and any other access points require coverage.
Regular maintenance is important. Inspect your screens routinely for tears or damage, as even small openings compromise their effectiveness.
Properly installed screens maintain adequate ventilation while keeping pests out, preventing moisture buildup and mold growth.
Natural Repellents That Deter Attic Pests
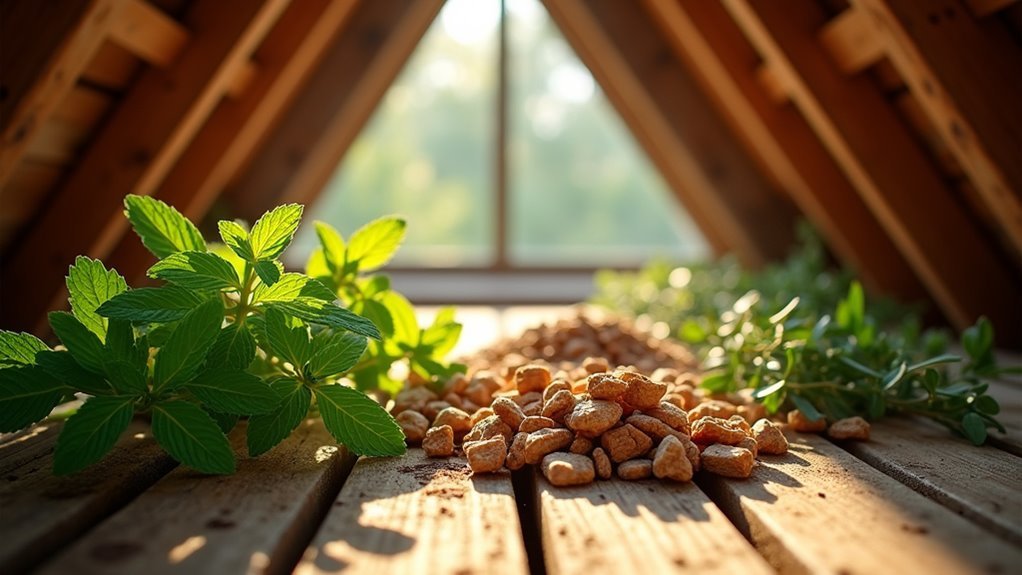
Natural deterrents offer an eco-friendly approach to keeping unwanted visitors out of your attic space.
Peppermint oil works effectively when you soak cotton balls or create sprays, as its strong scent repels rodents and insects.
Cedar blocks or shavings will deter moths and other insects through their natural aroma.
You can mix apple cider vinegar with water and spray it to keep flies away, since its acidic nature bothers many pests.
Essential oils like lavender and eucalyptus provide pleasant scents for you while repelling mosquitoes and spiders.
Diatomaceous earth, made from fossilized algae, damages insect exoskeletons when sprinkled in active areas, causing dehydration.
These natural repellents create multiple layers of protection without harsh chemicals.
Managing Moisture and Humidity Levels
Although natural repellents create an important barrier against pests, controlling moisture and humidity levels in your attic provides an equally powerful defense strategy.
Managing moisture and humidity levels between 30-50% prevents mold growth and creates an inhospitable environment for pests while reducing health risks.
You’ll need proper ventilation through ridge and soffit vents to regulate temperature and moisture effectively.
Install dehumidifiers in finished or semi-finished attics to maintain ideal humidity levels.
Keep attic windows closed during humid summer months to prevent moisture buildup and limit pest access points.
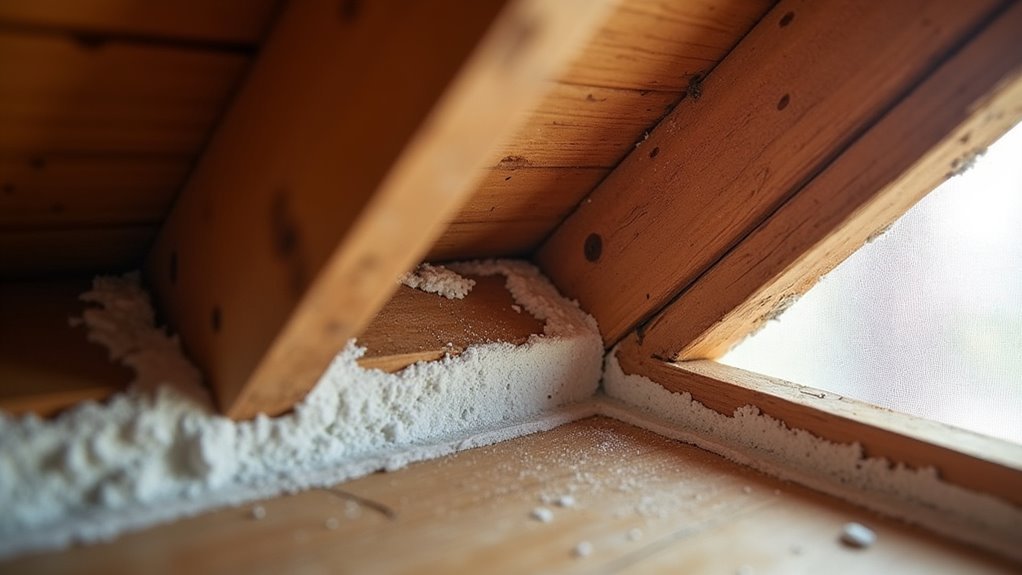
Regular insulation inspection and upgrades improve energy efficiency while minimizing moisture accumulation that attracts unwanted visitors.
This thorough moisture control approach considerably reduces the likelihood of pest infestations throughout the year.
Removing Attractants and Food Sources
You’ll need to eliminate all food storage from your attic, as even small amounts can draw rodents and insects into the space.
Remove any scented materials like candles, potpourri, or cleaning supplies that might attract pests seeking interesting odors.
Clean up organic debris such as leaves, dead insects, and animal droppings that can serve as both food sources and nesting materials for unwanted visitors.
Eliminate Food Storage
Food sources act as powerful magnets for pests, drawing them into your attic where they’ll establish colonies and cause extensive damage. Proper food storage starts with using airtight containers for all items, including pet food and bird seed.
Never place snacks or leftovers in your attic, as food-scented materials create irresistible attractants for rodents and insects. Dispose of cardboard boxes containing food packaging or residual odors since they serve as pest food sources.
Regular inspection and cleaning help you identify and remove food debris or spills before they attract unwanted visitors. Maintaining a clutter-free environment eliminates hiding spots while minimizing chances of food sources being present.
These preventive measures considerably reduce your attic’s appeal to pest invaders.
Remove Scented Materials
Beyond eliminating actual food items, scented materials pose an equally significant threat to your attic’s pest-free status.
You’ll need to remove scented materials that attract unwanted visitors, including pet food, bird seed, and stored snacks that emit appealing odors.
Replace cardboard storage boxes with plastic bins, as cardboard attracts pests and provides nesting materials.
Clean your attic regularly to eliminate crumbs, spills, and organic debris that create food sources.
Seal openings and gaps where food odors escape, preventing outside pests from detecting attractive scents within your attic.
Consider using odor-neutralizing products to eliminate lingering scents that might draw rodents and insects upward into your storage space.
Clean Organic Debris
Organic debris creates an invisible buffet that draws pests directly into your attic space.
You’ll need to clean organic debris like leaves, twigs, and nesting materials regularly to eliminate these food sources and shelter opportunities. Store all items in airtight containers to prevent rodents and insects from accessing potential meals.
Check that your insulation remains free from organic materials that attract silverfish and mice.
Don’t overlook your gutters and downspouts—clean them frequently to prevent debris buildup that creates pest entry points. Dispose of old, unused items cluttering your attic space, as they often harbor organic debris and provide perfect hiding spots.
This systematic approach removes the primary attractants that turn your attic into pest headquarters.
Safe Storage Practices for Attic Items
While many homeowners focus on sealing entry points and eliminating existing pests, you can’t overlook how your storage practices directly influence your attic’s vulnerability to infestations.
Implementing safe storage practices for attic items creates an environment that’s less attractive to unwanted visitors.
Smart storage strategies include:
- Use plastic bins with tight-fitting lids instead of cardboard boxes that rodents easily chew through
- Keep items organized and elevated on shelves to reduce clutter and eliminate nesting spots
- Avoid storing food items like pet food or bird seed that attract rodents and insects
- Add cedar blocks or dried lavender sachets to naturally repel pests from stored belongings
- Inspect stored items regularly for droppings or damage, taking immediate action when detected
Regular Inspection and Maintenance Schedules
You’ll need to establish a consistent inspection routine to catch pest problems before they become serious infestations.
Schedule thorough attic checks twice yearly—ideally in spring and fall—to systematically examine your space for signs of unwanted visitors.
During each inspection, you’ll follow specific protocols to assess any damage and identify areas that need immediate attention or repair.
Seasonal Attic Checks
Because pests can establish themselves in your attic during any season, implementing a consistent inspection schedule becomes your first line of defense against infestations.
Conducting seasonal inspections at least twice yearly guarantees you’ll catch problems before they escalate into costly pest control situations.
Your seasonal attic checks should focus on these critical areas:
- Spring inspections – Look for winter damage and signs of pest activity after cold months
- Fall preparations – Seal entry points before rodents seek warm winter shelter
- Insulation assessment – Check for damage that creates pest hiding spots or indicates moisture problems
- Ventilation maintenance – Confirm screens are intact and vents function properly
- Documentation habits – Keep detailed logs to track recurring issues and maintenance timing
Regular monitoring helps you stay ahead of potential infestations.
Damage Assessment Protocols
Inspecting your attic systematically requires a structured damage assessment protocol that goes beyond simply looking around during your seasonal visits.
You’ll need to document every sign of damage you discover, from chewed insulation to gnawed wooden beams. Create a detailed log that includes photographs, measurements, and specific locations of pest activity like droppings or nests.
Your damage assessment protocols should focus on identifying entry points, since rodents can squeeze through openings as small as a dime.
Check for moisture accumulation in insulation, which attracts pests seeking warm environments. Map out patterns of destruction to understand how pests move through your space.
This systematic approach helps you track recurring problems and develop targeted prevention strategies that’ll keep future infestations at bay.
Trap Placement and Monitoring Strategies
When placing traps in your attic, strategic positioning along walls and corners maximizes your success rate since rodents naturally follow edges rather than venture into open areas.
Effective trap placement requires understanding pest behavior patterns and adapting your approach accordingly.
- Use targeted bait: Peanut butter works well for rats and mice, while sunflower seeds attract squirrels
- Check traps daily: Regular monitoring prevents decay and maintains trap effectiveness
- Look for activity signs: Monitor droppings and gnaw marks to identify best trap placement locations
- Rotate trap positions: Change locations periodically to adapt to shifting pest movement patterns
- Focus on high-traffic areas: Target corners, along beams, and near entry points where pests frequently travel
This systematic approach guarantees you’re maximizing capture potential while maintaining sanitary conditions.
When to Call Professional Pest Control Services
How do you know when your DIY pest control efforts aren’t enough? If you’ve noticed droppings, gnaw marks, or unusual noises in your attic, it’s time to contact professional pest control services for assessment and removal.
When your repeated DIY attempts fail to eliminate the problem, professionals can provide more effective, long-term solutions.
Professional pest control services have the expertise to identify entry points and seal them effectively, preventing future infestations. If you’re dealing with hazardous pests like bats or venomous snakes, professional removal guarantees your safety and compliance with local wildlife laws.
Don’t wait until damage becomes extensive. Regular inspections by pest control experts help catch potential infestations early, saving you from costly repairs and health risks.
Long-Term Prevention and Monitoring Plans
Once professionals have eliminated your attic pest problem, you’ll need a detailed prevention strategy to keep unwanted visitors from returning.
Your long-term success depends on consistent monitoring and proactive maintenance measures.
Effective pest prevention requires dedication to regular monitoring and proactive maintenance rather than reactive responses.
Here’s your extensive prevention plan:
- Schedule monthly inspections to check for droppings, nests, or new damage that signals pest activity.
- Seal entry points regularly by examining gaps around vents, soffits, and roof cracks that rodents exploit.
- Maintain attic cleanliness by removing clutter, replacing old insulation, and eliminating stored food sources.
- Install protective barriers like fine-mesh screens on vents using rodent-proof materials.
- Arrange ongoing pest control services for professional monitoring and customized preventive treatments.
This systematic approach guarantees your attic remains pest-free while addressing your home’s specific vulnerabilities.
Frequently Asked Questions
How to Prevent Bugs in the Attic?
Seal cracks around rooflines, install fine-mesh screens on vents, remove organic debris regularly, use peppermint oil or cedar repellents, and store items in plastic bins rather than cardboard boxes that attract insects.
How to Scare Critters Out of Your Attic?
You’ll scare critters out by playing loud music near your ceiling, installing bright lights, and placing oil-soaked cotton balls with strong scents like mint or apple cider vinegar throughout your attic space.
How Do I Force Rodents Out of My Attic?
Play loud music to disrupt their comfort and install bright lights since rodents prefer darkness. Place peppermint oil-soaked cotton balls near entry points, then seal all holes to prevent their return permanently.
How Do I Make My Attic Rodent Proof?
Seal all entry points larger than a dime using metal flashing or wire mesh. Regularly inspect vents, roof gaps, and foundation cracks. Don’t store food items in your attic, and set monitoring traps.
In Summary
You’ll successfully keep pests out of your attic by combining multiple prevention strategies. Seal entry points, install proper screens, and maintain regular inspection schedules. Don’t rely on just one method—layer your defenses with natural repellents, strategic trap placement, and consistent monitoring. When you’re dealing with persistent infestations, call professionals immediately. Remember, prevention’s always easier than removal, so stay proactive with your maintenance routine and you’ll protect your home long-term.


Leave a Reply