You’ll achieve maximum pest control by applying ultra-fine diatomaceous earth layers to carpets using a duster, targeting baseboards and cracks with paintbrushes, dusting kitchen cabinets with flour sifters, and treating pet bedding areas thoroughly. Focus on entry points like window sills and door frames, guarantee surfaces are completely dry before application, and allow the powder to work undisturbed for 24-48 hours. Vacuum dead pests and reapply every 1-2 weeks for consistent protection. Master these strategic techniques to eliminate stubborn infestations effectively.
Strategic Carpet Dusting for Maximum Pest Contact
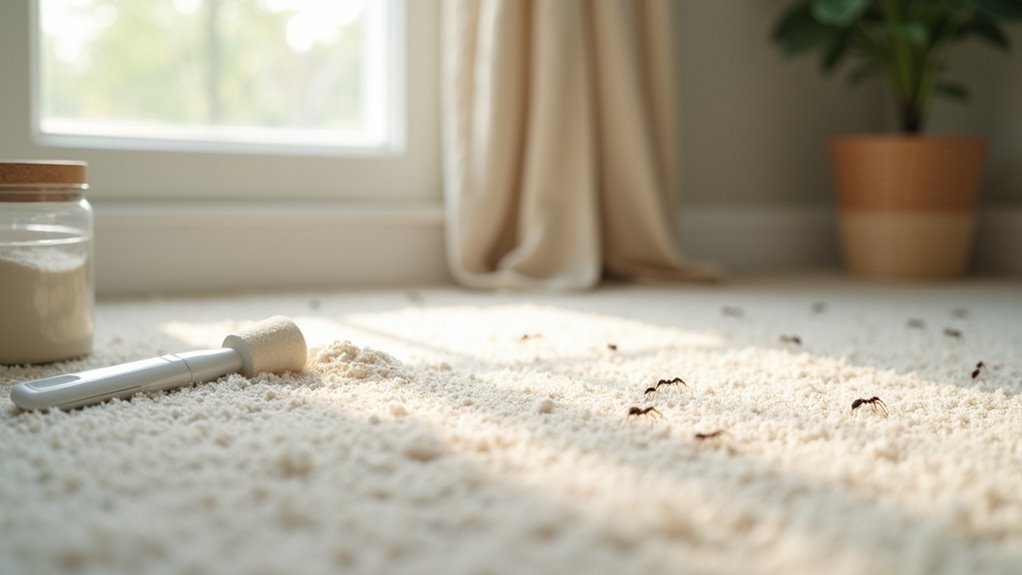
When targeting carpet-dwelling pests with diatomaceous earth, you’ll need to apply an ultra-fine layer that creates maximum contact without forming thick clumps insects can simply walk around.
Use a duster or shaker to distribute an even layer across high-traffic areas where pests frequently congregate, including spots near pet bedding and entry points. Focus on places where fleas and bed bugs typically hide.
Always wear a mask during application to prevent inhaling dust particles, and guarantee proper ventilation while keeping family members and pets away from treated areas.
Once you apply DE evenly across your carpets, allow to sit for 24 to 48 hours so the diatomaceous earth can effectively dehydrate and eliminate target pests before vacuuming.
Baseboards and Crack Application Methods
While carpets serve as one battleground against pests, baseboards and cracks represent your next line of defense where insects often establish their primary highways and hiding spots.
Apply diatomaceous earth along baseboards using a thin layer that insects can easily contact. Use a paintbrush or specialized applicator to reach tight cracks where pests hide most frequently.
Target baseboards and cracks with a thin layer of diatomaceous earth using a paintbrush for precise application.
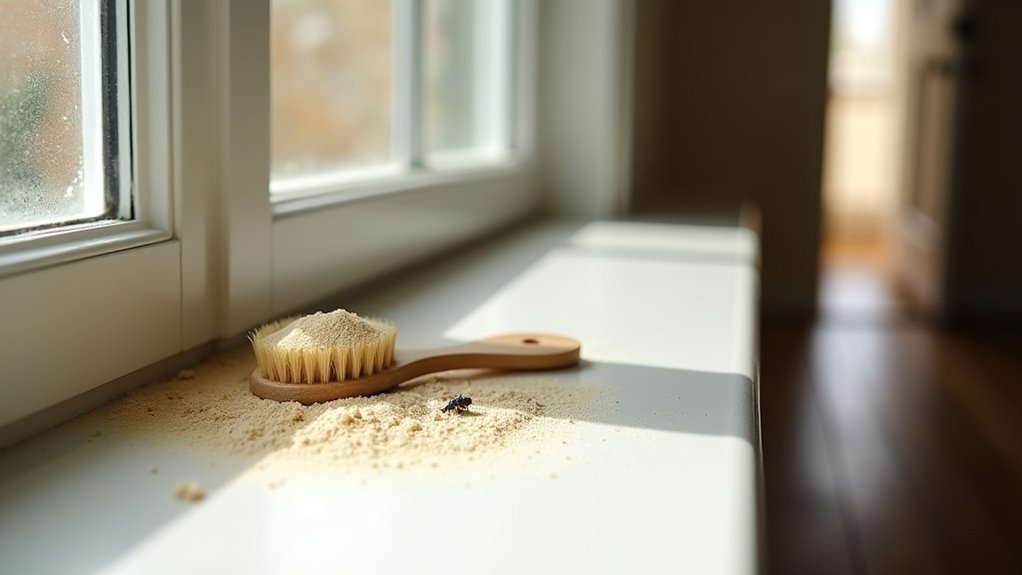
Focus on entry points like window sills and door frames, as these serve as common pathways for invading insects. Apply the thin layer precisely in these strategic locations for maximum pest control effectiveness.
Allow the diatomaceous earth to sit undisturbed for 24 to 48 hours before cleaning. You’ll need to reapply after vacuuming or cleaning, since these activities disturb the treatment and reduce its pest-fighting capabilities.
Kitchen Cabinet and Pantry Treatment Techniques
You’ll need specialized techniques when applying diatomaceous earth in your kitchen cabinets and pantry areas where food storage creates unique pest challenges.
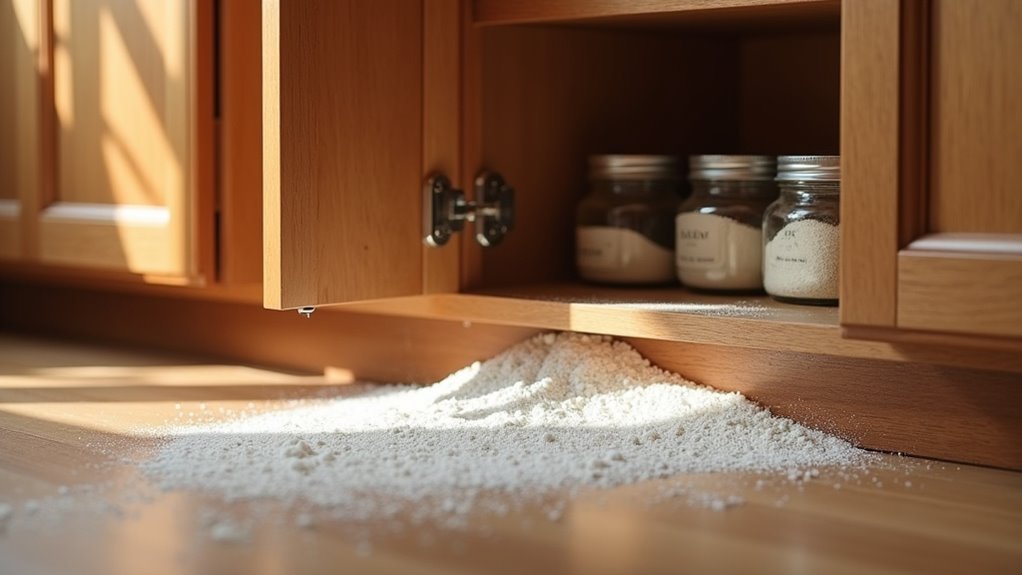
Dry cabinet dusting requires careful powder distribution across shelves and interior surfaces without contaminating your food supplies.
Pantry crack application targets the tight spaces between shelves, door frames, and wall joints where insects commonly nest and travel.
Dry Cabinet Dusting
Kitchen cabinets and pantries present unique challenges when applying diatomaceous earth, requiring precision to target pest-prone areas without contaminating food supplies.
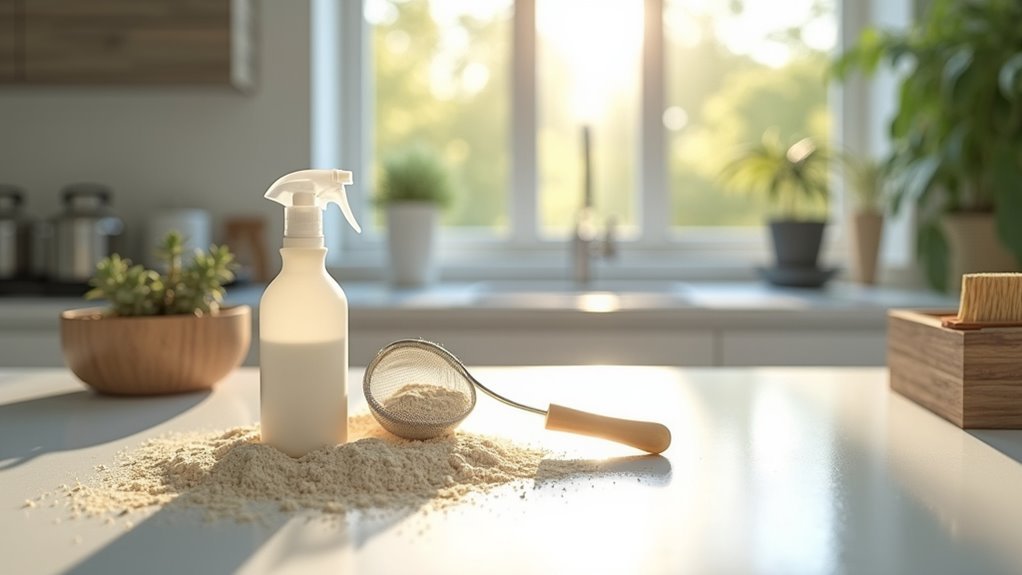
Use a flour sifter or salt shaker to apply food-grade diatomaceous earth for even distribution without creating excessive dust clouds. Focus on corners and shelf edges where food particles accumulate, as these become prime pest hotspots.
Make certain cabinets are completely dry before application since moisture renders diatomaceous earth ineffective. After dusting, let the powder sit for several hours to achieve maximum effectiveness before vacuuming excess material.
You’ll need to reapply every 2-3 weeks or after cleaning sessions to maintain consistent pest control protection in your storage areas.
Pantry Crack Application
Three critical zones demand your attention when targeting pantry cracks with diatomaceous earth: baseboards where walls meet floors, gaps behind appliances, and crevices around shelf supports.
These common travel routes harbor pests like ants and cockroaches seeking food sources.
Use a paintbrush or small applicator for precise placement of food-grade diatomaceous earth in tight spaces around pantry shelves.
Apply thin, even layers without heavy dusting to maximize effectiveness.
These application tips guarantee targeted coverage where pests enter most frequently.
Let the treatment sit 24-48 hours before vacuuming excess powder and dead pests.
You’ll need to reapply every two weeks or after cleaning, as moisture reduces efficacy.
This systematic approach to cracks and crevices creates an effective pest control barrier.
Pet Bedding and Furniture Application Strategies
When dealing with flea infestations on your pet’s favorite resting spots, diatomaceous earth offers a targeted approach that’s both effective and safe for your furry companions.
Apply diatomaceous earth as a thin, even layer across pet bedding, allowing it to work for 24-48 hours against fleas and bedbugs. For furniture application, concentrate on cushions and crevices where pets rest frequently, using a duster for controlled distribution.
Always choose food-grade diatomaceous earth to guarantee safety around pests and pets alike.
After treatment, vacuum treated areas thoroughly to remove dead pests and excess powder. Wait several hours before letting pets return to treated spaces.
Reapply DE every 1-2 weeks or after cleaning to prevent reinfestation and maintain continuous protection.
Window Sill and Entry Point Coverage
You’ll need to identify key entry points where pests typically infiltrate your home, focusing on window sills, door frames, and foundation cracks.
Strategic placement involves applying a thin, even layer of diatomaceous earth along these vulnerable areas using a small brush or applicator.
Weather conditions greatly impact your application’s longevity, so you must reapply after rain, cleaning, or high humidity to maintain an effective barrier.
Strategic Window Placement
Windows and doors serve as primary highways for unwanted pests, making strategic diatomaceous earth placement along these entry points vital for effective home defense.
Focus your application on window sills and gaps around door frames where insects commonly infiltrate. Apply thinner layers rather than thick dustings, as even distribution prevents pests from bypassing the powder. Target cracks, crevices, and weatherstrip areas where ants and spiders typically travel.
You’ll need to reapply diatomaceous earth after cleaning or heavy rains that wash away the protective barrier.
Monitor these treated areas regularly to confirm the powder remains undisturbed and effective. Check for gaps in coverage weekly, renewing applications as needed.
This consistent maintenance approach maximizes your pest control efforts and keeps unwanted insects from establishing entry routes into your home.
Entry Point Identification
Successful pest prevention begins with accurately identifying every potential entry point around your home’s perimeter. You’ll want to focus on window sills, door frames, and other vulnerable areas where insects commonly infiltrate. These locations require strategic diatomaceous earth placement to create an effective barrier against pests.
| Entry Point | Application Technique | Maintenance |
|---|---|---|
| Window sills | Use paintbrush for even, thin layer | Reapply after cleaning |
| Door frames | Apply to corners and crevices | Check after heavy rain |
| Base molding | Target gaps and openings | Monitor for disturbance |
Your pest control success depends on keeping DE dry and undisturbed. Apply diatomaceous earth systematically around these entry points, ensuring complete coverage in corners where pests typically travel. Regular reapplication maintains your protective barrier’s effectiveness.
Reapplication After Weather
After rain or heavy moisture exposure, diatomaceous earth loses its protective qualities and requires immediate reapplication to maintain effective pest control.
You’ll need to reapply DE to window sills and entry points every time it rains or when indoor cleaning disrupts the powder layer. Apply a very fine coating rather than thick layers, which allows insects to navigate without contacting the diatomaceous earth.
Monitor these areas regularly for visible pests and reapply immediately if you spot any activity. Since moisture washes away DE’s effectiveness, perform light reapplication every two weeks in high-traffic areas where pests commonly enter.
Remember that undisturbed diatomaceous earth remains effective indefinitely, but weather exposure compromises its pest control capabilities, making consistent monitoring and reapplication essential for maintaining your protective barrier.
Under-Appliance Dusting for Hidden Pest Areas
Hidden beneath your kitchen appliances lies a prime real estate for pests seeking shelter and easy access to food crumbs.
Behind refrigerators and stoves, food debris creates an irresistible haven where pests establish their hidden colonies.
You’ll need to apply Diatomaceous Earth strategically in these hidden areas for effective pest control. Use a long-handled duster or turkey baster to reach under appliances like refrigerators and stoves where food particles accumulate.
Ensure you’re working with a dry area before application, as moisture reduces DE’s effectiveness.
Apply a thin, even layer focusing on spots where debris gathers. Let the diatomaceous earth sit undisturbed for 24 to 48 hours to maximize its pest-fighting power.
You’ll need to reapply under appliances every few weeks or after cleaning to maintain your protective barrier against returning pests.
Attic and Crawl Space Application Approaches
You’ll face unique challenges when applying diatomaceous earth in attics and crawl spaces since these confined areas require different techniques than open living spaces.
These hard-to-reach locations demand specialized equipment like dusters or blowers to guarantee even distribution without creating excessive dust clouds.
Your application approach must account for limited ventilation and awkward positioning while maintaining thorough coverage of pest entry points and travel routes.
Hard-to-Reach Area Coverage
How can you effectively apply diatomaceous earth in cramped attics and crawl spaces where traditional spreading methods fall short?
These hard-to-reach areas require specialized equipment and techniques for ideal coverage.
Use a bulb duster or garden duster to achieve precise, even distribution without waste. Focus on creating a fine dusting rather than thick layers that insects can easily navigate around.
Essential application strategies include:
- Attach long-handled applicators or flexible tubing to your duster for accessing tight corners and distant crevices
- Always wear a dust mask and goggles, especially in areas with limited ventilation
- Monitor regularly for pest activity and reapply diatomaceous earth after cleaning or moisture exposure
This systematic approach guarantees you maintain an effective barrier against infestations in challenging indoor spaces.
Specialized Application Equipment
Three specialized tools make diatomaceous earth application in attics and crawl spaces considerably more effective than standard methods.
A bulb duster provides controlled distribution and even coverage without excessive dusting in these confined areas. Hand-held powder applicators offer superior precision, particularly when equipped with long, flexible tube attachments that reach deep corners and crevices in crawl spaces.
For tight spaces around ductwork and electrical conduits, you’ll find a standard paintbrush invaluable for targeted application. Focus on structural beams, insulation, and entry points in attics to maximize pest prevention.
Always wear protective gear including masks and goggles when working in enclosed spaces.
These tools eliminate guesswork while ensuring thorough coverage in areas where pests commonly hide and breed.
Bathroom and Moisture-Prone Area Techniques
Bathrooms present unique challenges for diatomaceous earth application due to their naturally humid environment.
You’ll need to verify surfaces are completely dry before treatment, as moisture reduces effectiveness and prevents proper adhesion.
Apply food-grade diatomaceous earth in thin layers around key areas where pests may hide:
- Sink and toilet bases – Focus on cracks and crevices where cockroaches congregate
- Bathtub surrounds – Target gaps between tiles and fixtures
- Behind appliances – Dust areas around water heaters and ventilation fans
Use a sifter for even distribution, creating invisible barriers that dehydrate crawling insects.
In moisture-prone areas, you’ll need to reapply diatomaceous earth every two weeks or after cleaning.
Combine this treatment with thorough cleaning practices to eliminate existing infestations and prevent future pest problems.
Closet and Storage Area Treatment Methods
Since closets and storage areas provide dark, undisturbed environments where fabric-damaging pests thrive, you’ll need a systematic approach to diatomaceous earth application.
Sprinkle a thin layer throughout these spaces, concentrating on corners, shelves, and clothing where moths and carpet beetles hide. Use a duster or spice shaker for even distribution, ensuring the DE penetrates cracks and crevices where pests travel.
Let the diatomaceous earth sit for 24-48 hours before vacuuming to maximize effectiveness. Regular maintenance is essential—check and reapply every few weeks or after cleaning to prevent reinfestations.
Store unused DE in clearly labeled, airtight containers to preserve potency. This systematic treatment protects your stored items from destructive pests while maintaining long-term closet protection.
Vacuum and Cleanup Timing for Optimal Results
Once you’ve applied diatomaceous earth to target areas, proper timing becomes critical for achieving peak pest elimination.
Strategic timing after diatomaceous earth application determines whether your pest control efforts succeed or fail completely.
You’ll need to let the powder work undisturbed for 24 to 48 hours before vacuuming. This waiting period allows the diatomaceous earth to effectively dehydrate pests that come into contact with it.
After the initial treatment period, follow these essential steps:
- Vacuum thoroughly to remove dead pests and excess powder from all treated surfaces
- Repeat the application process 3 to 4 times over two weeks to target newly hatched pests
- Reapply fresh diatomaceous earth after each cleaning session for continuous protection
For stubborn infestations, consider extending the treatment period to 2-3 days before vacuuming.
This enhanced effectiveness timing guarantees ideal pest control results throughout your treatment cycle.
Frequently Asked Questions
What Is the Best Way to Apply Diatomaceous Earth in Your House?
You’ll want to sprinkle a thin, even layer over carpets and baseboards, let it sit for 24-48 hours, then vacuum. Wear protective gear and reapply every two weeks for best results.
What Not to Mix With Diatomaceous Earth?
Don’t mix diatomaceous earth with water, chemical pesticides, oils, or other powders that clump. You’ll reduce its effectiveness and potentially create safety hazards when combining incompatible substances together.
Do I Need to Wear a Mask When Using Diatomaceous Earth?
You should definitely wear a mask when using diatomaceous earth. The fine dust particles can irritate your respiratory system, even with food-grade DE, so protection’s essential for safe application.
How Do You Spread Diatomaceous Earth in a Bedroom?
Remove all bedding and clothes first. You’ll sprinkle a thin layer across carpets using a duster, focusing on edges and corners. Let it sit 24-48 hours before vacuuming thoroughly.
In Summary
You’ve now mastered the essential indoor diatomaceous earth application techniques that’ll effectively target pests throughout your home. Remember to apply thin, even layers and allow adequate contact time before vacuuming. Don’t forget to wear protective gear and guarantee proper ventilation during application. With consistent use of these strategic methods, you’ll create a thorough pest control barrier that protects every corner of your living space from unwanted intruders.


Leave a Reply