
You can build a powerful wildlife monitoring camera using a Raspberry Pi 3B+ or 4, Pi Camera Module, and weatherproof housing made from an airtight container. Install MotionEyeOS for motion detection, configure infrared capabilities for night vision, and program automated capturing with Python’s picamera library. Add TensorFlow integration for intelligent animal recognition and species identification. Power it with high-capacity battery packs for extended field deployment. The complete setup process involves several technical configurations that’ll maximize your wildlife documentation success.
Understanding Wildlife Camera Applications and Benefits
Whether you’re a wildlife enthusiast, researcher, or conservationist, understanding the diverse applications of wildlife cameras will help you maximize their potential for meaningful ecological observation.
These camera traps excel at documenting elusive nocturnal species through motion detection technology and infrared capabilities, capturing behavior without human interference. Your Raspberry Pi project offers unique advantages over commercial alternatives, providing customizable features like live streaming, image processing, and remote access for real-time monitoring.
The data you’ll collect serves multiple conservation purposes: tracking animal populations, evaluating habitat usage patterns, and informing ecosystem management strategies.
Wildlife camera data transforms conservation efforts by revealing population trends, habitat preferences, and critical ecosystem dynamics for informed management decisions.
Whether you’re monitoring backyard wildlife or conducting serious research, your camera system will generate valuable ecological insights while contributing to broader conservation efforts and scientific understanding of local wildlife populations.
Essential Components and Equipment Selection
Success in building your wildlife monitoring camera depends on selecting the right components that balance functionality, durability, and power efficiency.
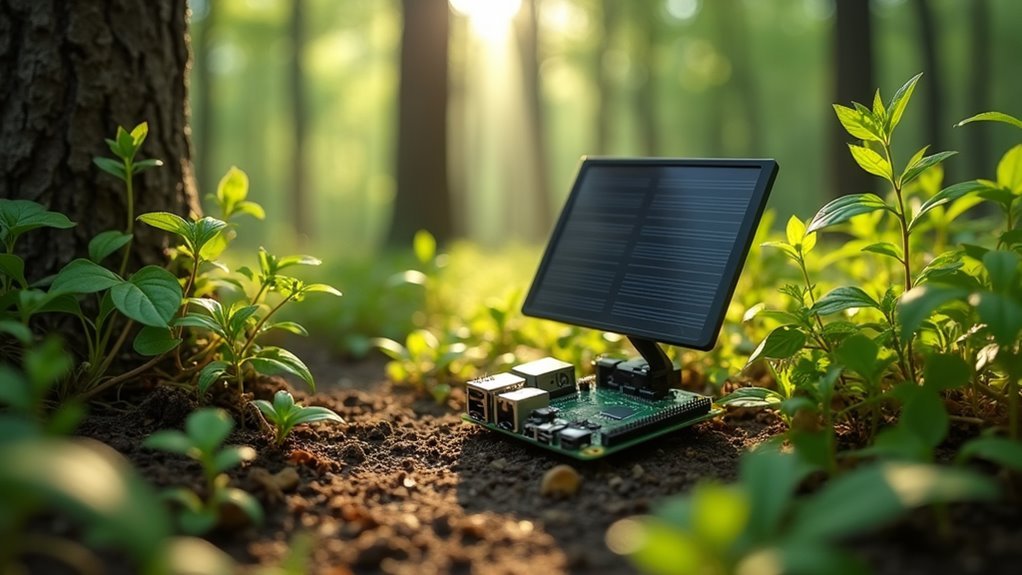
You’ll need a Raspberry Pi (model 3B+ or 4 recommended) as your main controller. The Pi Camera Module is essential—choose the standard V2 for daytime recording or Pi Noir for night vision capabilities.
Don’t forget a Class 10 microSD card for ideal performance and storage. You’ll require a high-capacity portable battery pack since outdoor locations lack mains power.
An airtight plastic food container works perfectly as weatherproof housing while maintaining clear viewing angles.
For nighttime wildlife activity, integrate infrared LEDs to overcome low-light limitations.
Consider adding a PIR sensor for motion detection, which conserves both battery life and storage space by triggering recordings only when animals are present.
Raspberry Pi Camera Module Setup and Configuration
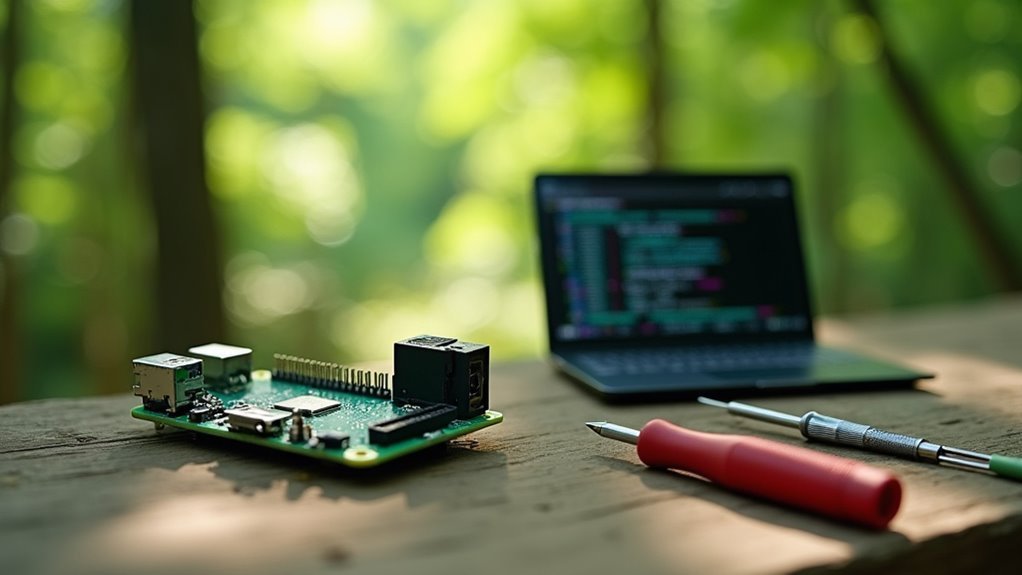
Now that you’ve gathered your components, you’ll need to properly install the camera module and configure your Raspberry Pi to recognize it.
The setup process involves three critical steps: physically connecting the camera module via the MIPI interface, enabling the camera through software configuration, and verifying everything works correctly.
Let’s walk through each step to guarantee your wildlife monitoring camera captures crisp footage when animals appear.
Camera Module Installation
Although the Raspberry Pi Camera Module might seem intimidating at first, you’ll find the installation process straightforward once you understand the key steps. Start by carefully connecting the Raspberry Pi Camera Module to your Pi’s CSI connector using the provided ribbon cable. Confirm you’ve properly seated the cable in both the camera and Pi connectors.
| Step | Command | Purpose |
|---|---|---|
| 1 | `sudo raspi-config` | Enable camera interface |
| 2 | `raspistill -o image.jpg` | Test image capture |
| 3 | `raspivid -o video.h264` | Test video recording |
After physical installation, update your Raspbian system and enable the camera interface through the terminal. Test your Camera’s functionality with basic capture commands to verify everything’s working correctly before proceeding with your wildlife monitoring setup.
Software Configuration Steps
Once you’ve verified your camera module’s physical connection, configuring the software becomes your next priority.
Proper setup guarantees your Pi Camera Module V functions effectively for wildlife monitoring, whether you’re using the standard version or IR filter variant for night vision capabilities.
Follow these essential configuration steps:
- Enable camera interface – Run `sudo raspi-config`, navigate to interface options, and activate the camera function through the terminal.
- Update system packages – Execute `sudo apt-get update && sudo apt-get upgrade` to guarantee compatibility with your camera module.
- Test still photography – Use `raspistill -o image.jpg` to capture a test photo and verify functionality.
- Configure video recording – Run `raspivid -o video.h264 -t 10000` to test 10-second video capture capabilities.
Testing Camera Functionality
After completing your software configuration, you must verify that your camera module operates correctly before deploying it in the field. Start by checking the camera’s detection status using `vcgencmd get_camera` to confirm it’s recognized by your Raspberry Pi.
Begin testing camera functionality with basic capture commands. Use `raspistill -o image.jpg` for still photography and `raspivid -o video.h264 -t 10000` for 10-second video recording.
| Test Type | Command | Purpose |
|---|---|---|
| Still Image | `raspistill -o test.jpg` | Verify basic capture |
| Video Recording | `raspivid -o test.h264 -t 5000` | Test video functionality |
| Low Light | Test in darkness | Assess night performance |
Test your setup in various lighting conditions, particularly low-light scenarios. If night monitoring’s essential, consider adding IR LEDs to enhance visibility without disturbing wildlife.
Optimizing Image Quality for Day and Night Recording
When you’re setting up your Raspberry Pi wildlife monitoring camera, achieving consistent image quality across different lighting conditions requires careful consideration of both hardware capabilities and software settings.
For ideal day recording while Raspberry PI using standard modules, configure your camera to 1920×1080 at 30 fps for detailed captures.
However, nighttime conditions present unique challenges that require different approaches.
Here’s how to optimize your camera for 24/7 monitoring:
- Install IR illumination – use IR lights since Raspberry Pi cameras struggle in low light without additional illumination.
- Implement automatic IR filter toggle – switch based on ambient light conditions for enhanced clarity.
- Upgrade to HQ Camera with Sony IMX477 sensor – delivers superior low light performance at lower lux levels.
- Adjust exposure settings – experiment with configuration parameters to adapt to varying light conditions throughout the day.
Motion Detection Software Installation and Setup
With your camera hardware properly configured for ideal image capture, you’ll need reliable motion detection software to automatically trigger recording when wildlife appears.
Install MotionEyeOS on your PI by downloading the image file from GitHub, extracting it, and writing it to your MicroSD card using Win32DiskImager.
After inserting the card and powering on your PI, access the MotionEyeOS web interface through your browser using the device’s IP address.
Configure your motion detection settings by adjusting the frame change threshold, noise level, and captured before/after frames for peak performance.
Set your correct time zone for accurate timestamps, and enable detection masks to exclude problematic areas that might trigger false positives.
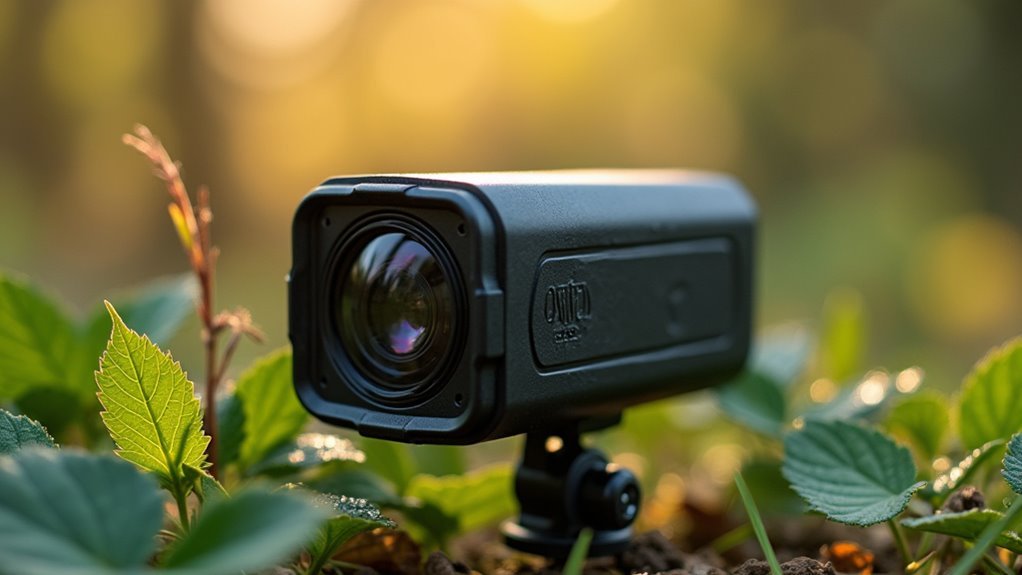
Building a Weatherproof Camera Housing
Once you’ve configured your motion detection software, you’ll need to protect your Raspberry Pi and camera from the elements by constructing a weatherproof housing.
After setting up motion detection, the next critical step involves creating durable protection against weather conditions for your electronics.
A plastic food container with a sealable lid makes an excellent, cost-effective foundation for your weatherproof housing. Here’s how to build it:
- Drill precise holes for the camera lens and IR LEDs, then clean edges with a Dremel to prevent component damage from sharp surfaces.
- Install rain protection using hot-melt glue to create shields that deflect water while maintaining clear lens visibility.
- Secure internal components by gluing the camera module inside, ensuring nothing’s obstructed and covering ventilation holes with mesh for proper cooling.
- Apply camouflage finish using tree cuttings or vinyl wrap to blend seamlessly into the natural environment and avoid wildlife detection.
Power Management and Battery Configuration
After constructing your weatherproof housing, you’ll need to address one of the most critical aspects of remote wildlife monitoring: establishing a reliable power system that can sustain your camera for extended periods without human intervention.
Effective power management starts with selecting a high-capacity portable battery pack that’ll provide several days of operation. Your Raspberry Pi’s power consumption varies considerably – a Model A can capture approximately 3,000 images using just 8 AA batteries.
Consider upgrading to a Pi Zero and energy-efficient peripherals to maximize battery life. For extended deployments, implement wired power sources when possible.
Regularly monitor your connected devices’ power consumption and adjust settings accordingly to prevent unexpected shutdowns during critical wildlife observation periods.
Network Connectivity and Remote Access Setup
Since wildlife activity often occurs during unpredictable hours, establishing reliable network connectivity becomes essential for monitoring your camera remotely without trekking to its location daily.
Remote monitoring eliminates daily hikes to camera locations, letting you observe wildlife behavior patterns from the comfort of your home.
Start your setup with these key steps:
- Initial Connection: Connect your Raspberry Pi to your router using an RJ45 Ethernet cable for stable configuration access through a web browser.
- Wi-Fi Configuration: Enable wireless connectivity by inputting your Wi-Fi credentials through command line or graphical interface for flexible field deployment.
- Remote Monitoring Software: Install MotionEyeOS to view live footage and captured images from anywhere with internet access.
- Remote Access Protocols: Configure SSH for command-line control and VNC for graphical interface management, ensuring you can troubleshoot without physical camera access.
Python Programming for Automated Capturing
While network connectivity enables remote monitoring, Python programming transforms your Raspberry Pi into an intelligent wildlife camera that captures footage automatically.
You’ll use the picamera library to control your camera module, setting up automated capturing based on specific triggers or scheduled intervals.
Implement motion detection by comparing consecutive frames with OpenCV, ensuring your camera only activates when movement occurs.
Use Python’s time module to schedule captures at predetermined intervals, perfect for monitoring nocturnal wildlife activities.
Connect PIR sensors through GPIO pins to trigger image capture when animals approach. This sensor-based approach conserves storage space and battery life.
Save all captured images and videos to designated directories on your Pi’s storage or upload them to networked locations for convenient remote access and wildlife behavior analysis.
TensorFlow Integration for Animal Recognition
Once you’ve established automated capturing, you can elevate your wildlife monitoring system by integrating TensorFlow for intelligent animal recognition. Your Raspberry Pi can process images locally, identifying species without cloud dependency.
Here’s how to implement TensorFlow integration:
- Use pre-trained models – Start with MobileNet and fine-tune it using labeled wildlife datasets for improved accuracy in your specific environment.
- Optimize with TensorFlow Lite – Reduce model size and boost inference speed on your Raspberry Pi, ensuring real-time processing capabilities in field conditions.
- Implement object detection API – Add bounding box visualization around detected animals, providing spatial information about wildlife positioning and movement patterns.
- Configure automated triggers – Set up your system to capture photos or send alerts when specific species are detected.
Data Storage and File Management Systems
After implementing TensorFlow for animal recognition, you’ll need a robust data storage strategy to handle the continuous stream of images, videos, and detection metadata your wildlife camera generates. You’ll want to use a high-capacity Class 10 microSD card for fast data transfer and adequate storage space. Configure your system to save files directly to your home network over Wi-Fi, eliminating manual media swaps.
| Storage Method | Pros | Cons |
|---|---|---|
| Local microSD | Fast access, offline operation | Limited capacity, corruption risk |
| Network Storage | Easy access, larger capacity | Requires Wi-Fi connection |
| Cloud Backup | Redundant protection, remote access | Internet dependency, costs |
Implement automatic file management that organizes content by date and event while setting up deletion protocols for older files to prevent storage overload.
Field Deployment and Monitoring Strategies
Setting up your data management system prepares you for the next challenge: successfully deploying your wildlife camera in the field.
Your security camera’s effectiveness depends on strategic field deployment techniques that guarantee reliable operation and undetected monitoring.
Follow these essential deployment strategies:
- Weatherproof Protection – House your Raspberry Pi in a plastic food container to shield it from rain, snow, and humidity that could damage electronics.
- Extended Power Supply – Connect a high-capacity portable battery pack that provides several days of continuous operation before requiring retrieval or recharging.
- Natural Camouflage – Disguise your camera box with tree cuttings or vinyl wrap to blend seamlessly into the environment and avoid startling wildlife.
- Remote Connectivity – Establish Wi-Fi connection for accessing MotionEyeOS interface and adjusting motion detection settings remotely.
Frequently Asked Questions
How to Make a Raspberry Pi Surveillance Camera?
Connect your Raspberry Pi Camera Module via CSI interface, install MotionEyeOS on MicroSD card, configure camera settings for peak performance, add PIR sensor for motion detection, and guarantee stable power plus network connectivity.
Can I Use a Wildlife Camera as a Security Camera?
Yes, you can use a wildlife camera as a security camera. They’ve got motion detection, night vision, and battery power, making them versatile for surveillance without needing electrical outlets or wiring.
What Is the Best Security Camera Software for Raspberry Pi?
You’ll find MotionEyeOS is the best choice for beginners, offering an intuitive web interface and excellent motion detection. For advanced users, ZoneMinder provides powerful surveillance features, while RPi-Cam-Web-Interface works great for lightweight applications.
Can I Use a Raspberry Pi as a NVR?
You can definitely use a Raspberry Pi as an NVR. Install software like MotionEyeOS or ZoneMinder, connect IP cameras, add external storage for recordings, and you’ll have a functional video recording system.
In Summary
You’ve now built an extensive wildlife monitoring system that’ll capture stunning footage day and night. Your Raspberry Pi camera setup with motion detection and AI recognition capabilities will provide valuable insights into local wildlife behavior. Remember to regularly check your deployment, maintain adequate power supplies, and back up your data. This project not only enhances your technical skills but also contributes meaningful data to wildlife conservation efforts in your area.


Leave a Reply