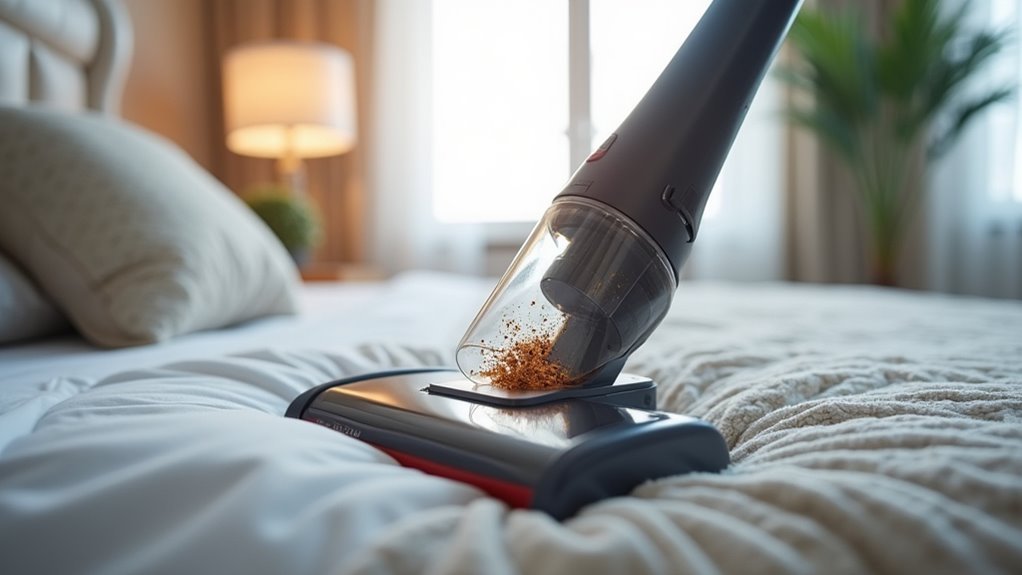
You’ll need a vacuum with powerful suction and HEPA filtration to effectively remove bed bugs from mattress seams, bed frames, and furniture crevices. Use specialized crevice tools at 45-degree angles, moving slowly across surfaces while applying gentle pressure to prevent bugs from escaping. Focus on baseboards, carpet edges, and upholstered furniture where they hide. Immediately seal vacuum contents in plastic bags and dispose outdoors. However, vacuuming alone won’t eliminate eggs, so you’ll discover why combining additional treatment methods guarantees complete eradication.
Essential Vacuum Features for Bed Bug Removal
When dealing with a bed bug infestation, you’ll need a vacuum with powerful suction that can effectively extract these resilient pests from deep within mattress seams, furniture joints, and carpet fibers.
Look for models equipped with HEPA filters, which capture allergens and prevent escaped bed bugs from re-entering your environment through the exhaust.
HEPA filtration systems trap microscopic bed bug particles and block pest escape routes through vacuum exhaust ports during treatment.
Specialized crevice tools are essential attachments that allow you to target tight spaces at ideal angles. Use these tools at 45-degree angles to crush stubborn bed bugs and remove their adhesive eggs more effectively.
Consider pest control-specific vacuum cleaners featuring stiff brushes for dislodging bugs and sealed systems that contain captured insects.
Always use a disposable vacuum bag rather than bagless models, as this prevents direct contact with captured pests during disposal and reduces re-infestation risks.
Proper Preparation Before Vacuuming Infested Areas
Before you start vacuuming, you’ll need to clear away clutter from infested areas to expose potential bed bug hiding spots.
Remove items like clothing, books, and personal belongings from around beds, furniture, and carpeted areas where bugs might shelter.
Once you’ve decluttered, carefully inspect mattresses, bed frames, and upholstered furniture for telltale signs like live bugs, dark stains, or small reddish-brown spots that indicate an active infestation.
Declutter and Expose Areas
Although decluttering might seem like an extra step when you’re dealing with a bed bug infestation, it’s actually one of the most essential preparations you can make before vacuuming. When you declutter and expose areas around your bed and furniture, you’ll eliminate countless hiding spots that bed bugs use to evade treatment.
| Before Decluttering | After Decluttering |
|---|---|
| Hidden crevices remain inaccessible | Exposed surfaces allow thorough vacuuming |
| Cluttered items obstruct inspections | Clear areas facilitate detailed examinations |
| Treatment effectiveness decreases | Enhanced pest management strategy success |
Focus your efforts on removing unnecessary items from mattress seams, bed frames, and surrounding furniture. You’ll create clear access to high-risk areas like carpets and crevices. This organized approach doesn’t just improve vacuuming efficiency—it makes identifying and treating infested belongings considerably easier.
Inspect for Bug Signs
Once you’ve cleared and organized your space, your next step involves conducting a systematic inspection to identify exactly where bed bugs are hiding.
When you inspect for bug signs, focus on mattress seams, bed frames, upholstered furniture, and baseboards where these pests commonly hide. Use a flashlight to examine darker areas since bed bugs prefer concealed locations.
Look for live bugs, shed skins, and small dark spots indicating fecal matter. Pay special attention to bed bugs and eggs, which appear as tiny white or translucent oval shapes clustered in crevices.
Document everything you find during your inspection—this information will guide your vacuuming strategy and help you target the most heavily infested areas for maximum effectiveness.
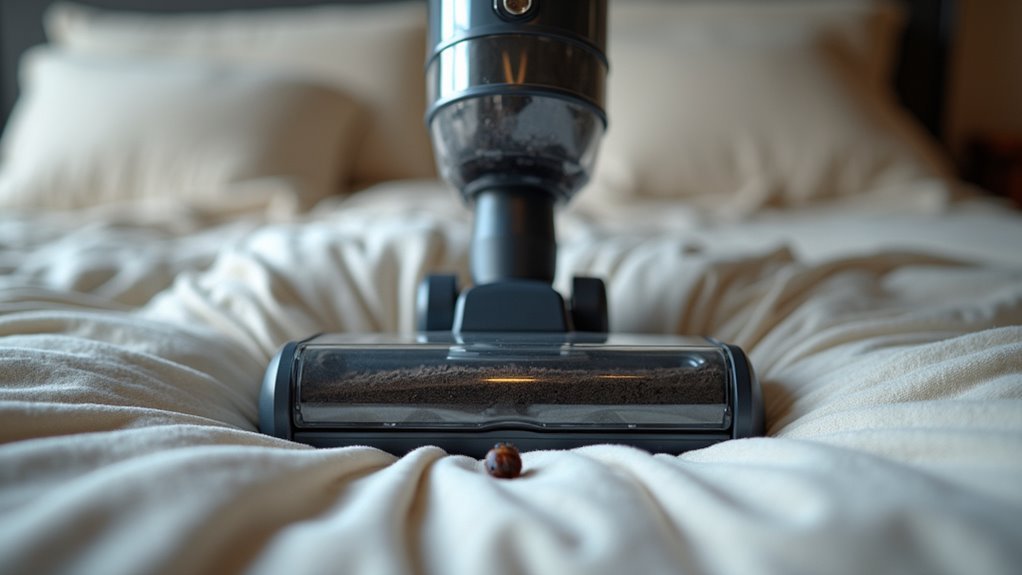
Target Areas That Harbor Bed Bugs
When targeting bed bugs with your vacuum, you’ll achieve the best results by focusing on areas where these pests naturally gather and hide. Start with mattress seams, bed frames, and upholstered furniture near sleeping areas. These locations offer ideal hiding spots for bugs and eggs.
Focus your vacuum on mattress seams, bed frames, and upholstered furniture where bed bugs naturally congregate and lay eggs.
Don’t overlook high-risk zones like baseboard intersections with floors, plus cracks and crevices in walls and furniture where bed bugs congregate. Pet resting areas require regular attention since they can harbor infestations too.
Focus on carpet edges and spaces under furniture, as bed bugs easily dwell in these spots.
Remember that vacuuming alone can’t eliminate severe infestations, but it’s an effective first step. Always seal and dispose of vacuum contents immediately to prevent spreading captured bugs.
Correct Suction Techniques and Angles
Knowing where to vacuum is only half the battle—how you vacuum makes all the difference in capturing bed bugs effectively. When vacuuming bed areas, position your crevice tool at a 45-degree angle against seams and edges where bugs congregate. Move slowly across surfaces to maximize suction power and prevent escapees.
| Technique | Action |
|---|---|
| Angle | Hold crevice tool at 45 degrees |
| Speed | Move slowly for maximum capture |
| Pressure | Apply gentle pressure only |
| Disposal | Empty into sealed bags immediately |
Avoid pressing too hard—excessive force flicks bugs away rather than capturing them. After each session, empty vacuum contents into sealed bags and wash or replace filters to eliminate any remaining bed bugs or eggs that survived the process.
Using Crevice Tools and Attachments Effectively

You’ll need to master the proper angles and techniques when using crevice tools to effectively target bed bugs hiding in tight spaces.
Position your crevice tool at a 45-degree angle to maximize suction power and crush both bugs and eggs as you work through seams, gaps, and narrow areas.
Choose the right attachment for each surface—stiff brush attachments work well for dislodging bugs from furniture edges, while narrow crevice tools excel at reaching deep into cracks where bed bugs typically shelter.
Crevice Tool Angles
Since bed bugs squeeze into the narrowest spaces imaginable, you’ll need to master the proper angle technique with your crevice tool to reach them effectively.
Position your crevice tool at a 45-degree angle for peak suction power that can crush and remove both live bugs and their stubborn eggs.
Move the crevice tool slowly along mattress seams, furniture edges, and baseboards where bed bugs commonly hide. This deliberate pace guarantees you capture everything, as these pests cling tightly to surfaces.
Apply extra pressure when encountering eggs, since their adhesive coating makes them particularly challenging to vacuum.
The angled approach maximizes your vacuum’s effectiveness in tight spaces between furniture and along crevices where standard attachments can’t reach.
Attachment Selection Guide
Beyond mastering crevice tool angles, selecting the right vacuum attachments can make or break your bed bug elimination efforts.
Your attachment selection guide should prioritize tools that maximize suction effectiveness while targeting bed bug hiding spots.
Choose crevice tools for seams, corners, and cracks where bed bugs concentrate. These narrow attachments direct powerful suction into tight spaces that harbor eggs and adult bugs.
Stiff brush attachments help dislodge stubborn bed bugs from fabric surfaces, but use them carefully to prevent scattering insects to new locations.
Ensure your vacuum delivers strong suction power, as weaker models won’t capture bed bugs effectively.
Move attachments slowly and deliberately across surfaces to maximize capture rates.
After each session, wash or replace filters immediately to eliminate any remaining bed bugs and maintain peak performance.
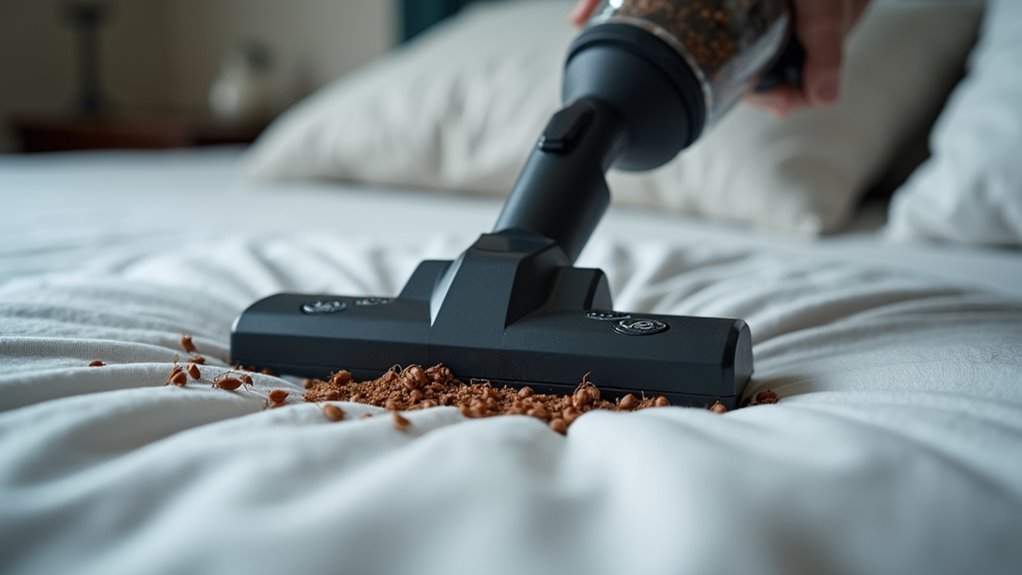
Dealing With Bed Bug Eggs During Vacuuming
When you’re vacuuming for bed bugs, their eggs present a unique challenge that requires special attention and technique.
These small, translucent eggs have an adhesive coating that makes them stick firmly to surfaces, so standard vacuuming won’t effectively remove them. You’ll need to use your crevice tool at a 45-degree angle with maximum suction power to crush and dislodge both bugs and eggs from hiding spots.
Remember that vacuuming alone won’t eliminate all eggs due to their protective coating. You’ll need additional treatments like heat or steam for complete eradication.
After vacuuming, immediately dispose of contents in a sealed plastic bag to prevent re-infestation. Since females lay up to 500 eggs lifetime, thorough vacuuming helps manage population growth effectively.
HEPA Filter Systems for Bed Bug Control
While standard vacuum filters may allow microscopic particles to escape back into your living space, HEPA filter systems create an impenetrable barrier that captures even the smallest bed bug eggs and debris.
When you’re targeting bed bugs, you’ll want a vacuum equipped with a HEPA filter that effectively retains allergens and other contaminants, contributing to a cleaner indoor environment.
You must regularly replace or clean your HEPA filter to maintain its effectiveness in trapping bed bugs and their eggs.
Professional-grade vacuums with HEPA filters are specifically designed for pest control, enhancing your capability to manage infestations.
When you combine HEPA filter-equipped vacuums with other pest management strategies, you’ll greatly increase your likelihood of reducing and controlling bed bug populations throughout your home.
Safe Disposal of Vacuum Contents
Although you’ve successfully captured bed bugs with your vacuum, improper disposal of the contents can undo all your hard work and allow these pests to escape back into your home.
When you dispose of the vacuum contents, you must take immediate action to prevent re-infestation.
Follow these essential disposal steps:
- Seal immediately – Place vacuum bag or canister contents into a sealed plastic bag right after vacuuming.
- Empty outside – If using a bagless vacuum, empty the canister outdoors to minimize escape risks.
- Discard promptly – Seal the disposal bag tightly and throw it in an outdoor trash bin immediately.
Remember to clean or replace your vacuum filters regularly after each bed bug removal session to eliminate any remaining eggs or allergens.
Recommended Professional-Grade Vacuum Models
Choosing the right vacuum can make the difference between successful bed bug removal and a frustrating battle that drags on for months. Professional pest control experts rely on specialized equipment designed specifically for bed bug elimination.
| Vacuum Model | Key Feature | Best For |
|---|---|---|
| Atrix Lil Red Canister AHSC-1 | HEPA filter captures eggs | Targeted bed bug control |
| SharkNinja Navigator NV360 | Strong suction power | Multiple surface types |
| Kenmore 81614 Bagged Canister | Powerful motor + HEPA | Complete egg removal |
| Housmile Anti-Dustmite UV | UV light kills bugs | Fabric treatments |
The Atrix Bug-Sucker HEPA Backpack offers exceptional mobility for reaching tight spaces where bed bugs hide. These professional-grade models provide the suction power and filtration necessary for effective bed bug eradication.
Timing Strategies for Maximum Effectiveness
Having the right vacuum equipment sets you up for success, but knowing when and how often to use it determines whether you’ll eliminate the infestation or simply scatter bed bugs to new hiding spots.
Vacuuming is most effective when you follow these critical timing strategies:
- Vacuum before disturbing clusters – Target bed bugs when they’re tightly clinging to surfaces in mattress seams, bed frames, and carpets for maximum capture rates.
- Schedule daytime sessions – Work when bed bugs are less active, giving you better visibility and access to their hiding spots throughout high-risk areas.
- Maintain weekly frequency – Vacuum at least once weekly during active infestations to continuously reduce populations and remove newly hatched eggs.
Always dispose of vacuum contents immediately in sealed bags after each session to prevent captured bed bugs from escaping and re-infesting your space.
Cleaning and Maintenance After Bed Bug Vacuuming
After you’ve finished vacuuming bed bugs, you’re not done yet—proper cleanup is essential to prevent re-infestation.
You’ll need to immediately dispose of vacuum contents and replace filters to eliminate any surviving bugs or eggs.
These post-vacuuming steps are just as critical as the vacuuming process itself for successful bed bug control.
Proper Vacuum Disposal
The moment you finish vacuuming bed bugs, your work isn’t complete – proper vacuum disposal and cleaning become critical steps that determine whether your efforts succeed or fail.
You’ve captured these pests, but they can easily escape and re-establish colonies if you don’t handle disposal correctly.
Follow these essential steps for effective bed bug control:
- Seal immediately – Place vacuum bag or canister contents in a sealed plastic bag before disposing outside your home.
- Clean or replace filters – Remove all remaining bugs and eggs from filtration systems after each use.
- Inspect attachments – Check hoses and tools for hiding bed bugs that could cause reinfestation.
Maintaining a dedicated vacuum for infested areas prevents cross-contamination throughout your home.
Filter Replacement Protocol
Within hours of completing your bed bug vacuuming session, you must address filter maintenance to prevent these resilient pests from surviving inside your vacuum’s filtration system.
Your filter replacement protocol should prioritize HEPA filters, which you’ll need to wash thoroughly or replace entirely after each bed bug treatment. This critical step eliminates trapped bugs and eggs that could otherwise compromise future vacuuming efforts.
You’ll maintain peak suction power by regularly cleaning these filters, ensuring effective pest capture during subsequent sessions.
Don’t forget to inspect and clean vacuum brushes and attachments, as bed bugs often hide in these areas.
Following your manufacturer’s maintenance recommendations will extend your vacuum’s lifespan while enhancing its pest control capabilities throughout your bed bug eradication process.
Combining Vacuuming With Other Treatment Methods
While vacuuming removes many visible bed bugs and eggs, it’s most effective when you combine it with complementary treatment methods that address the limitations of suction alone.
Vacuuming alone has limitations, but becomes highly effective when paired with complementary bed bug treatment methods.
You’ll achieve better results by pairing vacuuming with treatments that can eliminate bed bugs hiding in unreachable areas.
Here are three powerful combination strategies:
- Steam cleaning integration – Use high heat after vacuuming to kill remaining bugs and eggs that suction couldn’t remove.
- Insecticide enhancement – Vacuum first to clear debris, allowing sprays to penetrate targeted areas more effectively.
- Cold treatment follow-up – Freeze vacuumed items to eliminate any escaped bed bugs.
Implement these combinations within an Integrated Pest Management plan, maintaining regular vacuuming before and after professional treatments to prevent reinfestation.
Frequently Asked Questions
What Kind of Vacuum Is Best for Bed Bugs?
You’ll want a vacuum with a HEPA filter and strong suction power. Canister vacuums like the Atrix Lil Red or Kenmore 81614 work best, especially when you’re using crevice tool attachments.
What Is the Most Effective Way to Eradicate Bed Bugs?
You’ll need to combine multiple approaches for complete bed bug eradication. Use thorough vacuuming with HEPA filters, professional heat treatments reaching 120-150°F, targeted insecticides, and regular follow-up inspections to eliminate all life stages effectively.
Can Bed Bugs Survive Being Vacuumed?
Yes, bed bugs can survive being vacuumed because their tough exoskeleton protects them. You’ll need to immediately seal and dispose of vacuum contents since they can live for months inside the vacuum bag.
What Surfaces Can Bed Bugs Not Crawl On?
You’ll find bed bugs can’t crawl on smooth, non-porous surfaces like glass, metal, and plastic. They also struggle with slick vinyl, tile flooring, and tightly woven fabrics that lack adequate texture for grip.
In Summary
While vacuuming won’t completely eliminate bed bugs on its own, you’ll find it’s an essential component of effective treatment when done correctly. You’ve learned the proper techniques, equipment, and target areas that make vacuuming most effective. Remember, you’ll need to combine thorough vacuuming with other proven methods like heat treatment or professional pesticides. Don’t rely solely on vacuuming – it’s your first line of defense, not your final solution.

Leave a Reply