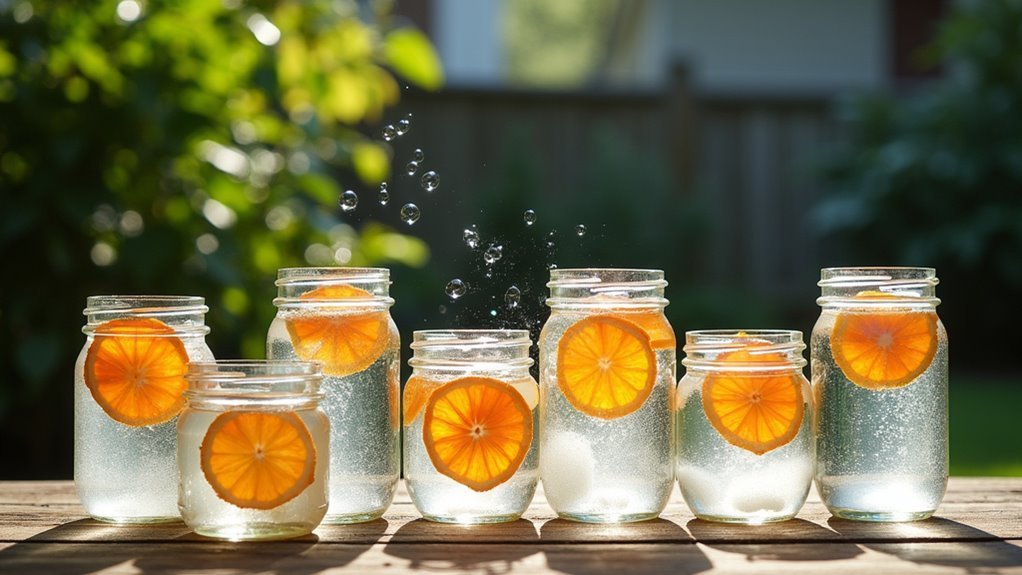
You’ll create effective wasp traps by selecting clear 2-liter bottles or 5-gallon buckets with wide openings. Mix 2 tablespoons of dish soap per quart of water for ideal drowning effect. Use protein baits like lunch meat in spring, switching to sugary substances in fall. Position traps 27 feet from gathering areas in sunny, 4-foot-high locations. Add cooking oil around container rims to prevent escape. Refresh mixtures every few days and always wear protective gear when handling. These foundational techniques will transform your wasp control strategy completely.
Choose the Right Container for Your Soap Water Trap
The container you select forms the foundation of an effective soap water wasp trap. A clear plastic soda bottle works perfectly because you’ll easily see trapped wasps and monitor your trap’s success.
Choose containers with a wide mouth or large opening for simple access when adding your bait mixture and soapy water. Your container size matters—select at least 2-liter bottles or 5-gallon buckets to trap multiple wasps without constant refilling.
The trap design must include a secure lid that’ll prevent wasps from escaping while allowing easy entry. Buckets offer larger volumes for effective baiting and accommodate more attractant, making them excellent choices for heavy infestations.
Mix the Perfect Soap to Water Ratio
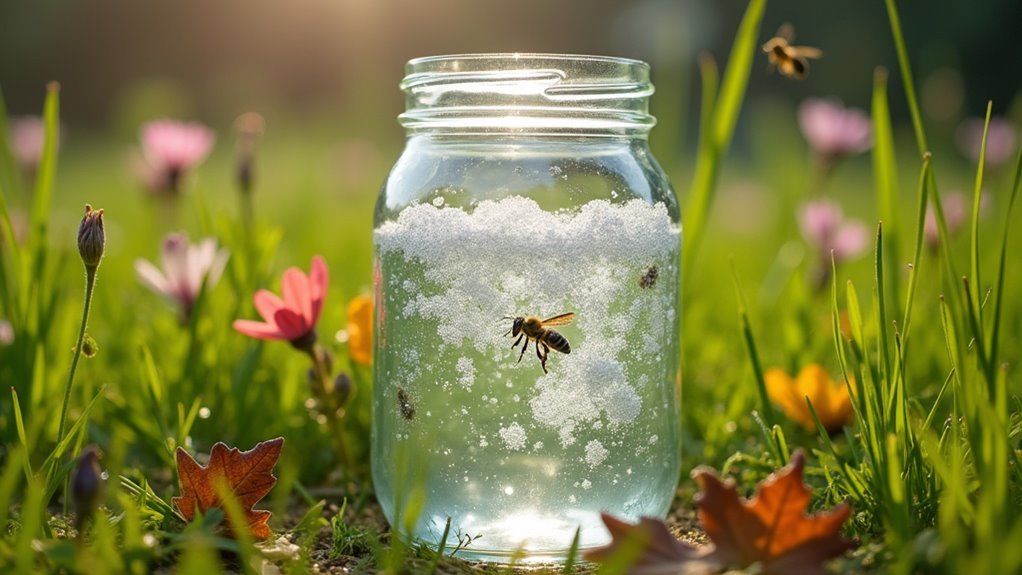
Getting your soap-to-water ratio right determines whether wasps drown quickly or escape your trap. For an effective DIY wasp trap, mix 2 tablespoons of liquid dish soap with 1 quart of water. This soap solution clogs wasps’ breathing holes, causing suffocation.
The correct 2-tablespoon soap to 1-quart water ratio ensures wasps cannot escape your homemade trap by clogging their breathing passages.
Use 1 teaspoon of soap per cup of water when creating bait solutions that attract wasps while preventing escape. For bucket traps, increase to 5 tablespoons per gallon for ideal results when drowning wasps with protein bait.
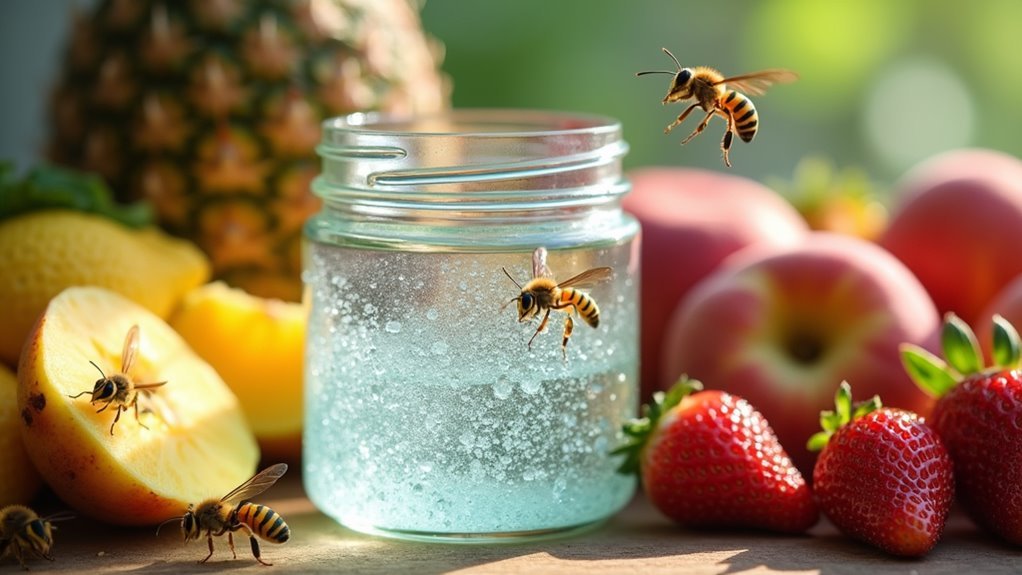
You’ll enhance attraction by combining your soap mixture with sugary liquids like fruit juice or soda.
Don’t exceed the recommended soap to water ratio, as this maintains effectiveness. Remember to replenish mixture every few days to keep your wasp trap working properly.
Select Seasonal Bait for Maximum Attraction
Once you’ve prepared your soap and water mixture, choosing the right bait becomes your next priority for trapping success.
Your seasonal approach determines how effectively you’ll attract wasps to your trap. During spring and early summer, use protein sources like lunch meat or hamburger since wasps actively search for food to build colonies.
As late summer and fall arrive, switch to sugary substances such as fruit juice, jam, or sugar water, as wasps crave sweet foods during this period.
Mix your chosen bait with soap using the established ratio to create an effective drowning solution. Avoid honey since it attracts beneficial bees.
Change your bait weekly to maintain effectiveness throughout the season, ensuring your trap continues attracting wasps consistently.
Position Your Trap Away From Gathering Areas
Strategic placement of your soap water wasp trap maximizes its effectiveness while keeping these aggressive insects away from your outdoor activities.
Position your trap at least 27 feet from picnic tables and gathering areas to draw wasps away from food sources. Choose a sunny location since wasps are attracted to warmth and bright areas.
Place soap water traps in sunny spots at least 27 feet from dining areas to effectively lure wasps away from gatherings.
Don’t place traps near flowering plants or fruit trees, as these compete with your trap for attracting wasps toward food sources. Set your trap at a height of 4 feet off the ground for ideal results.
Monitor the trap’s performance regularly and adjust the location if you’re not catching wasps effectively, as they might be drawn to nearby nesting sites instead.
Add Slippery Coating to Prevent Wasp Escape
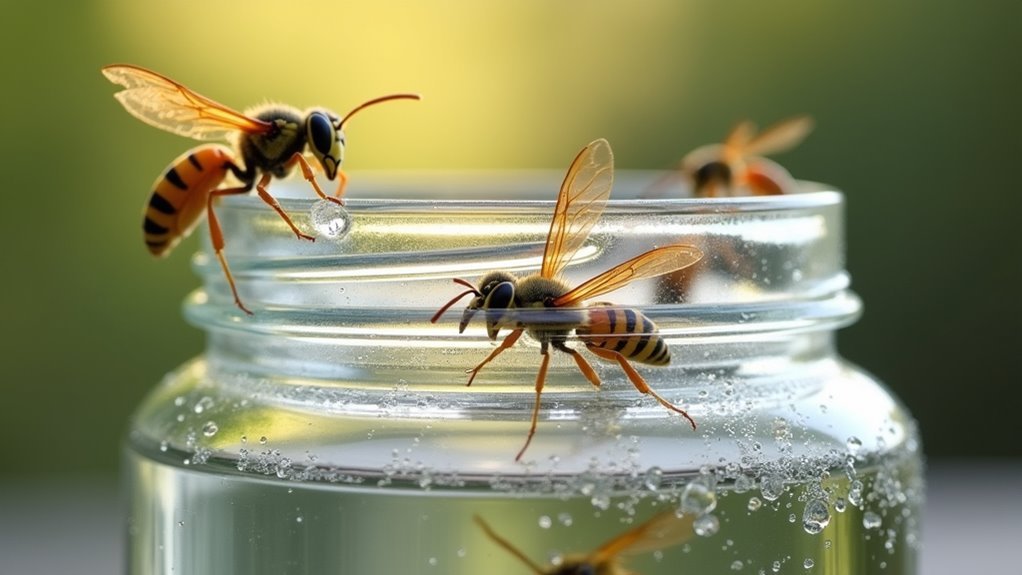
Several effective coatings can transform your wasp trap into an inescapable prison by creating slippery barriers on interior surfaces.
Apply olive oil or petroleum jelly evenly across your trap’s inner surfaces to prevent wasp escape once they’re lured inside. This slippery coating considerably boosts trapping efficiency by eliminating climbing opportunities.
When using soapy water as bait, you’ll benefit from dual protection – the soap creates additional slippery surfaces while suffocating trapped wasps.
For maximum effectiveness, consider this combination approach that delivers enhanced trapping results.
You’ll need to focus on regularly reapplying your chosen coating, especially after rainfall or prolonged outdoor exposure.
Weather conditions can wash away or degrade these protective barriers, reducing your trap’s performance and allowing clever wasps to escape.
Monitor and Refresh Your Trap Every Few Days
While proper coating prevents wasp escape, your trap’s ongoing effectiveness depends heavily on consistent maintenance and monitoring. You’ll need to check your soap water trap every 2-3 days to monitor wasp activity and guarantee it remains effective.
| Task | Frequency | Purpose |
|---|---|---|
| Check trap | Every 2-3 days | Monitor wasp activity |
| Refresh solution | Every 3 days | Prevent odors, maintain effectiveness |
| Remove dead wasps | Immediately | Avoid pheromones attracting more wasps |
Clean out your trap and refresh the soapy solution every three days to prevent odors. When refilling, maintain five tablespoons of dish soap per gallon for maximum drowning power. Remove dead wasps immediately—they release pheromones that’ll draw additional wasps to your area, potentially creating bigger problems than you started with.
Handle Trapped Wasps Safely With Protective Gear
When you’re dealing with trapped wasps, you’ll need the right protective gear to avoid painful stings.
You must also learn proper handling techniques that won’t agitate the insects or put you at risk.
Additionally, you should know what to do if a sting occurs despite your precautions.
Essential Protective Clothing Items
Before approaching any wasp trap, you must prioritize your safety by wearing appropriate protective clothing that creates a barrier between you and potential stings. This essential gear will minimize skin exposure and protect you from painful encounters while handling traps.
Your protective clothing arsenal should include:
- Long sleeves and pants – Choose thick fabrics that wasps can’t penetrate with their stingers.
- Heavy-duty gloves – Thick material protects your hands during trap disposal and wasp removal.
- Face mask or bee veil – Critical protection for your face and neck, especially if you’re prone to allergic reactions.
- Closed-toe shoes – Sturdy footwear prevents stings if wasps fall or escape during handling.
Always keep a first aid kit nearby with antihistamines and sting relief solutions for emergency treatment.
Safe Trap Handling Methods
Three fundamental principles govern safe wasp trap handling: maintaining distance, moving deliberately, and using proper tools.
Always don protective clothing including long sleeves, gloves, and face masks to minimize risk of stings. Use tongs or sticks to maintain safe distance when removing dead wasps or rebaiting traps.
Your calm approach prevents startling wasps, which triggers aggressive behavior. Move slowly and deliberately around active traps. If you’re allergic to stings, keep an emergency allergy kit nearby and consider having someone assist with handling traps.
Essential post-handling procedures include thoroughly washing hands to remove wasp-attracting pheromones. These safety protocols guarantee successful trap maintenance while protecting you from potential stings during routine inspection and maintenance activities.
Emergency Sting Response Protocol
Despite following proper safety protocols, wasp stings can still occur during trap maintenance activities.
You’ll need immediate sting response actions to minimize pain and prevent complications. If stung while wearing protective clothing near your wasp trap, don’t panic.
- Remove the stinger immediately by scraping it out with a fingernail or credit card rather than pinching.
- Clean the area thoroughly with soap and water to prevent infection and remove venom residue.
- Apply a cold pack for 10-15 minutes to reduce swelling and numb the pain.
- Monitor for allergic reaction symptoms like difficulty breathing, widespread hives, or dizziness.
Keep your emergency allergy kit accessible during trap handling.
If severe symptoms develop, seek medical attention immediately. Quick response prevents minor stings from becoming serious medical emergencies.
Frequently Asked Questions
What Is the Ratio of Water to Dish Soap to Kill Wasps?
You’ll need 2 tablespoons of dish soap mixed with 1 quart of water for effective wasp killing. For larger bucket traps, use 5 tablespoons per gallon to guarantee you’re clogging their breathing spiracles.
What Is the Best Liquid to Put in a Wasp Trap?
You’ll want protein-based baits like meat scraps during spring and early summer, then switch to sugary substances like fruit juice or sugar water in late summer and fall when wasps crave sweets.
How Long Does It Take for Soapy Water to Kill Wasps?
Soapy water kills wasps within seconds to a minute by clogging their breathing openings. You’ll see faster results with higher soap concentrations and when targeting smaller wasps directly with your spray.
What Is the Best Recipe for a Wasp Trap?
You’ll want to mix 2 tablespoons of dish soap with water in a container. This recipe’s most effective because it clogs wasps’ breathing holes, suffocating them quickly and efficiently.
In Summary
You’ll find these soap water trap tips incredibly effective when you follow them consistently. Don’t forget to wear protective gear and keep your traps away from high-traffic areas. You’re creating a safer outdoor environment by reducing wasp populations naturally. Remember to check your traps regularly and refresh the solution every few days. With patience and proper placement, you’ll notice fewer wasps bothering your family gatherings and outdoor activities.


Leave a Reply